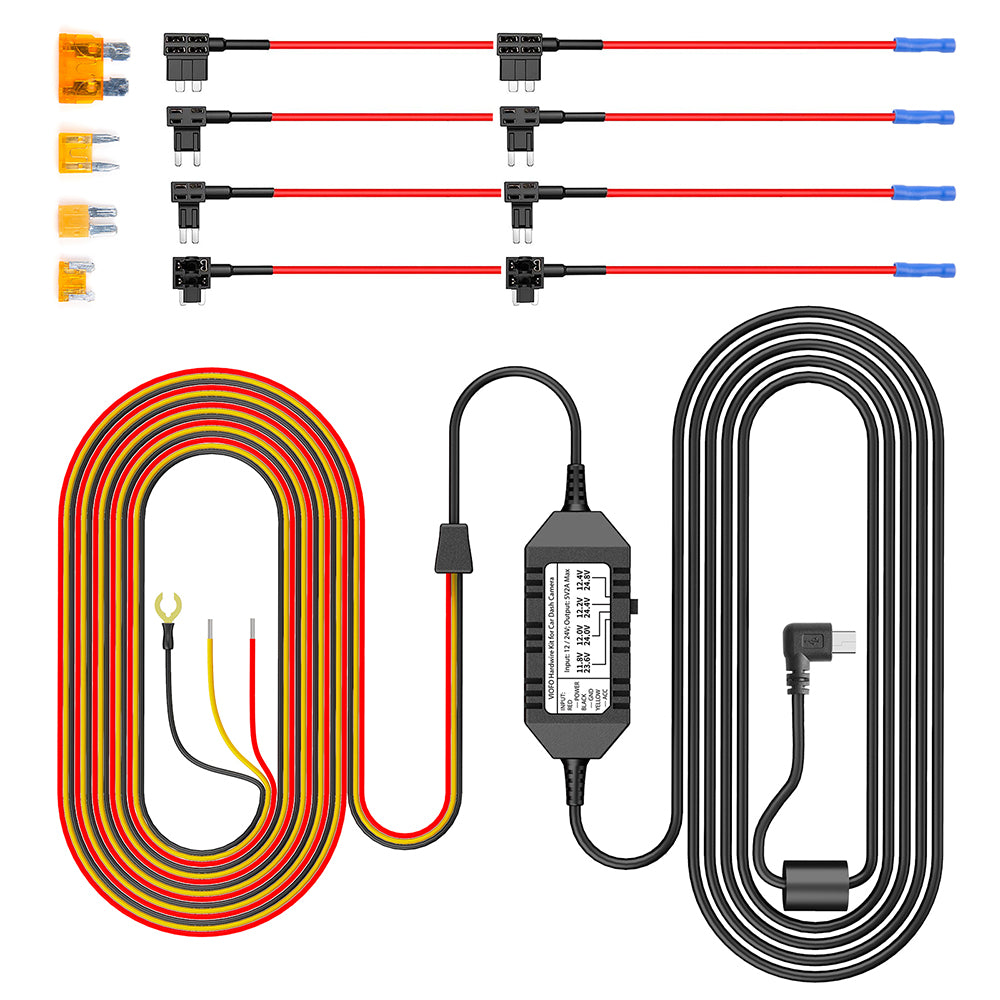
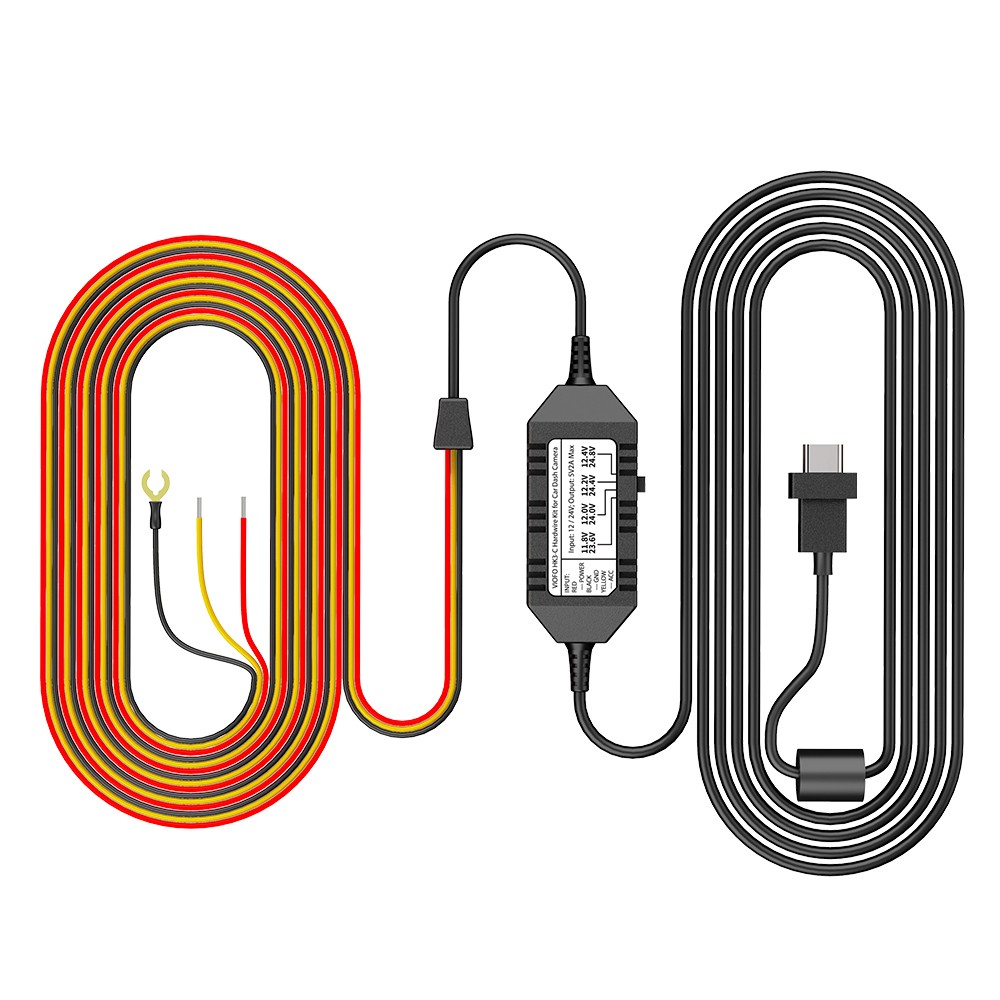
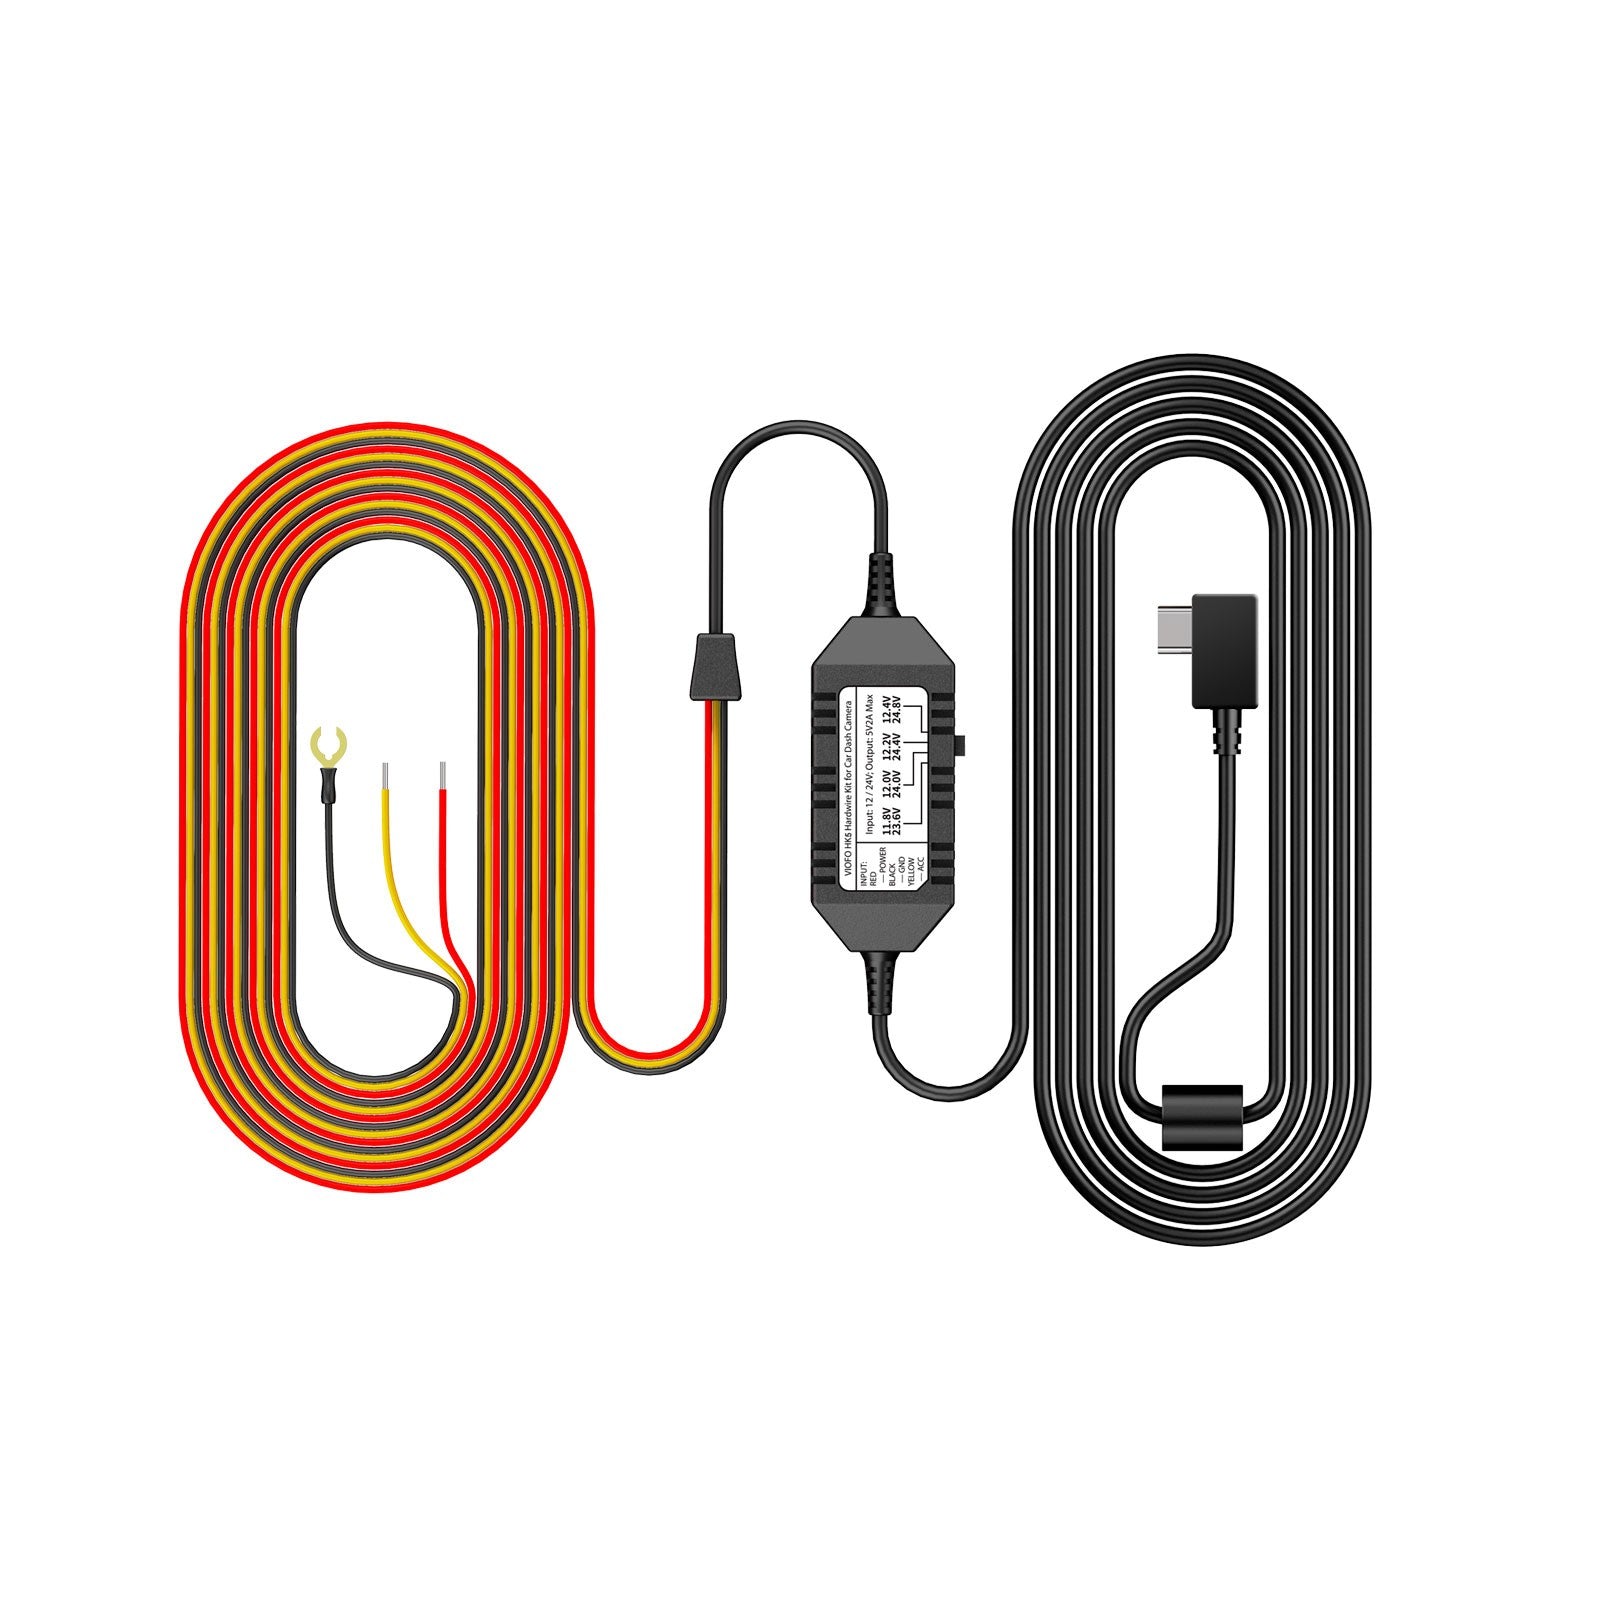
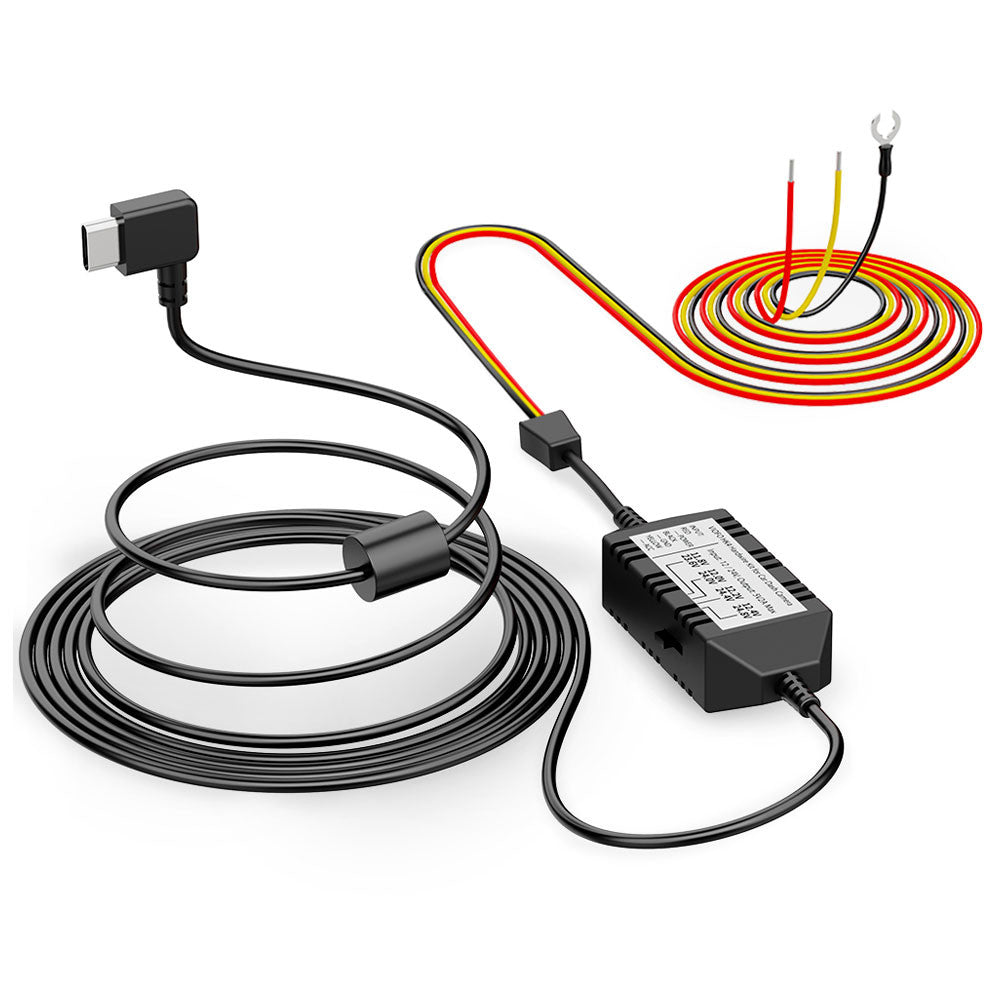
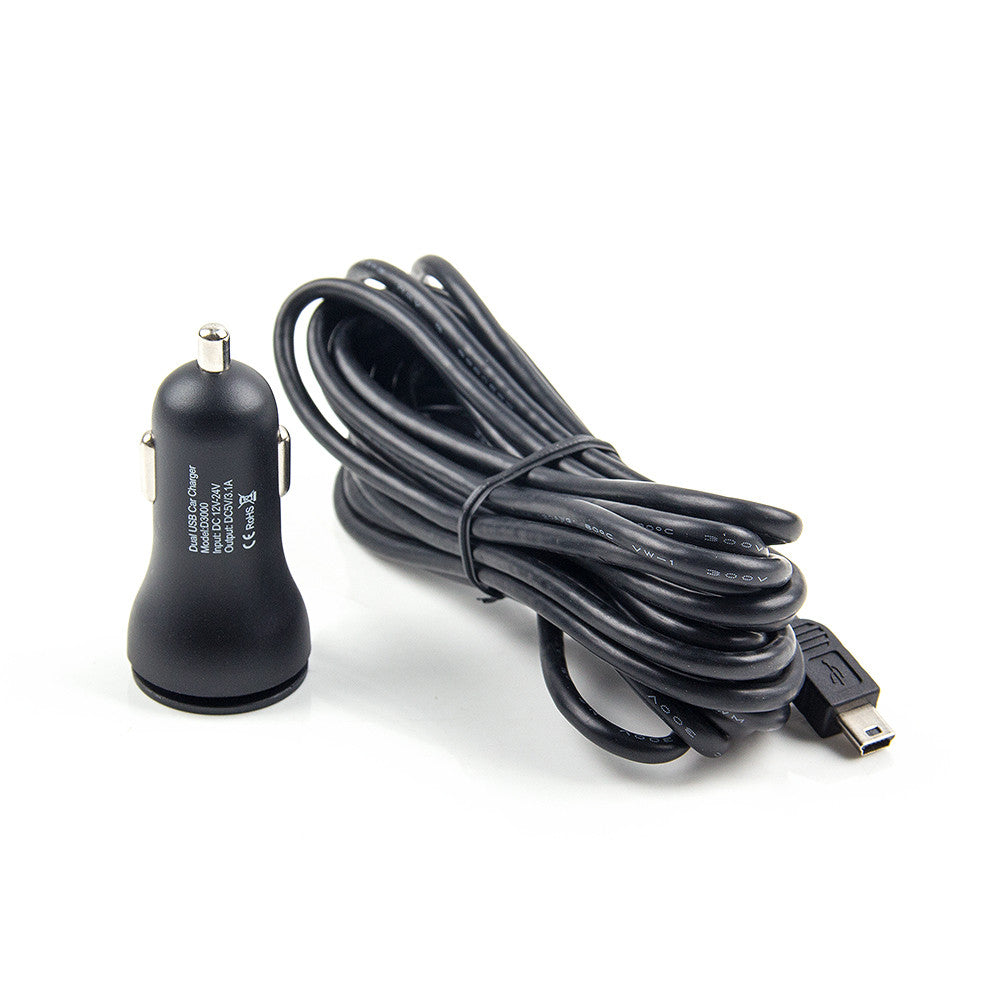
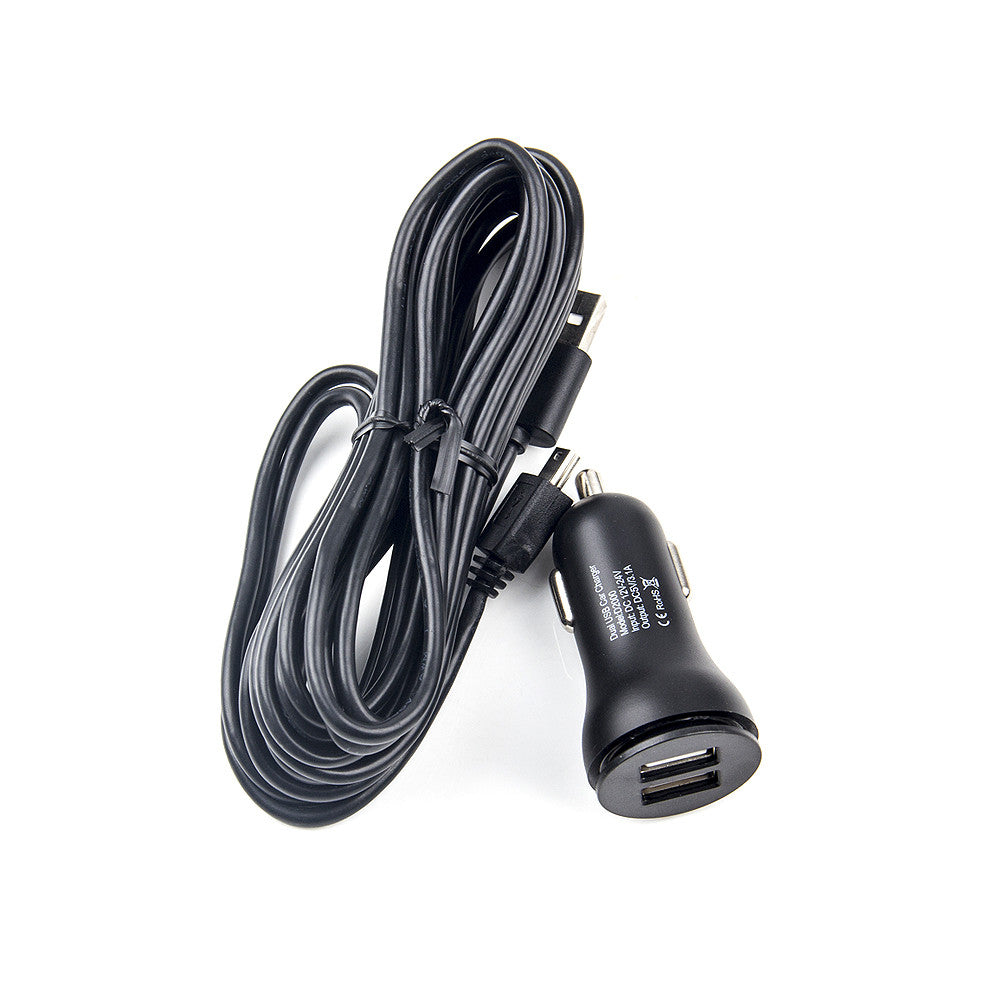
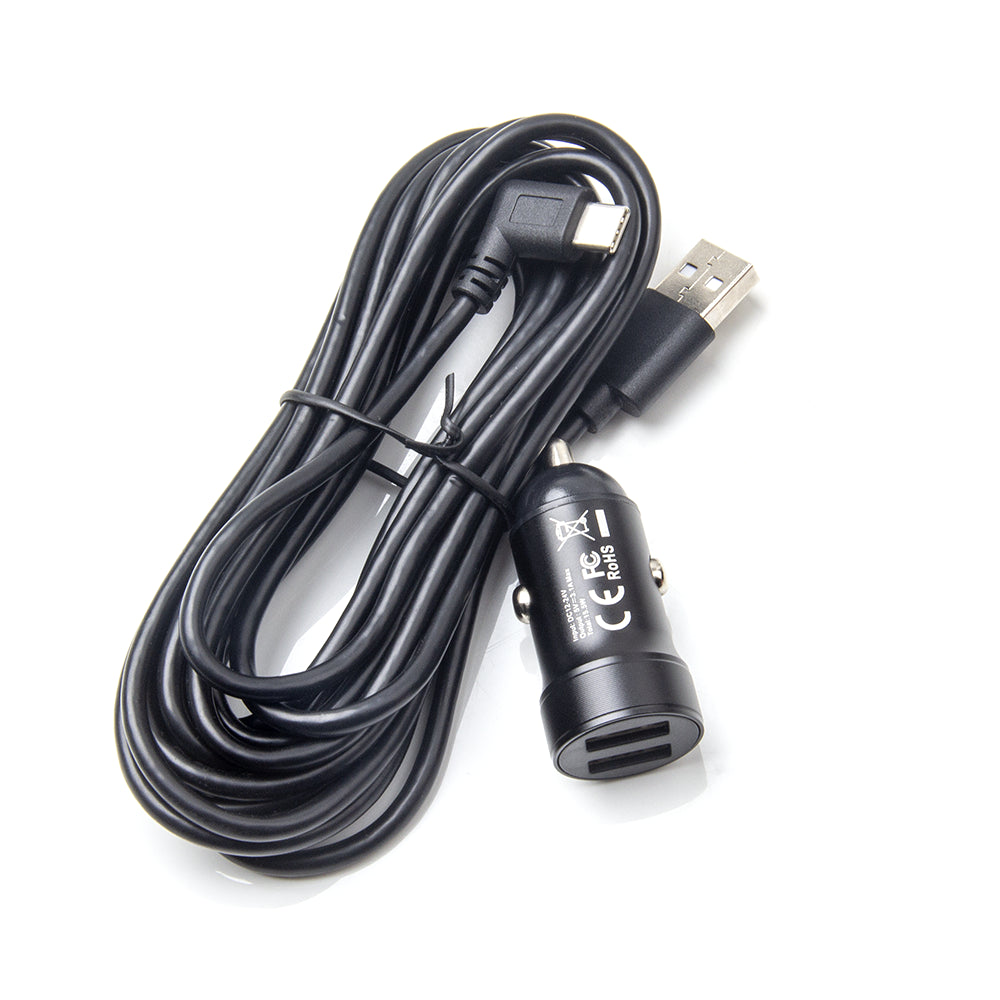
When it comes to protecting your vehicle, your dash cam shouldn't stop working just because the engine does. A hardwire kit extends the dashcam's functionality to offer continuous surveillance, providing peace of mind when you're miles away.
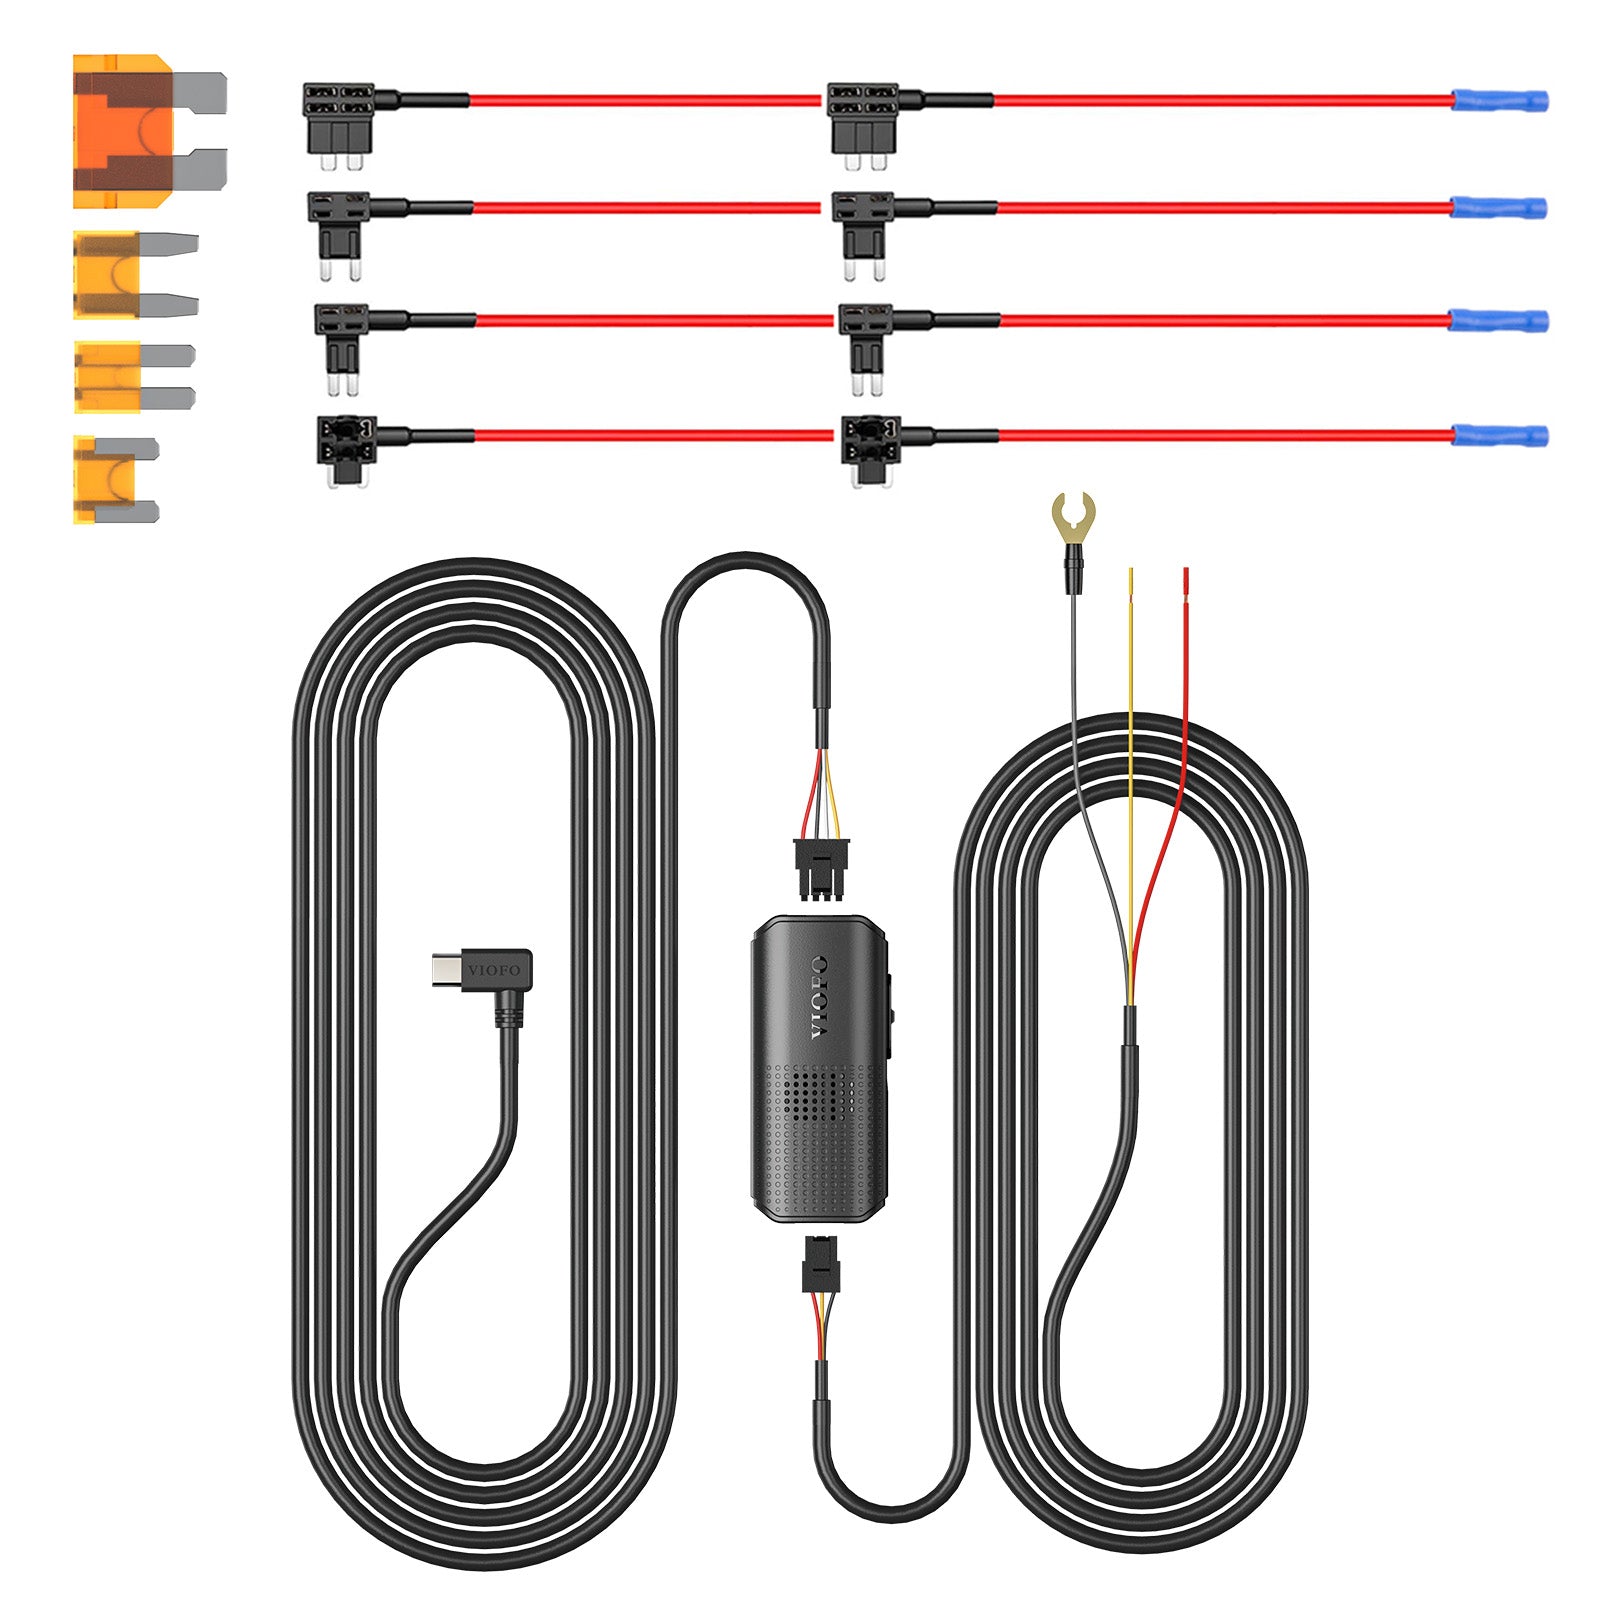
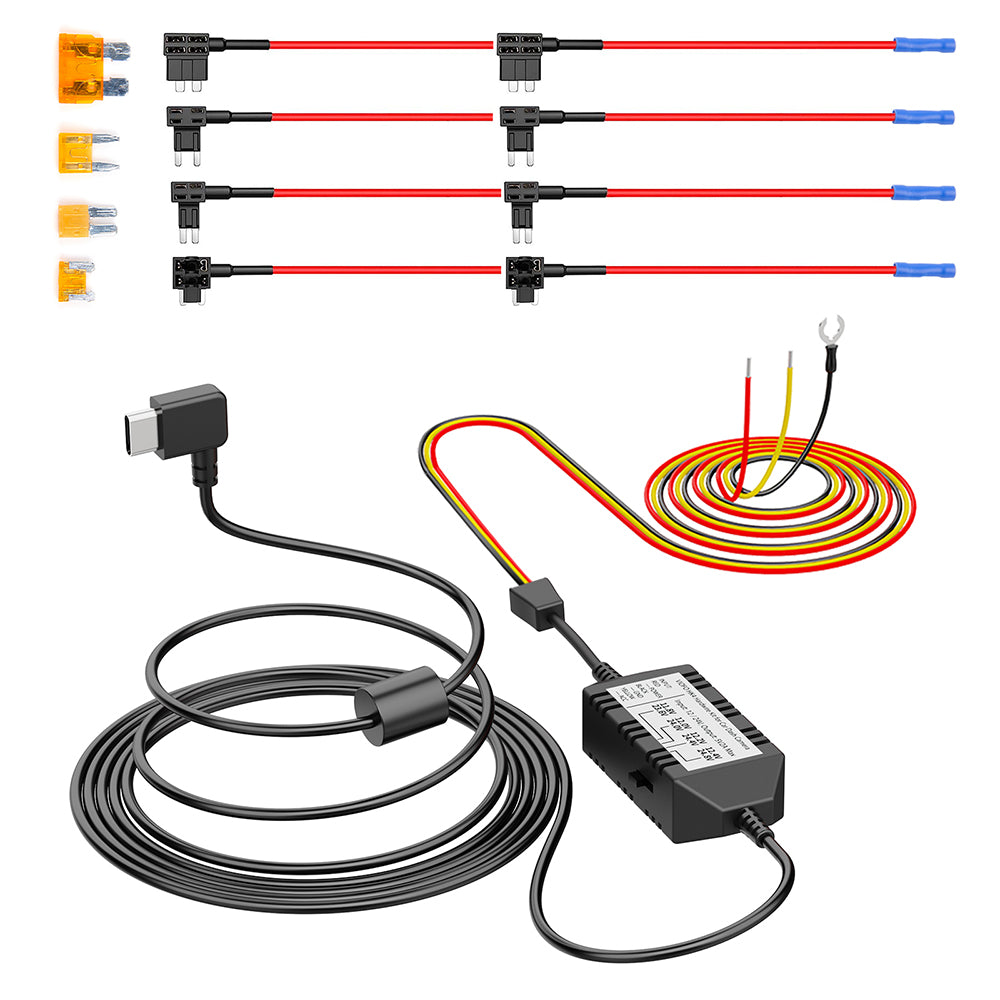
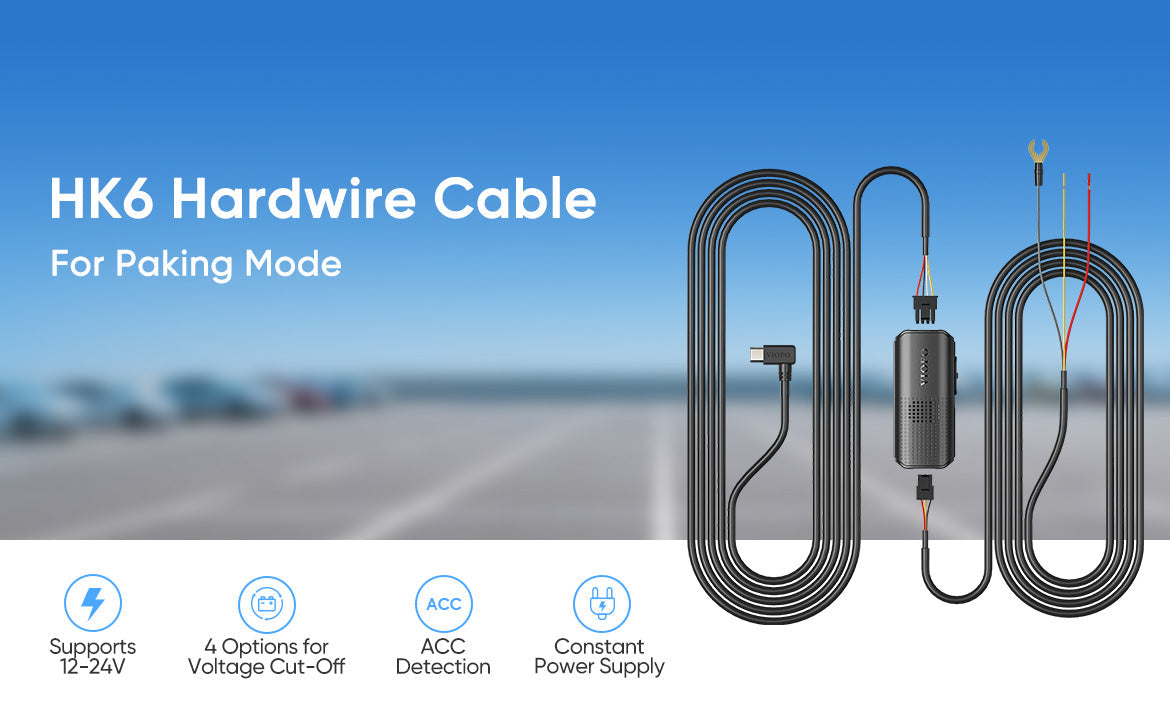
Meet the VIOFO HK6 Hardwire Kit, a smart power solution that enables advanced parking monitoring features that keep your vehicle protected around the clock.
Key Features That Make a Difference
1. Modular, Easy-to-install Design
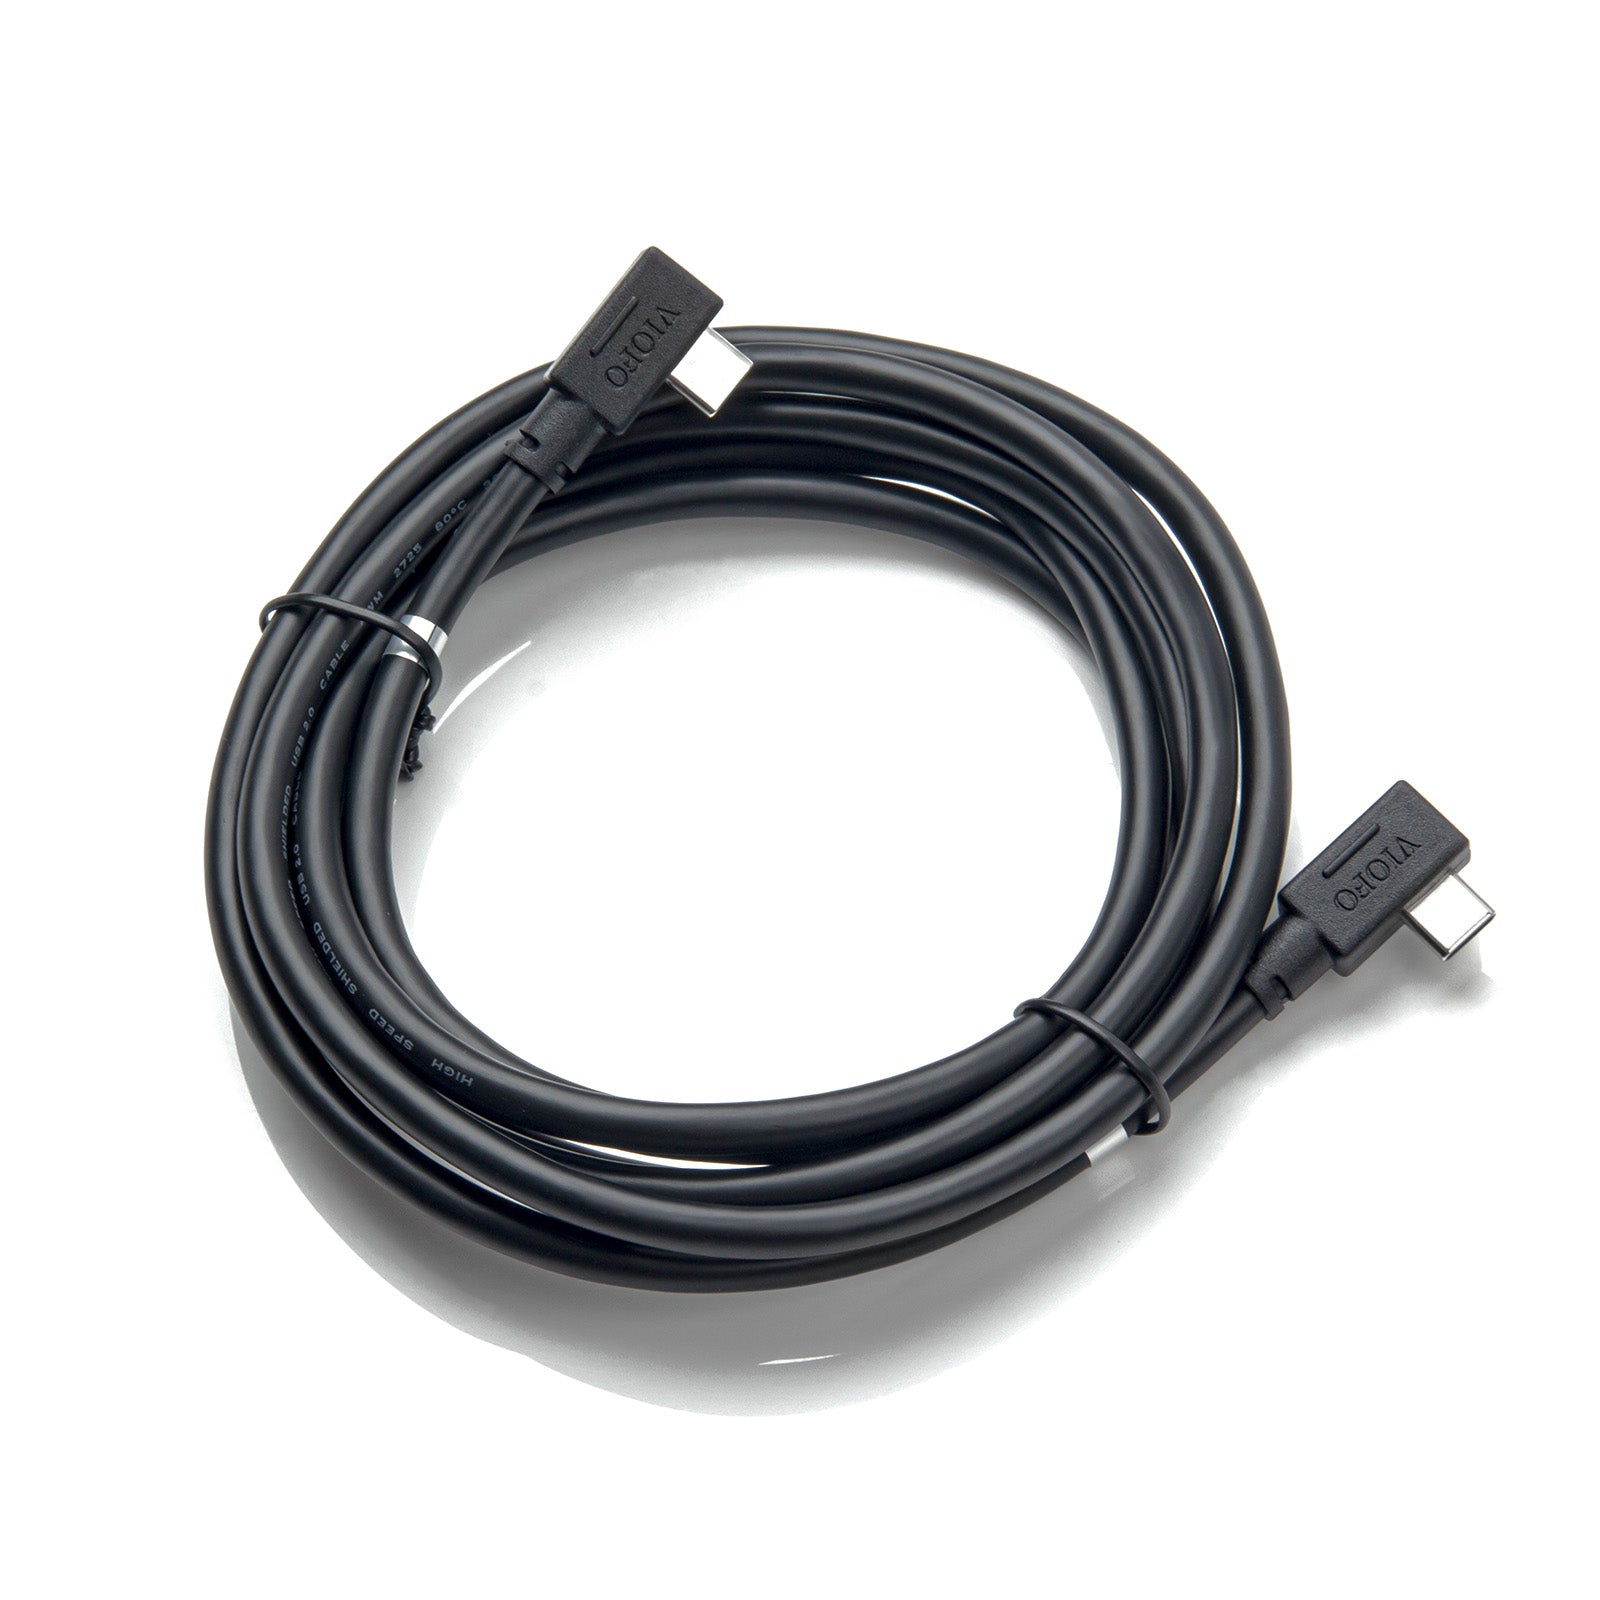
With its removable input/output cables and simple plug-in connections, the HK6 makes installation, maintenance, and future upgrades easier than ever—no rewiring required. 
2. Voltage Display via Bluetooth
For the first time, the HK6 features an automatic voltage display that transmits the car battery's voltage to your dash cam via Bluetooth. This allows you to monitor your car battery's health in real-time, with the voltage embedded directly on the recorded video. It’s a convenient way to keep tabs on your car's power status.
3. Seamless Parking Mode Switching
Thanks to its ACC detection, the HK6 automatically transitions your dash cam into parking mode when you shut off the vehicle's engine and resumes normal recording once the vehicle is started. It's a completely hands-free experience.
4. Hybrid Parking Mode
When paired with an A329S Series (A329S/A329T/A329WW) dash cam, the HK6 intelligently switches between regular parking recording and Low Power Impact Detection mode based on both configured voltage level (Cut-off Voltage) and time thresholds (Cut-off Time).
5. Smart Battery Protection
The HK6 allows you to press and adjust four voltage cut-off options by the side switch. When the dash cam drains your car battery below a certain level, it will automatically shut off your dash cam to ensure it doesn't fully drain your car battery and you can still start your car up next time.
6. Ultra-low Power Consumption
The HK6 itself has an incredibly low power draw (≤300 µA) when the dash cam is shut off, which means it barely consumes power and won't put any stress on your vehicle's battery. When paired with the A329S Series, the Low Power Impact Detection parking mode continues to monitor your vehicle with minimal energy draw (only 0.24 W / 20 mA at 12 V for Standby / Sleep status).
7. Vehicle-wide Compatibility
The HK6 is versatile, functioning across 12V to 24V systems. This makes it a perfect fit for a wide range of vehicles, from cars and SUVs to trucks, buses, and other heavy-duty vehicles.
Facts You Might Want to Know
Q1: What is the difference between the HK4 and the new HK6?
If you’ve been using the HK4, the HK6 steps things up in meaningful ways:
● The HK6 syncs the battery voltage with the dash cam via Bluetooth for real-time monitoring.
● The Hybrid Parking Mode on the HK6 can switch based on actual battery voltage levels, not just a fixed timer, providing more intelligent power management.
● The HK6 features a detachable design for easier installation and maintenance.
Q2: What's the difference between Cut-off Voltage and Low Voltage Protection?
● Cut-off Voltage: This value is set in your dash cam's menu or app. It tells the dash cam when to switch from regular parking mode to the energy-saving Low Power Impact Detection mode when using Hybrid Parking Mode.
● Low Voltage Protection: This value is set via the side switch on the HK6 hardwire box. It's the ultimate safety net, completely shutting off the dash cam to prevent battery drain.
● Setting Tips: For seamless operation, set the Cut-off Voltage slightly higher than the Low Voltage Protection value. This way, your dash cam can smoothly switch into Low Power Impact Detection mode instead of shutting off right away.
Q3: Can I still use my Bluetooth Remote with the HK6 connected?
Yes! The HK6 and Bluetooth remote use different protocols, so they work perfectly together. Just note that you cannot connect a second HK6 or remote while one is already in use.
Q4: Do I need to manually pair the HK6 with my dash cam?
No. The dash cam automatically searches for the HK6 via Bluetooth and remembers its unique MAC address. If you switch to a new HK6 in the future, you'll need to reset your dash cam's settings to ensure it pairs with the new accessory.
Q5: How to install the HK6 hardwire kit?
*Professional Installation Recommended: Due to the nature of electrical work and the potential risk of damaging your vehicle's electrical system, installation should be carried out by a qualified professional.
Tools Required:
● Multimeter
● Needle-nose pliers
● Fuse puller
● Trim removal
The 11-Step Installation Process:
Step 1: Locate Your Fuse Box
Before you begin, find your car's fuse box. Fuse box locations and types can differ between car models, so the best place to look is your vehicle's owner's manual.
Step 2: Identify Battery & ACC Fuses
Use a multimeter on the DC voltage setting to test the fuse locations.
● Battery Fuse: Look for a fuse that shows a reading of 12V or 24V.
● ACC Fuse: Look for a fuse that shows a reading of 0V.
Step 3: Recheck the Fuses
With the ignition turned on, use your multimeter to recheck the two fuse positions you identified in the previous step. Both the Battery (BATT) and ACC fuse positions should now show a voltage of approximately 12V or 24V. If not, go back to Step 2.
Step 4: Remove the Selected Fuses
Use the fuse puller to remove the fuses from the identified Battery and ACC positions. Keep them safe—you'll need them in the next step.
Step 5: Insert the Removed Fuses
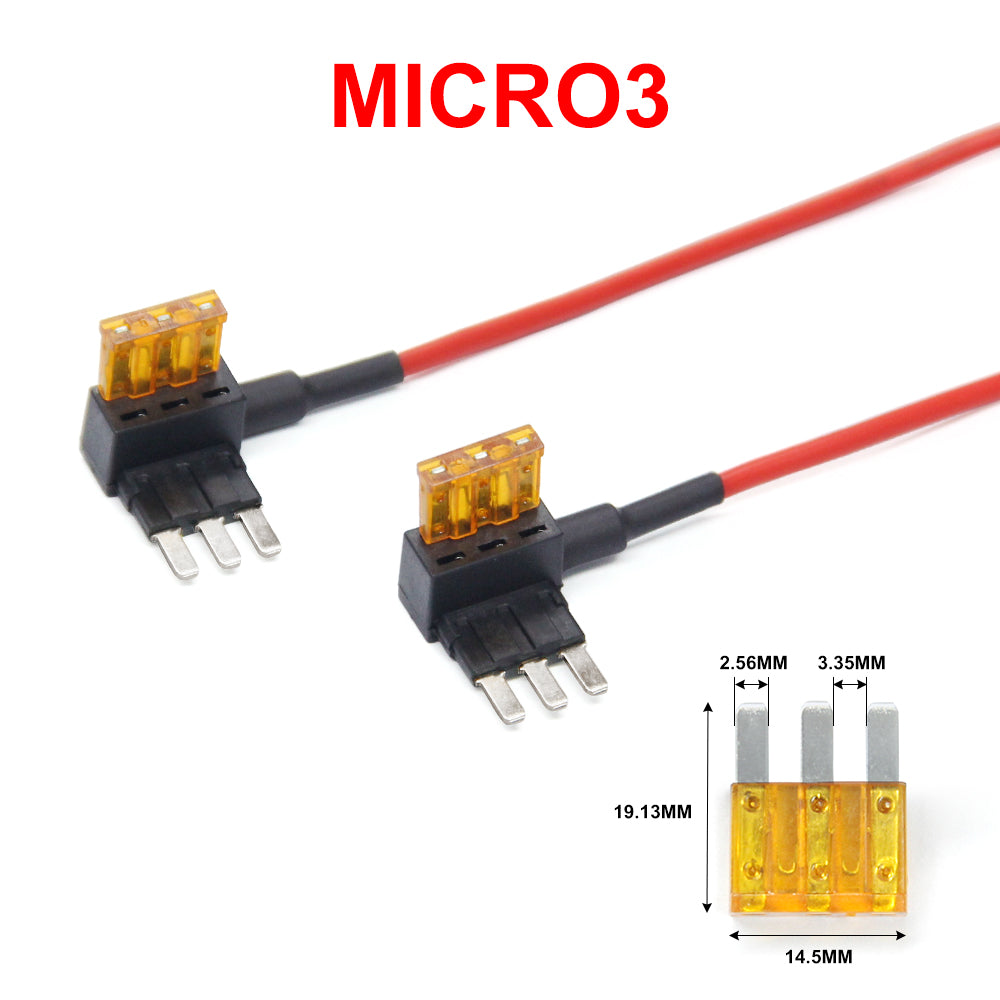
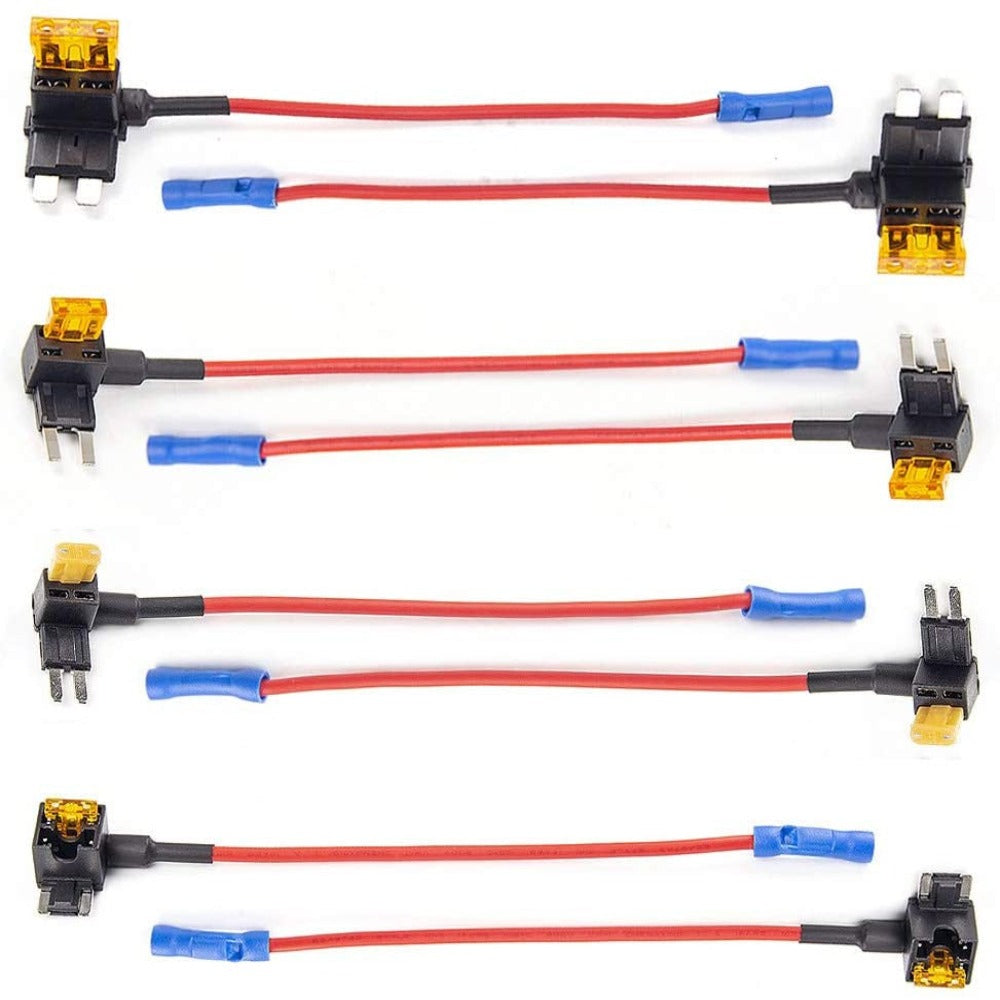
Check the type of the removed fuses and confirm you have the correct fuse tap models. Insert each fuse into its corresponding fuse tap.
Step 6: Connect the Fuse Tap
Take the hardwire cable and insert the metal strands into the small metal tube of the fuse tap. Use your needle-nose pliers to crimp the metal tube tightly, creating a secure and reliable connection.
Step 7: Install the Fuse Tap
Carefully insert the fuse taps back into the fuse box, making sure they are properly secured. A stable connection is crucial for consistent power.
Step 8: Install the Ground Wire (Black)
Find a metal screw near the fuse box (this will serve as your ground point). Loosen the screw, slide the black ground wire's metal terminal under the screw, and then tighten the screw securely.
Step 9: Connect the Hardwire Cable
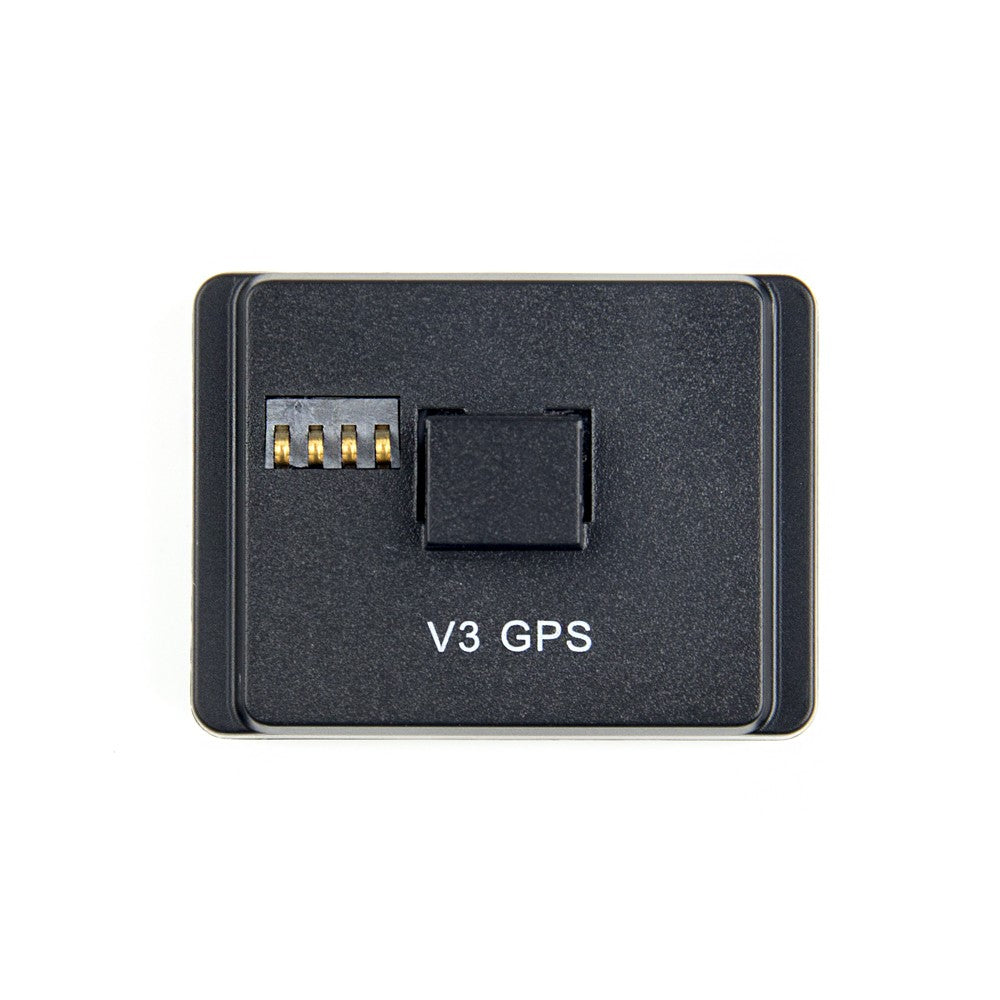
Run the Type-C plug from the hardwire cable up to your dash cam's mounting location. Connect the plug into the power port on the top of the dash cam's GPS mount.
Step 10: Test the Dash Cam
Start your vehicle to turn on the dash cam. Once it's booted up, navigate to the settings menu and enable Parking Mode. The parking mode icon should now appear on the left side of the screen, confirming your successful installation.
Step 11: Conceal the Wiring
Finally, use the provided trim removal tool to neatly tuck the hardwire cable along the vehicle, hiding it from view. Follow a recommended wiring path to achieve that clean, professional look.
Final Thoughts
The VIOFO HK6 Hardwire Cable isn't just a power solution; it’s a comprehensive upgrade for your vehicle's security. By choosing the HK6, you are investing in unmatched peace of mind, knowing that your vehicle is continuously protected while parked.
Ready to enhance your vehicle safety while parked? Upgrade to the VIOFO HK6 Hardwire Cable Now.

