


-
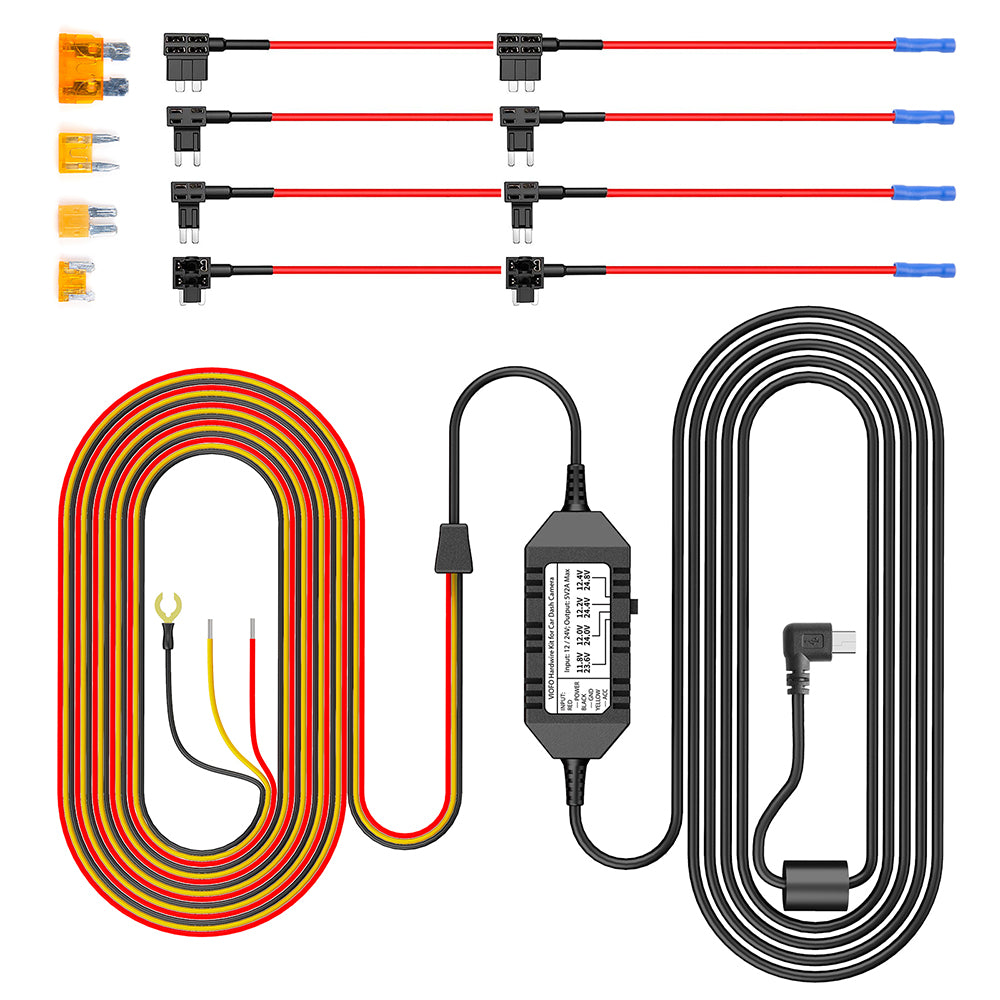
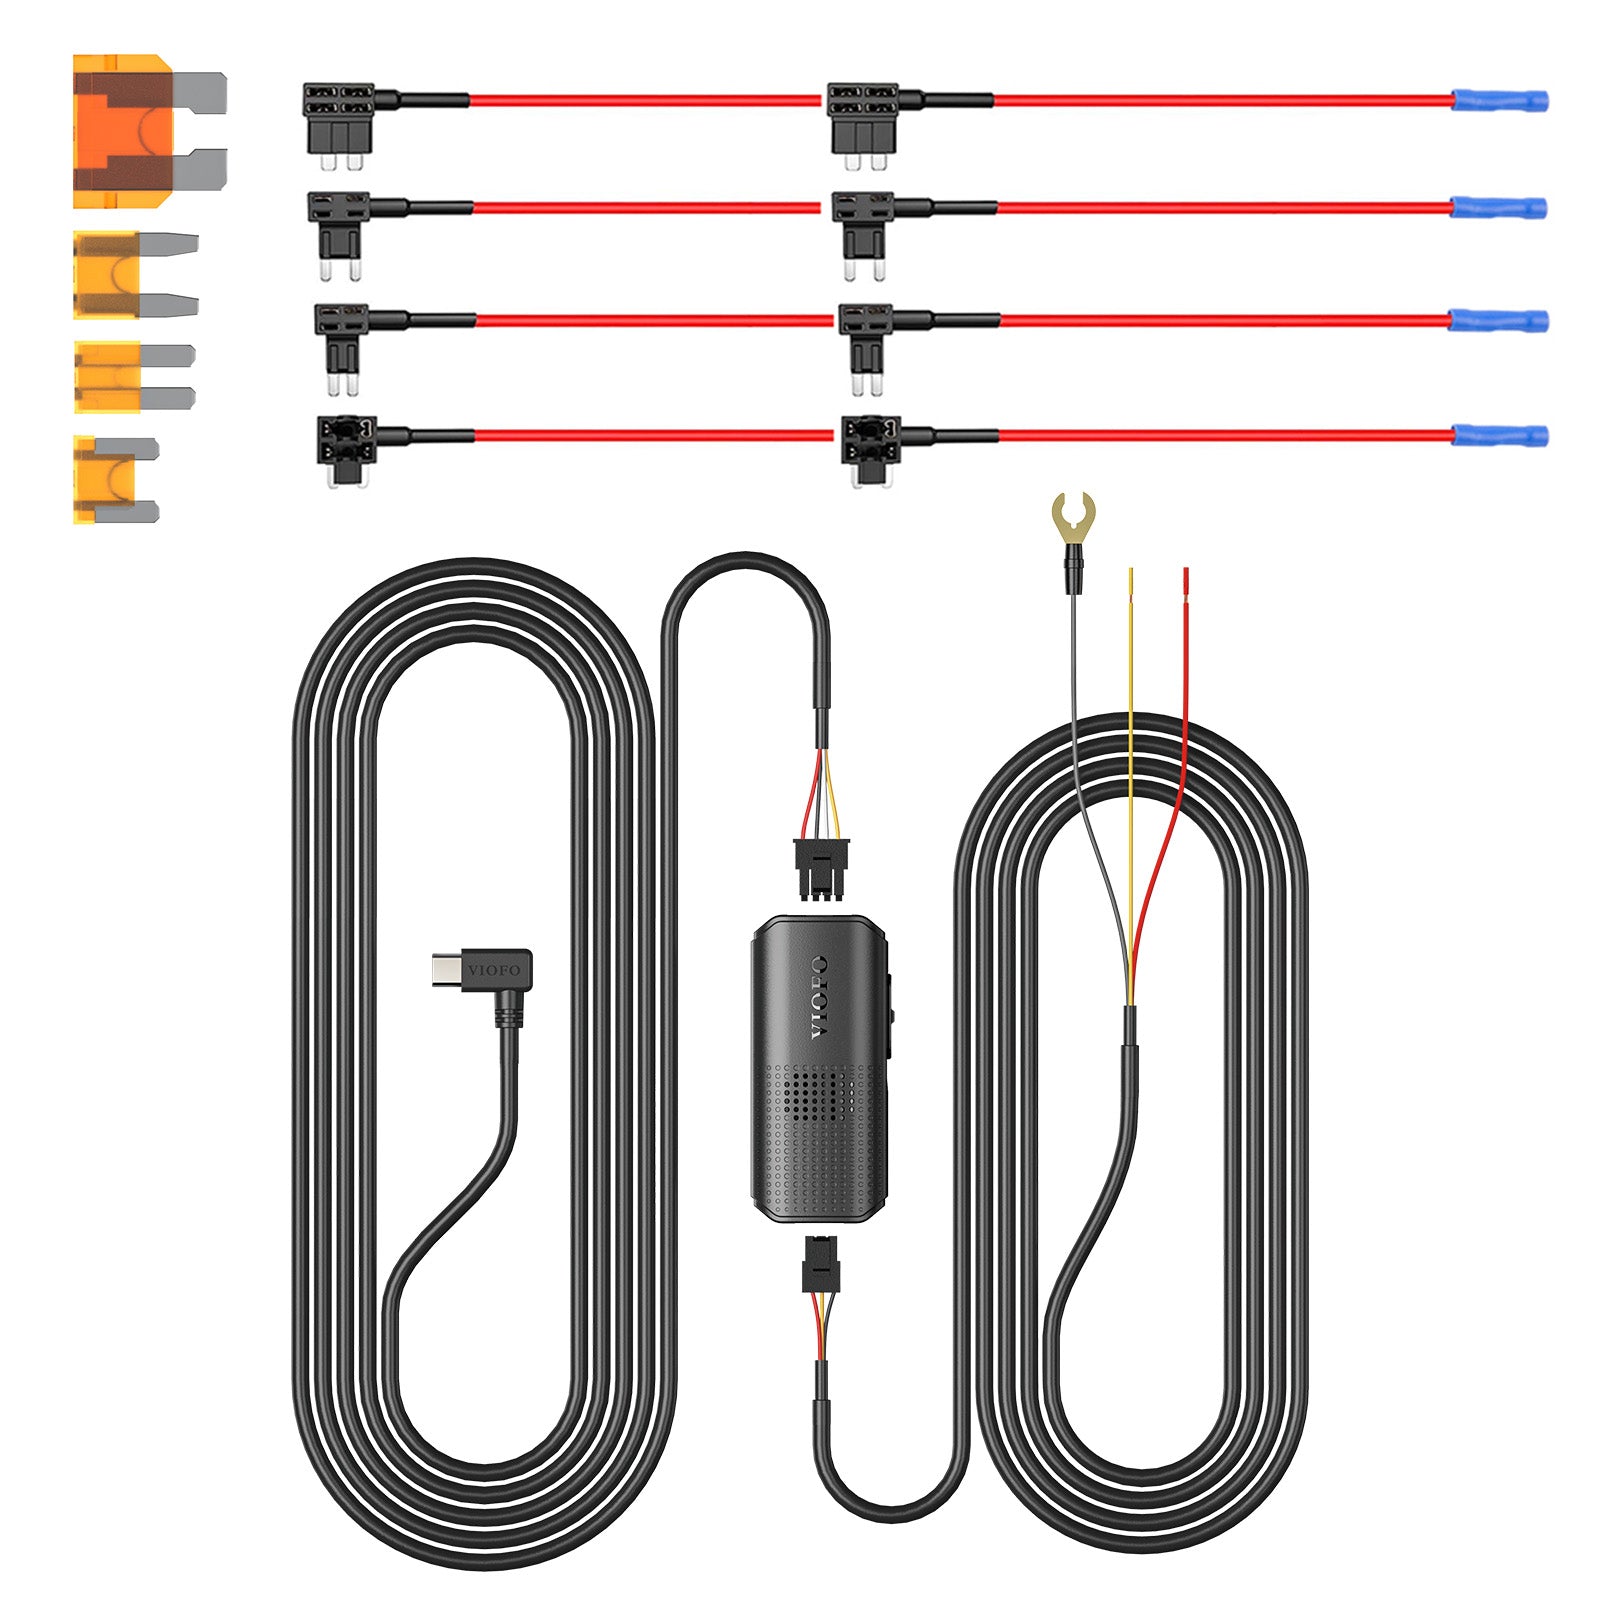 VIOFO Type-C HK6 ACC Hardwire Kit for A3
-
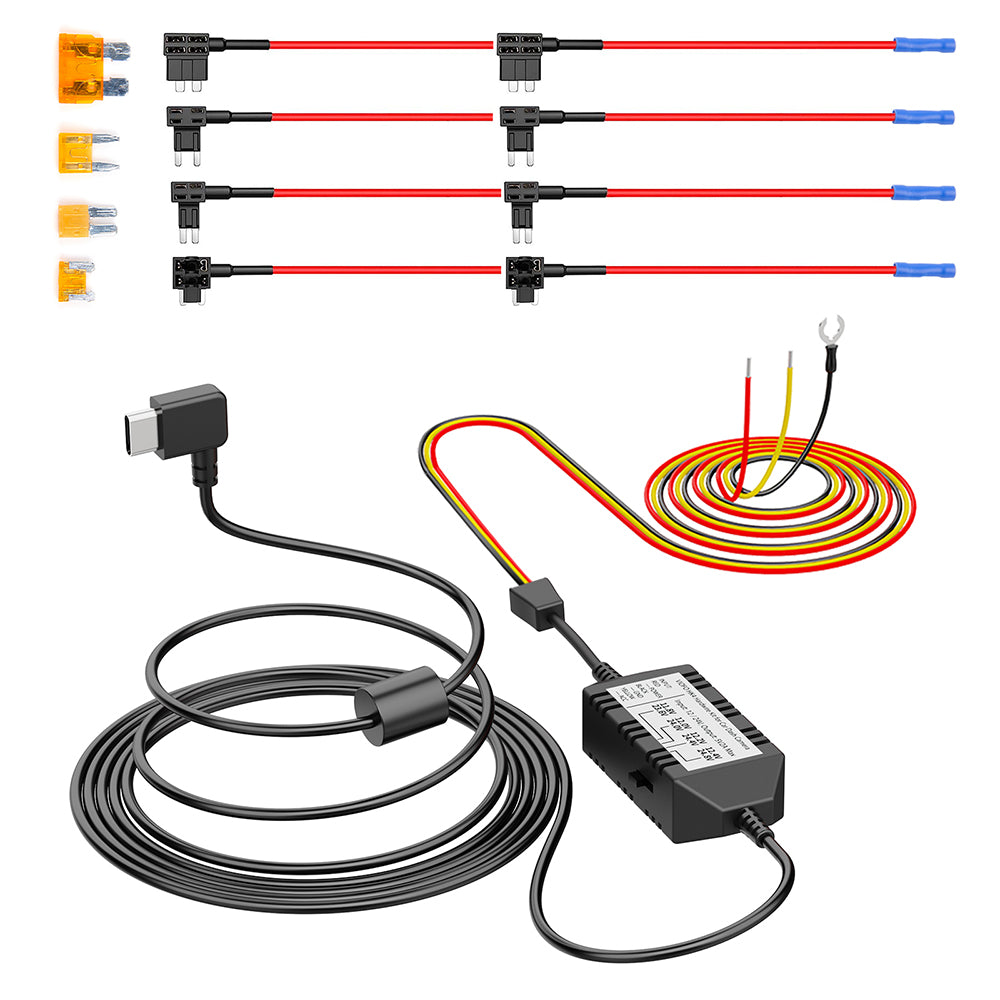 VIOFO Type-C HK4 Hardwire Cable For A119
-
 VIOFO Mini HK3 ACC Hardwire Cable For A1
-
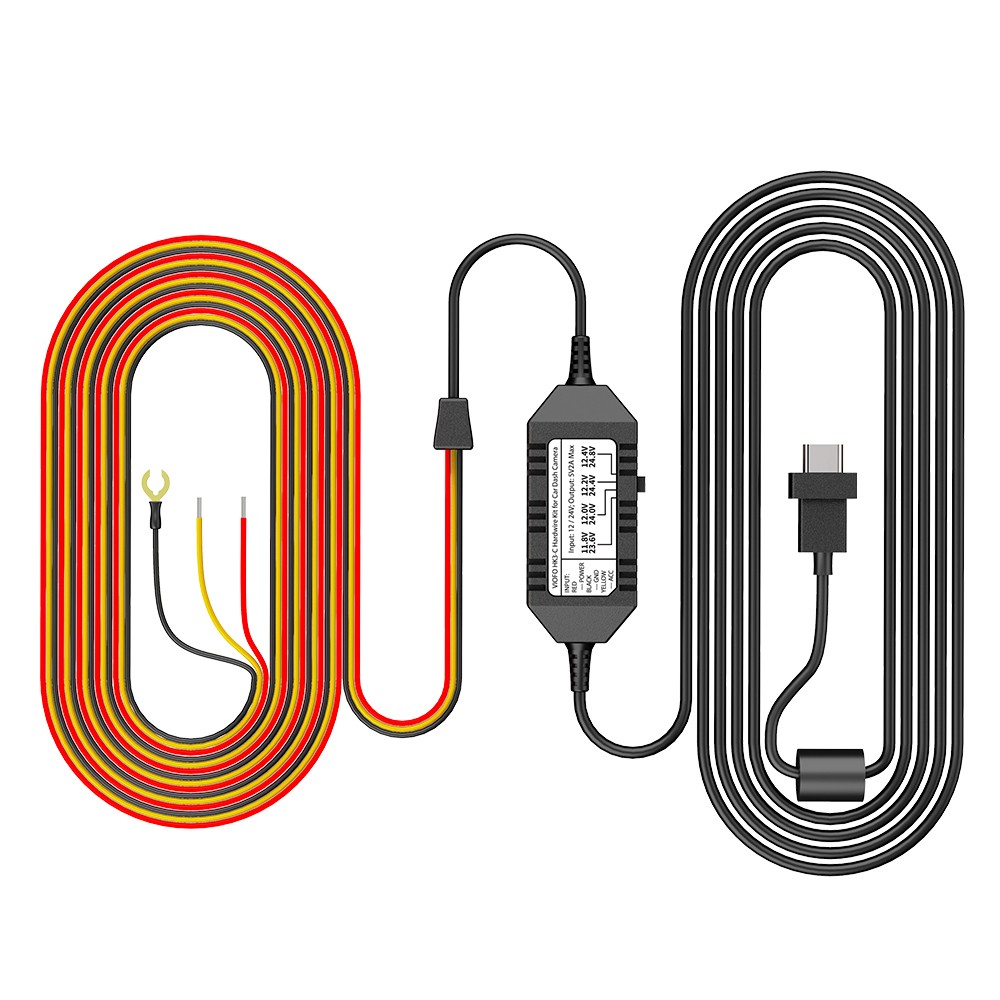 VIOFO HK3-C Type-C Hardwire Kit for A139
-
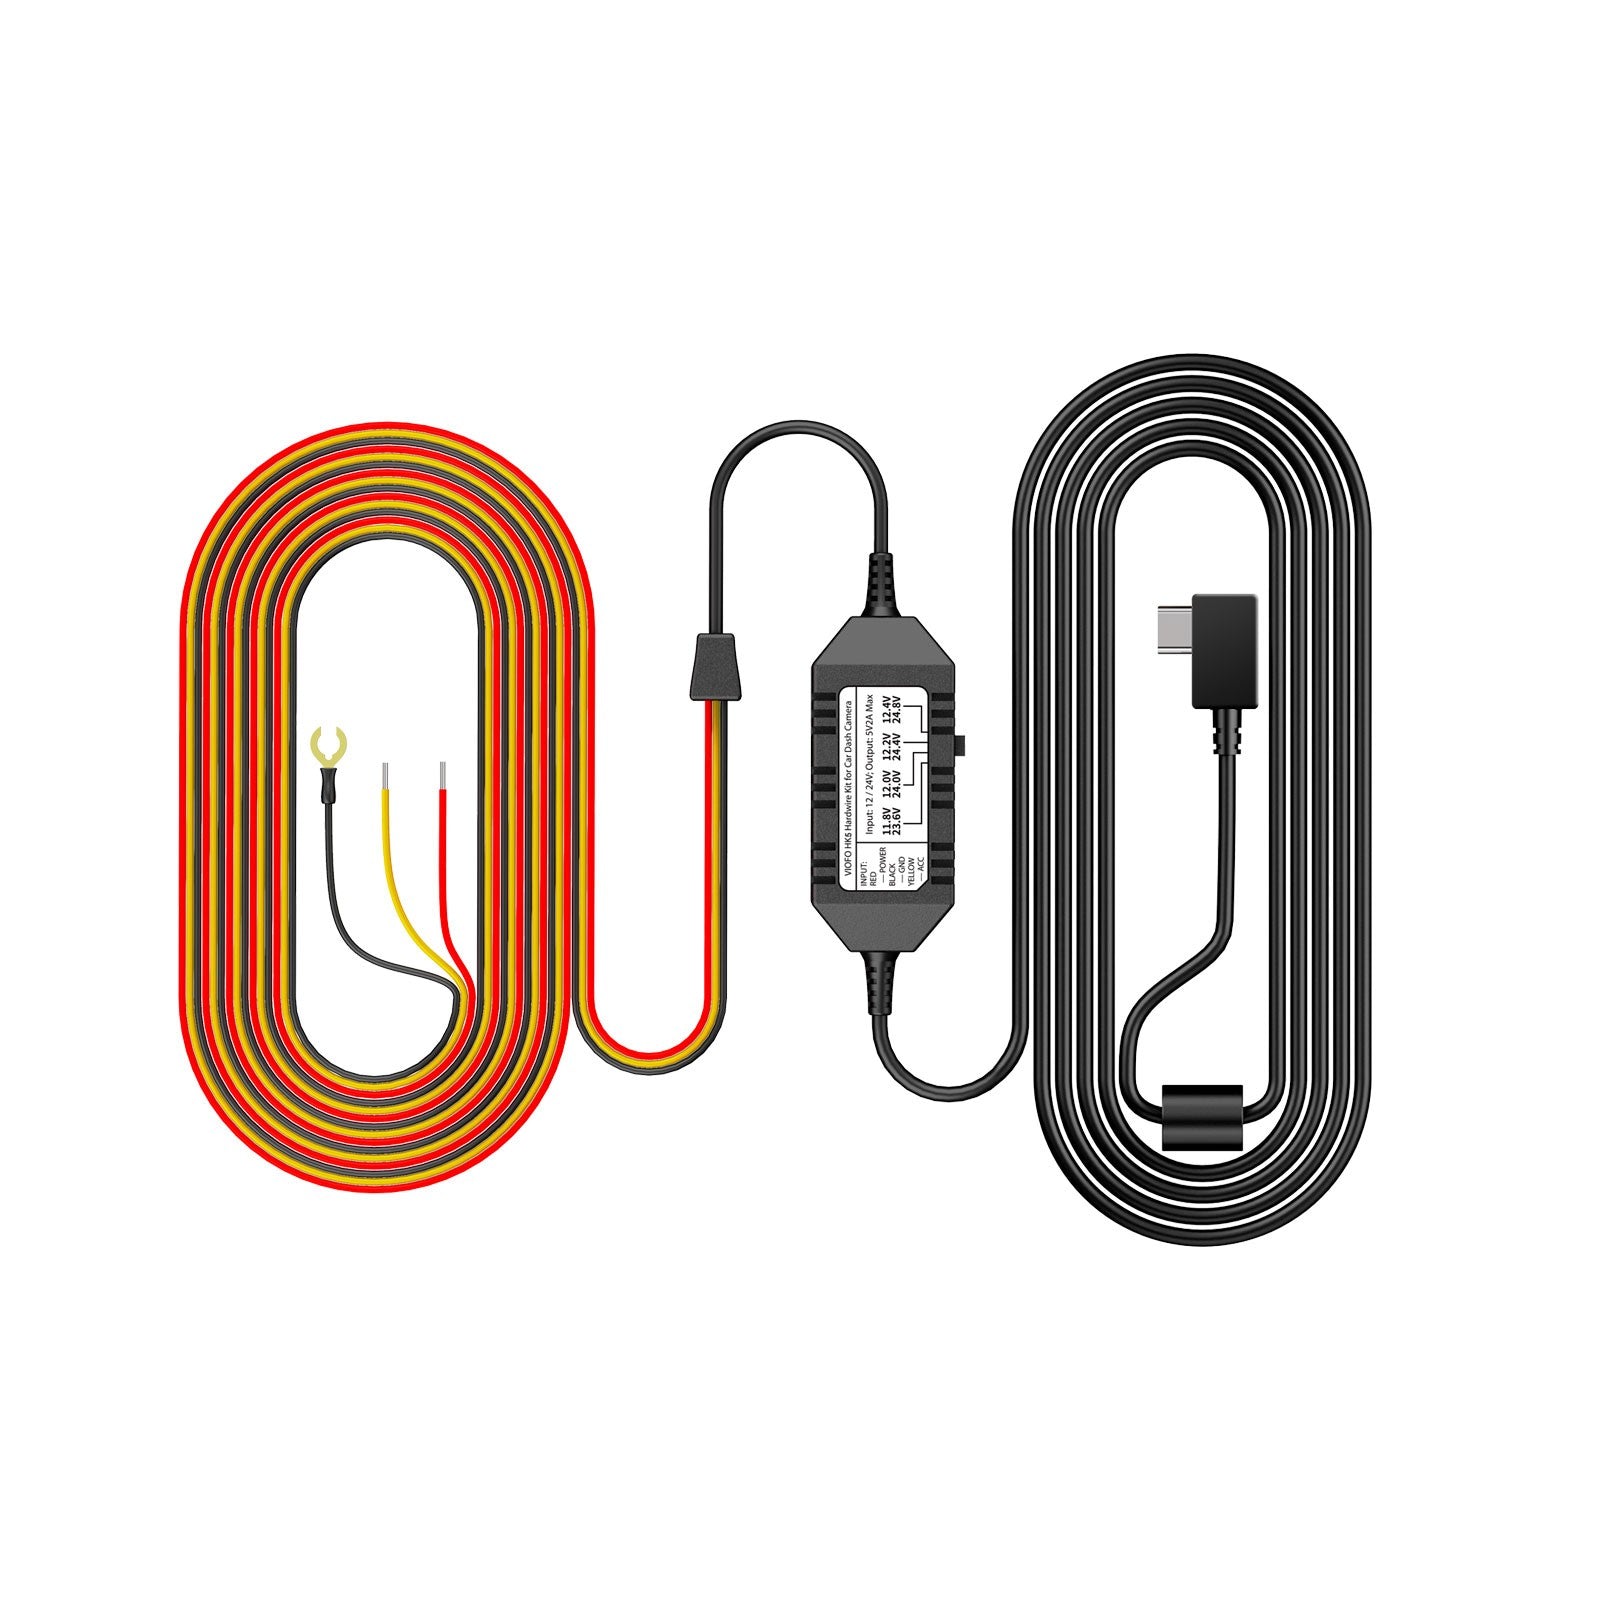 VIOFO Type-C HK5 Hardwire Kit For VS1 Da
-
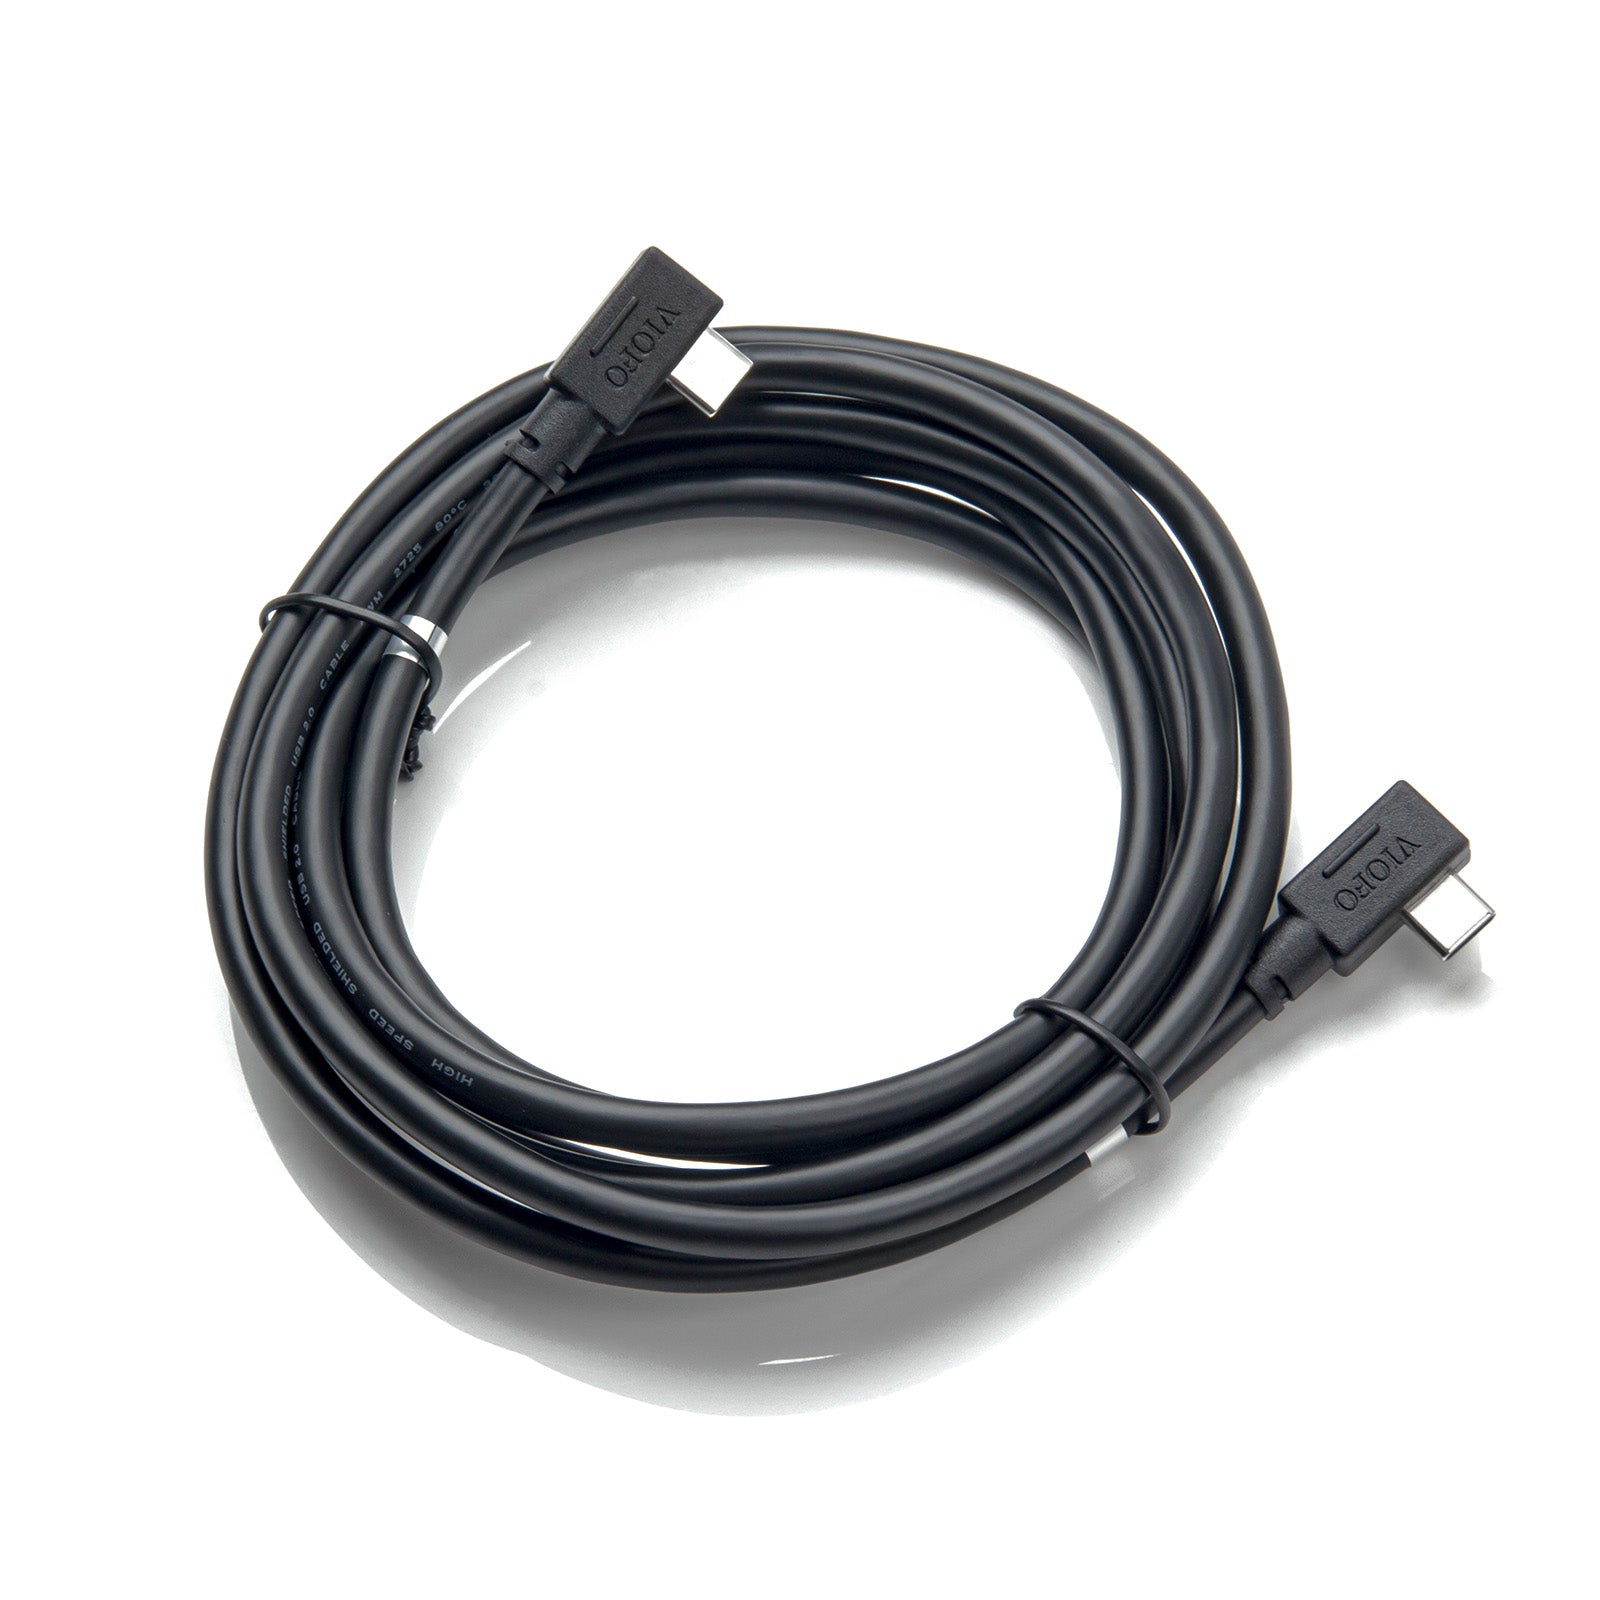
 VIOFO 6M (19.68ft)Type-C HK4 Hardwire Ki
-
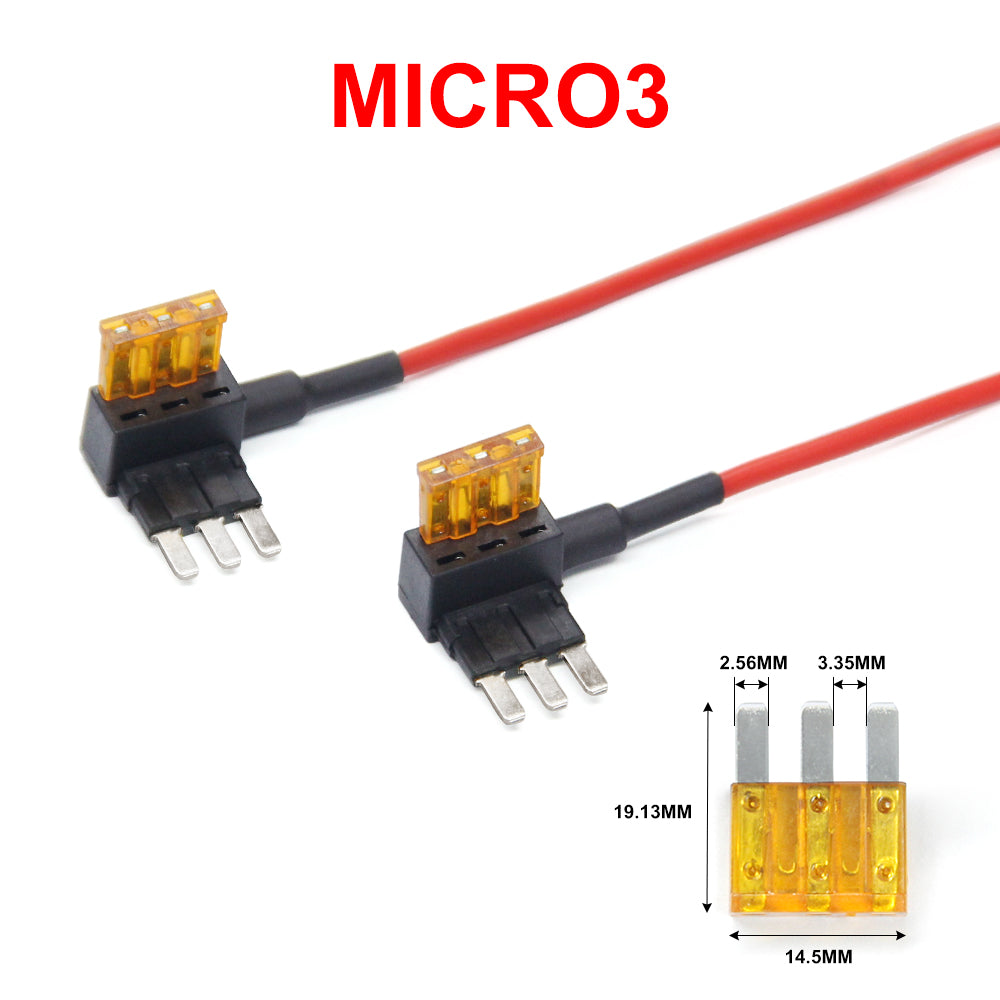 2PCS Circuit Fuse Tap with Mini, Micro2,
-
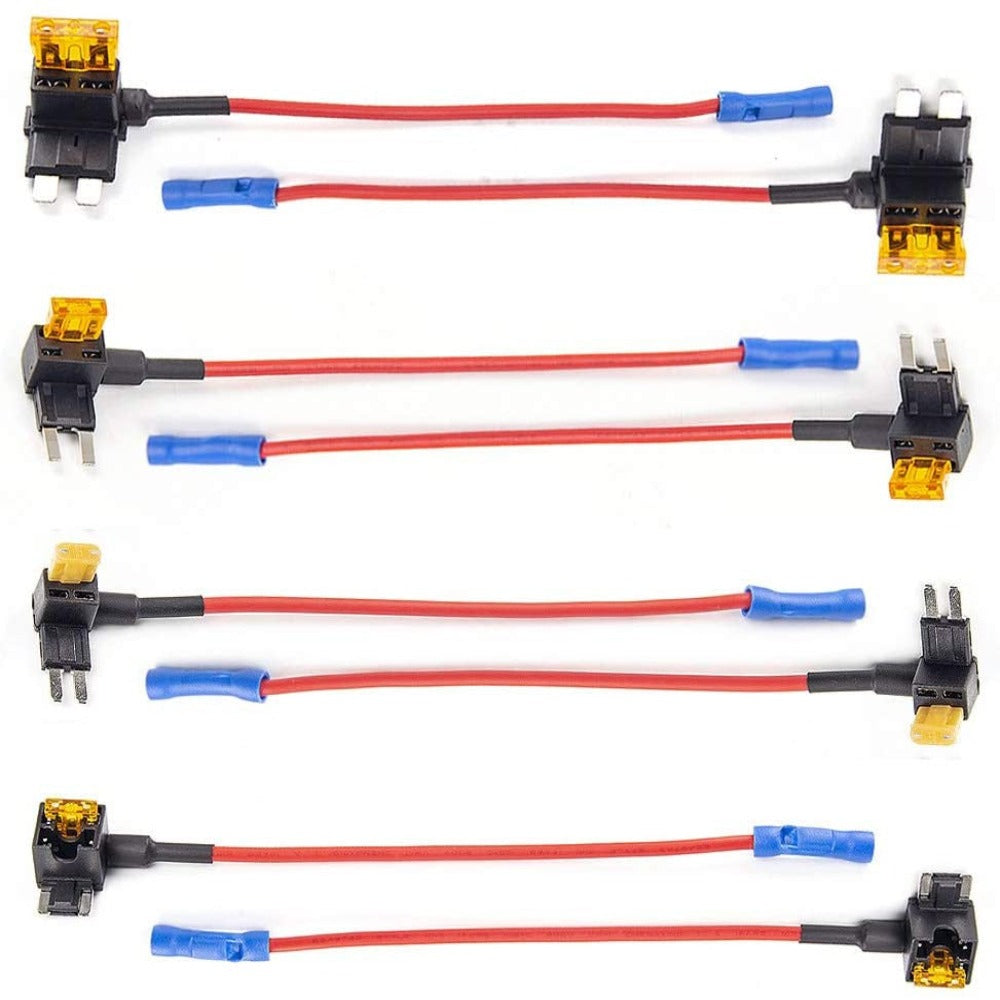 VIOFO 4PCS*2 Packs Circuit Fuse Tap with


-
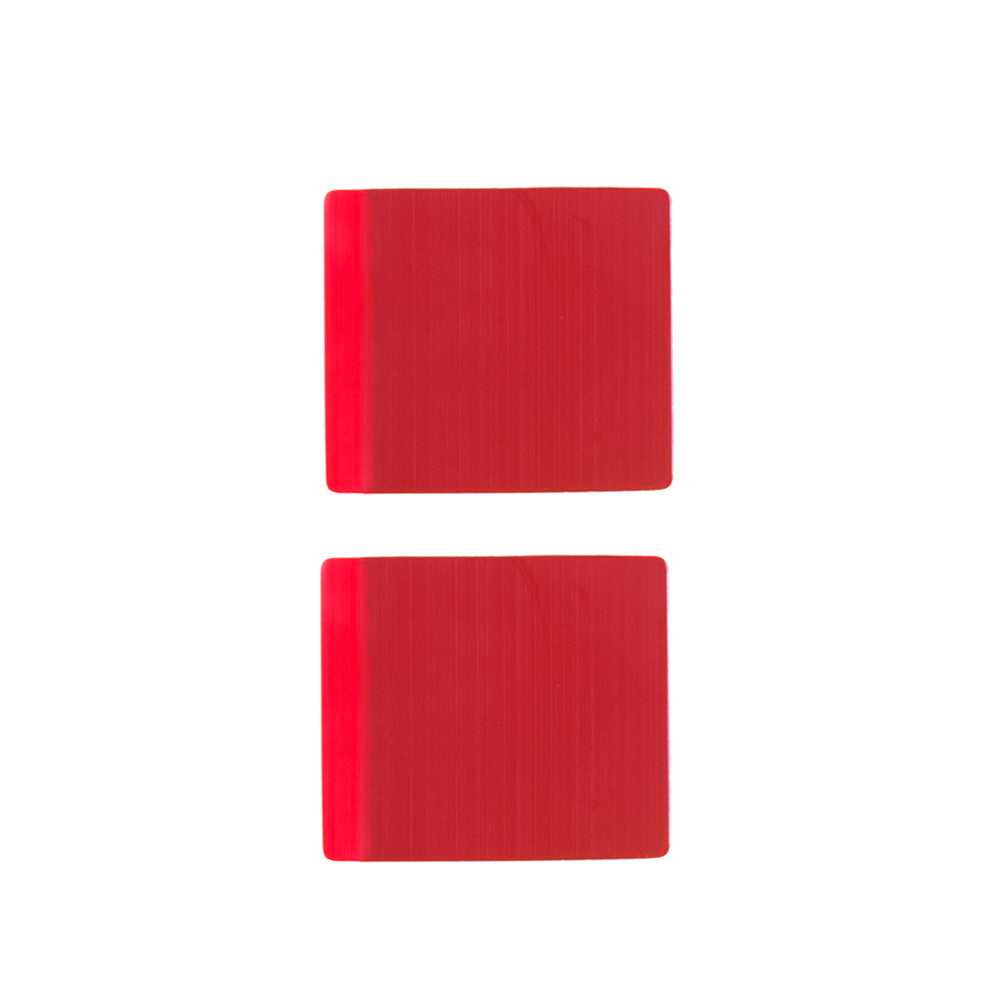
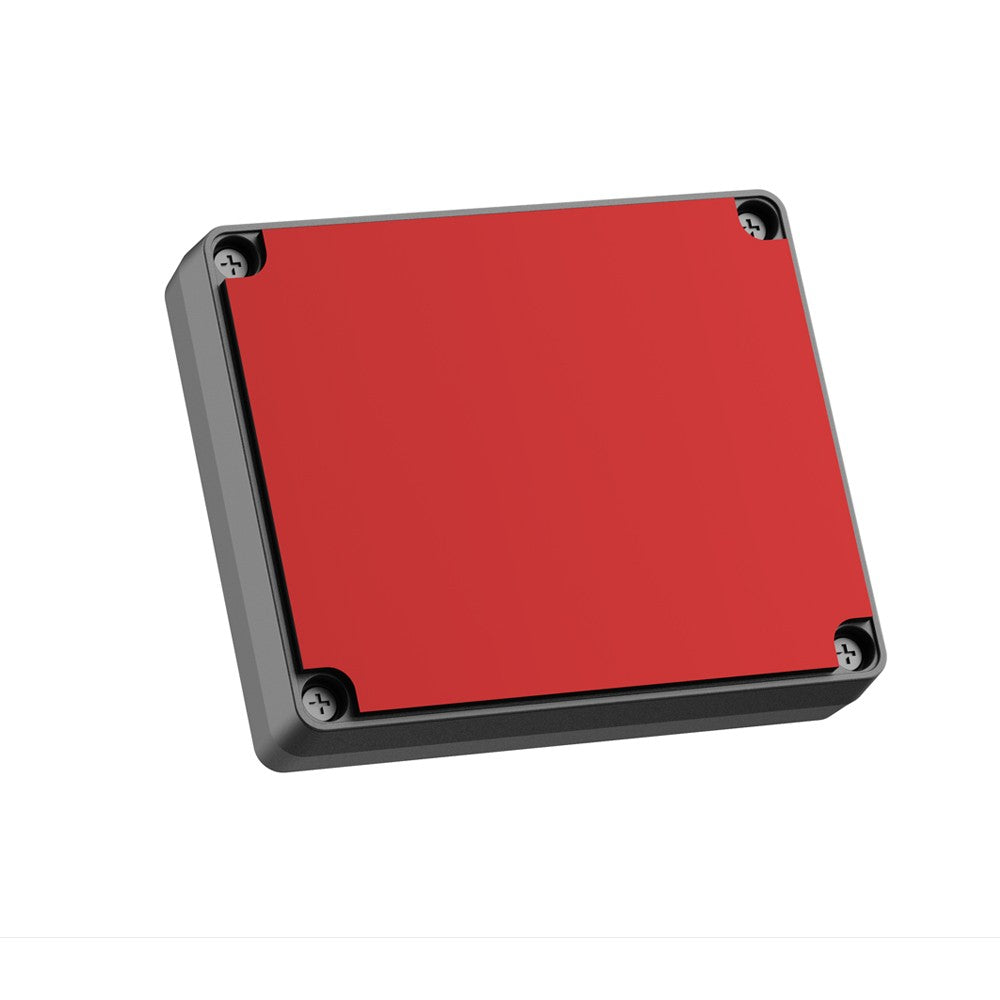
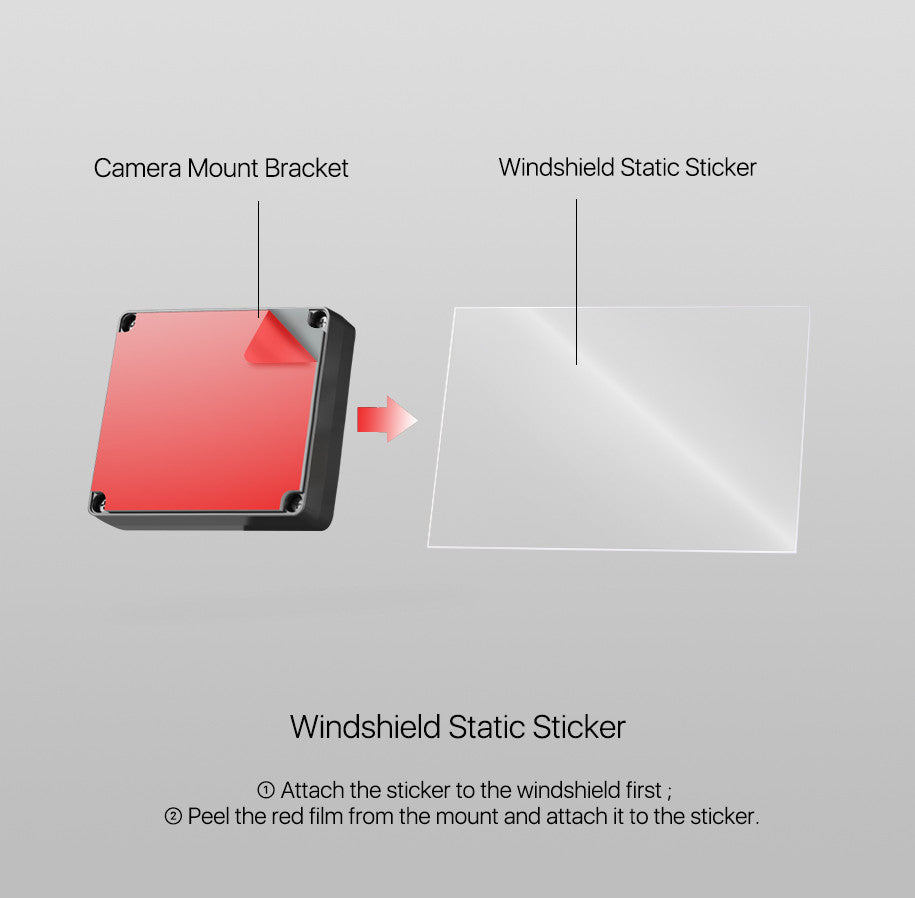 VIOFO Transparent Plastic Static Windshi
-
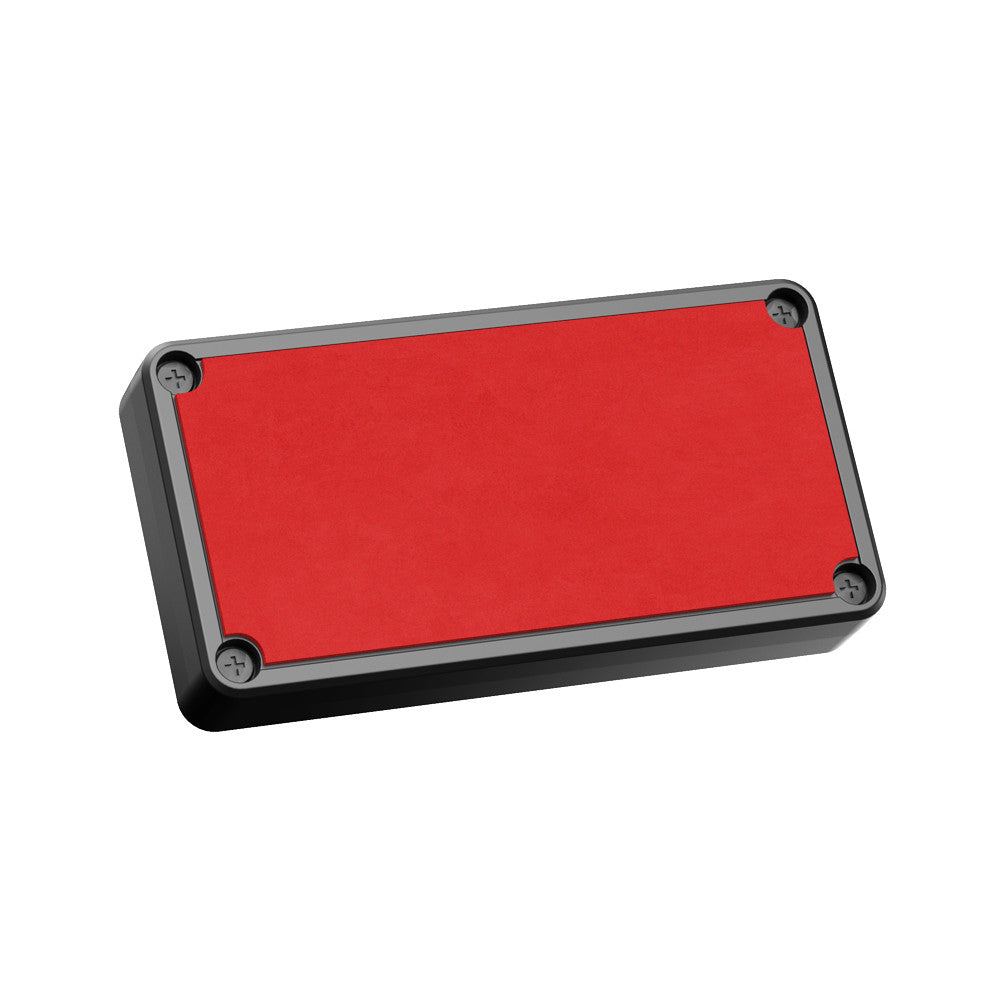
 Spare Front and Rear Adhesive Pads Stick
-
 Spare Front and Rear Adhesive Pads Stick
-
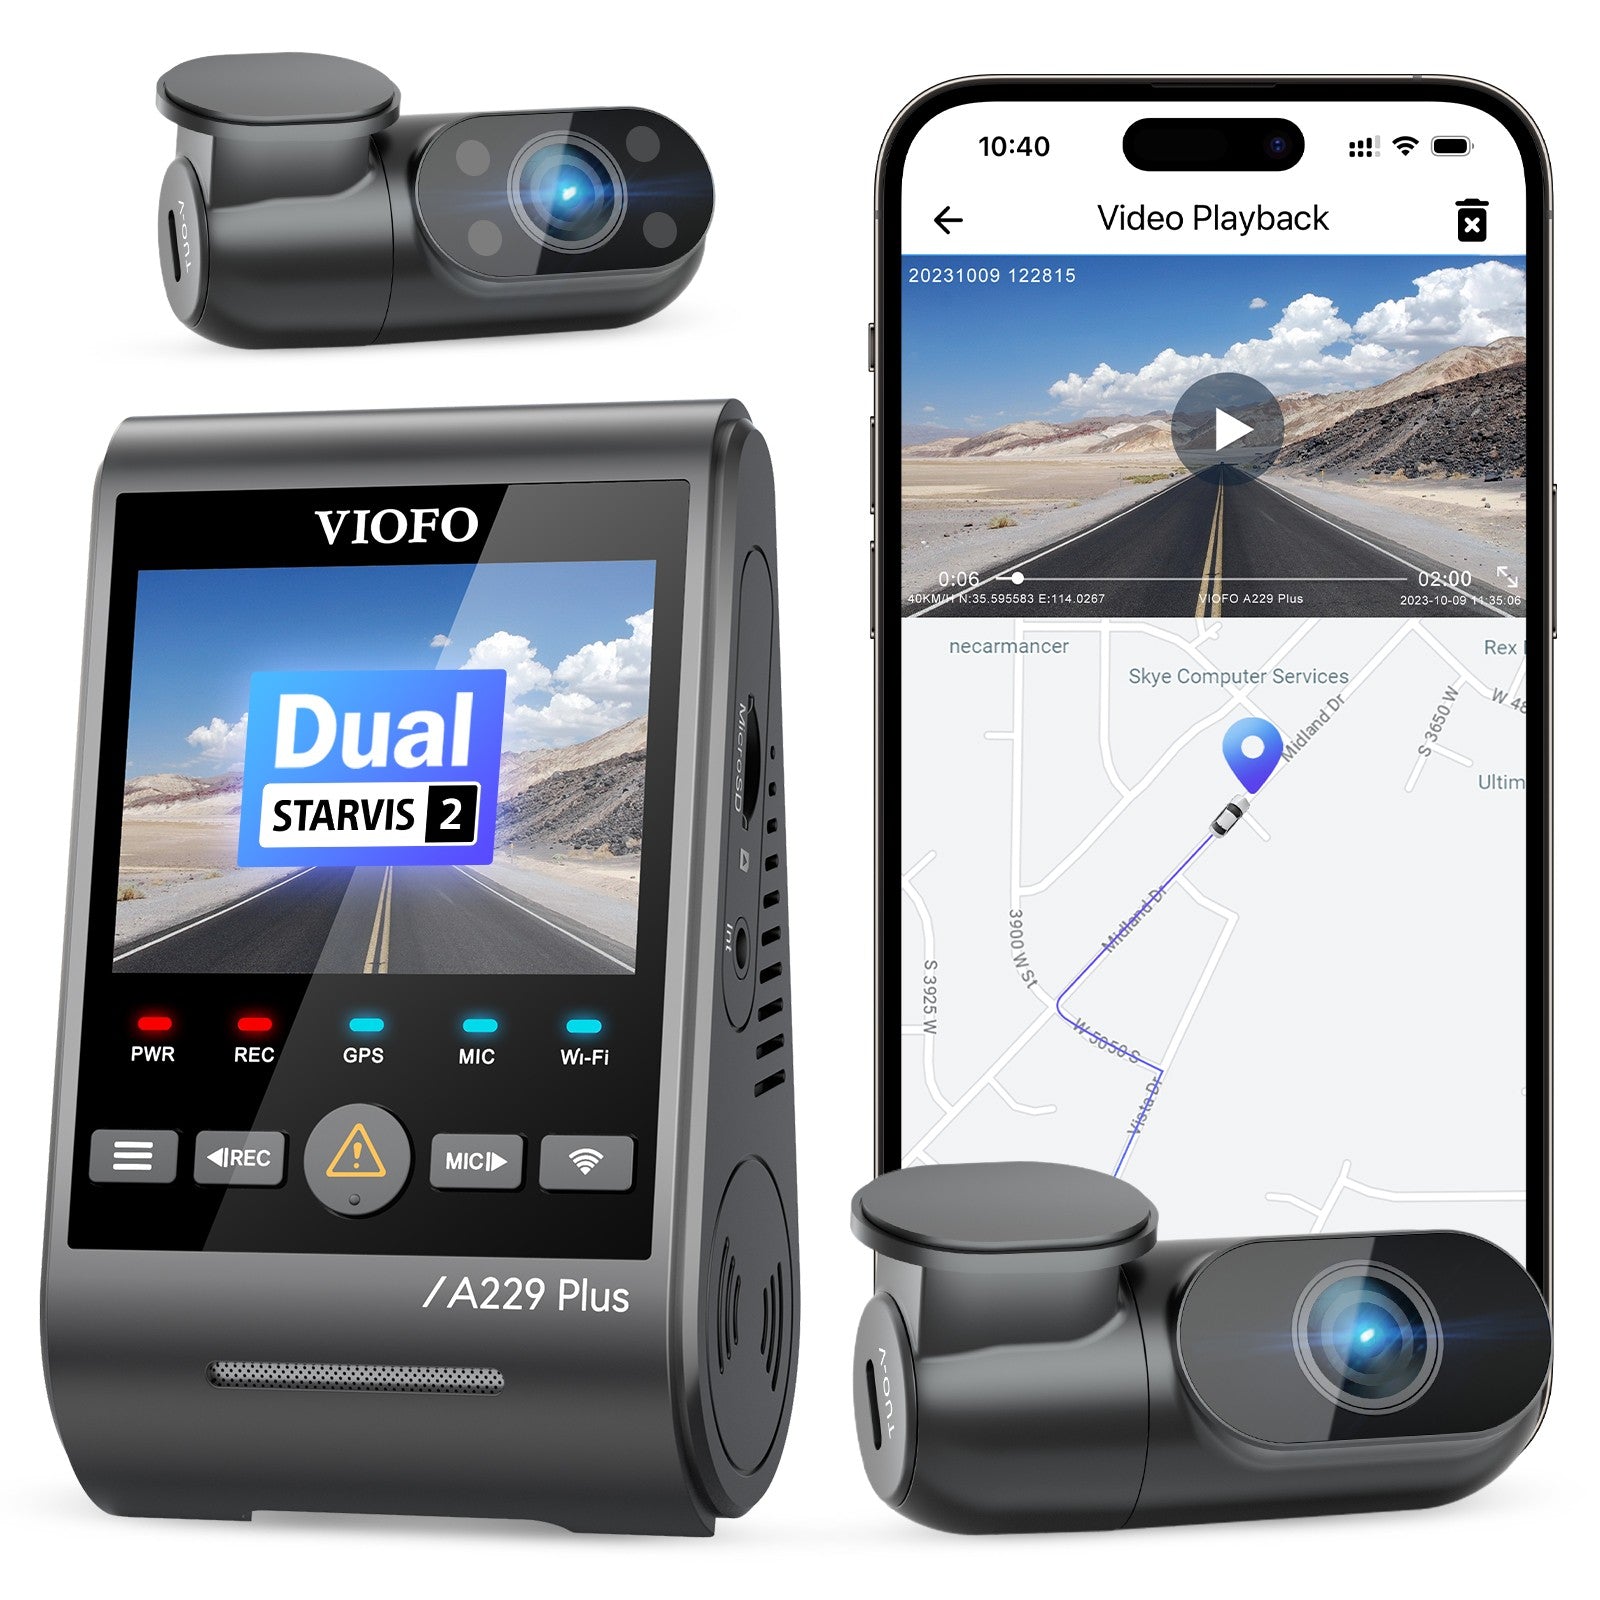
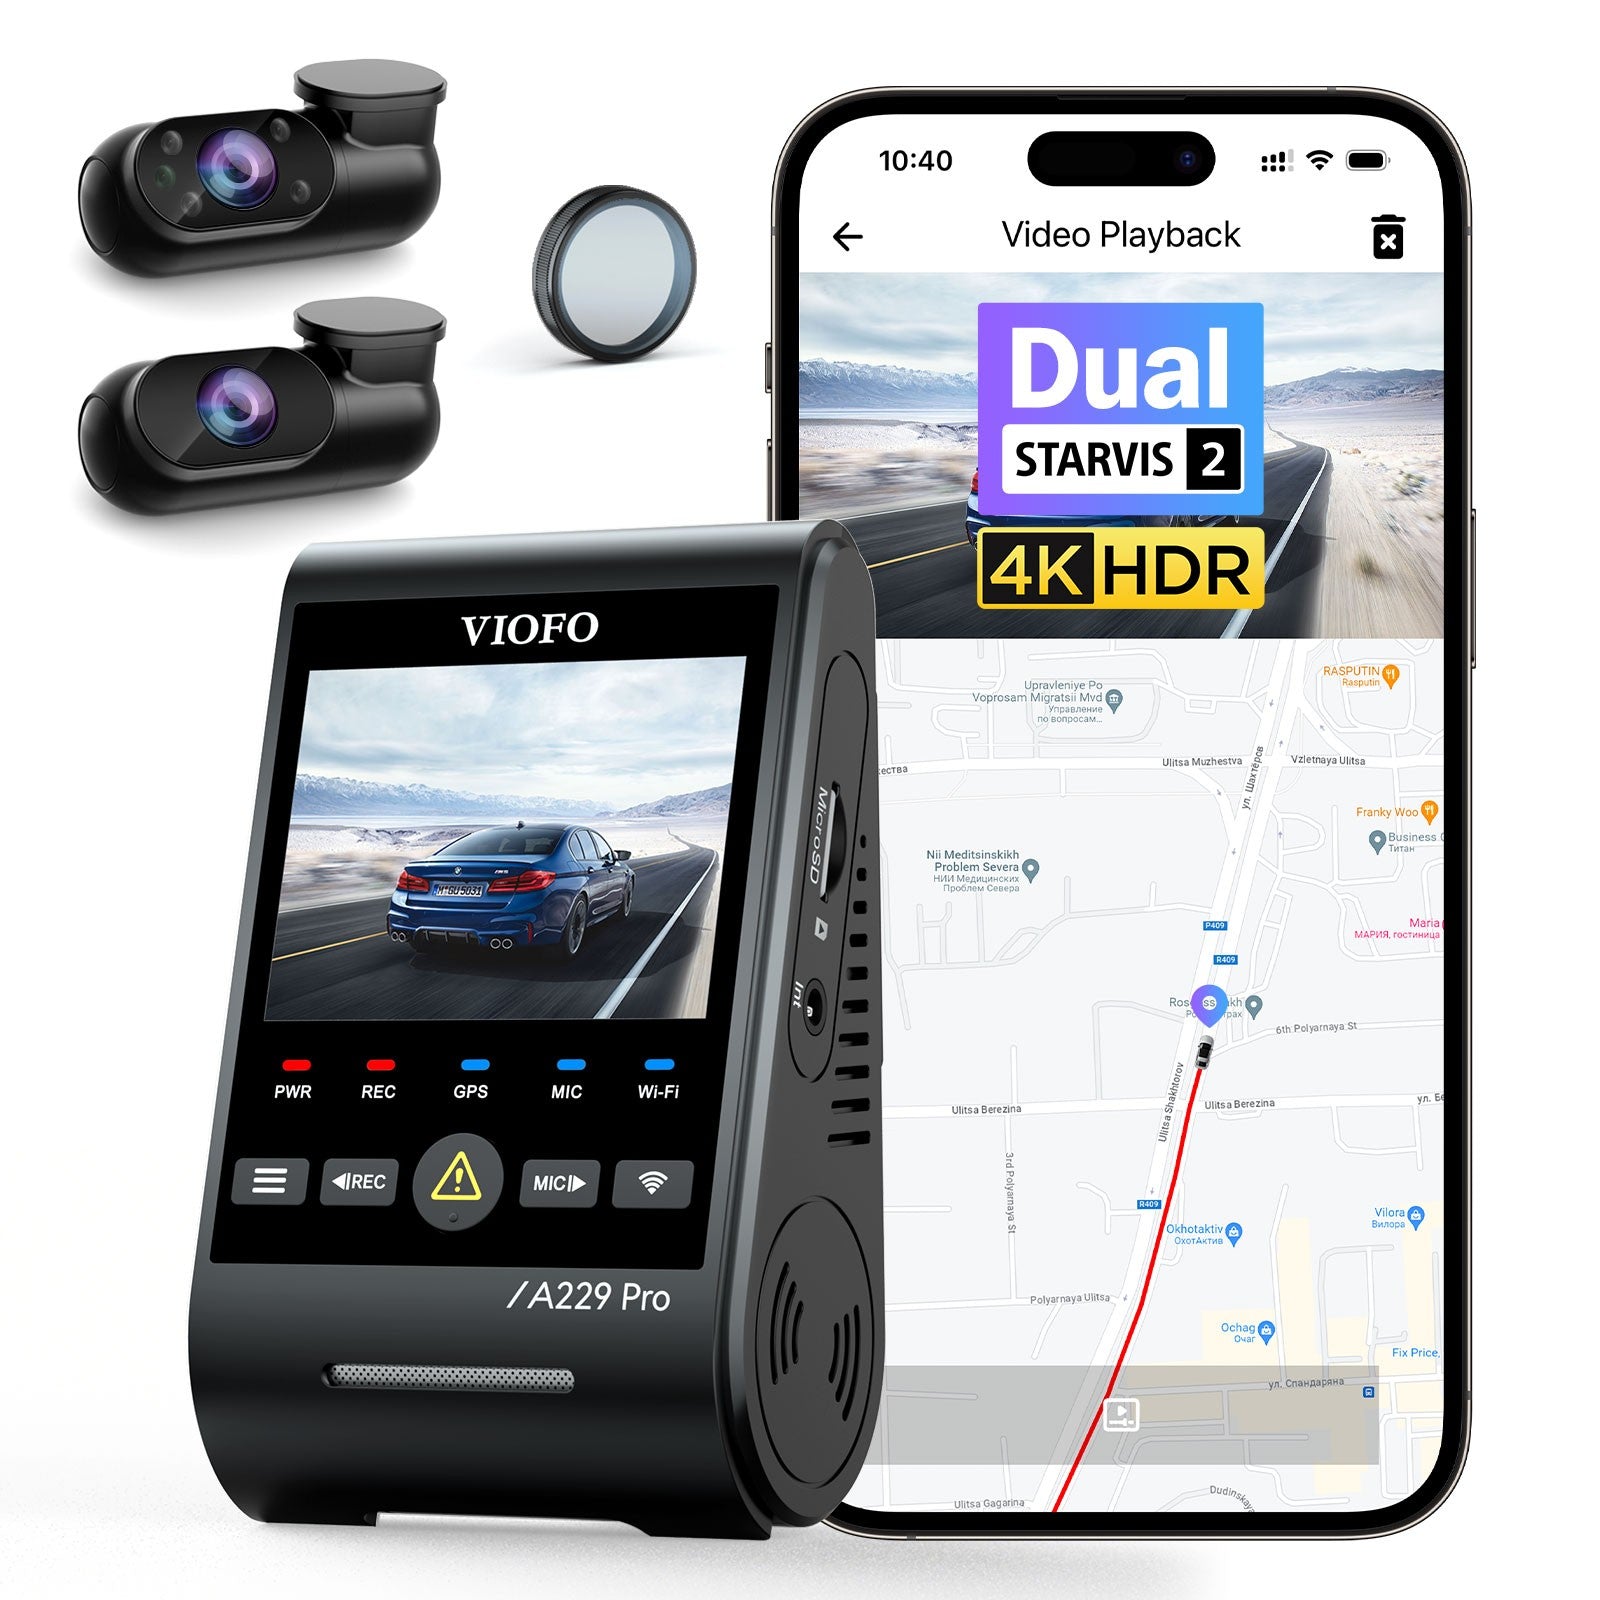
 GPS Module for VIOFO A229 Plus/A229 Pro/
-
 Spare Front and Rear Adhesive Pads Stick
-
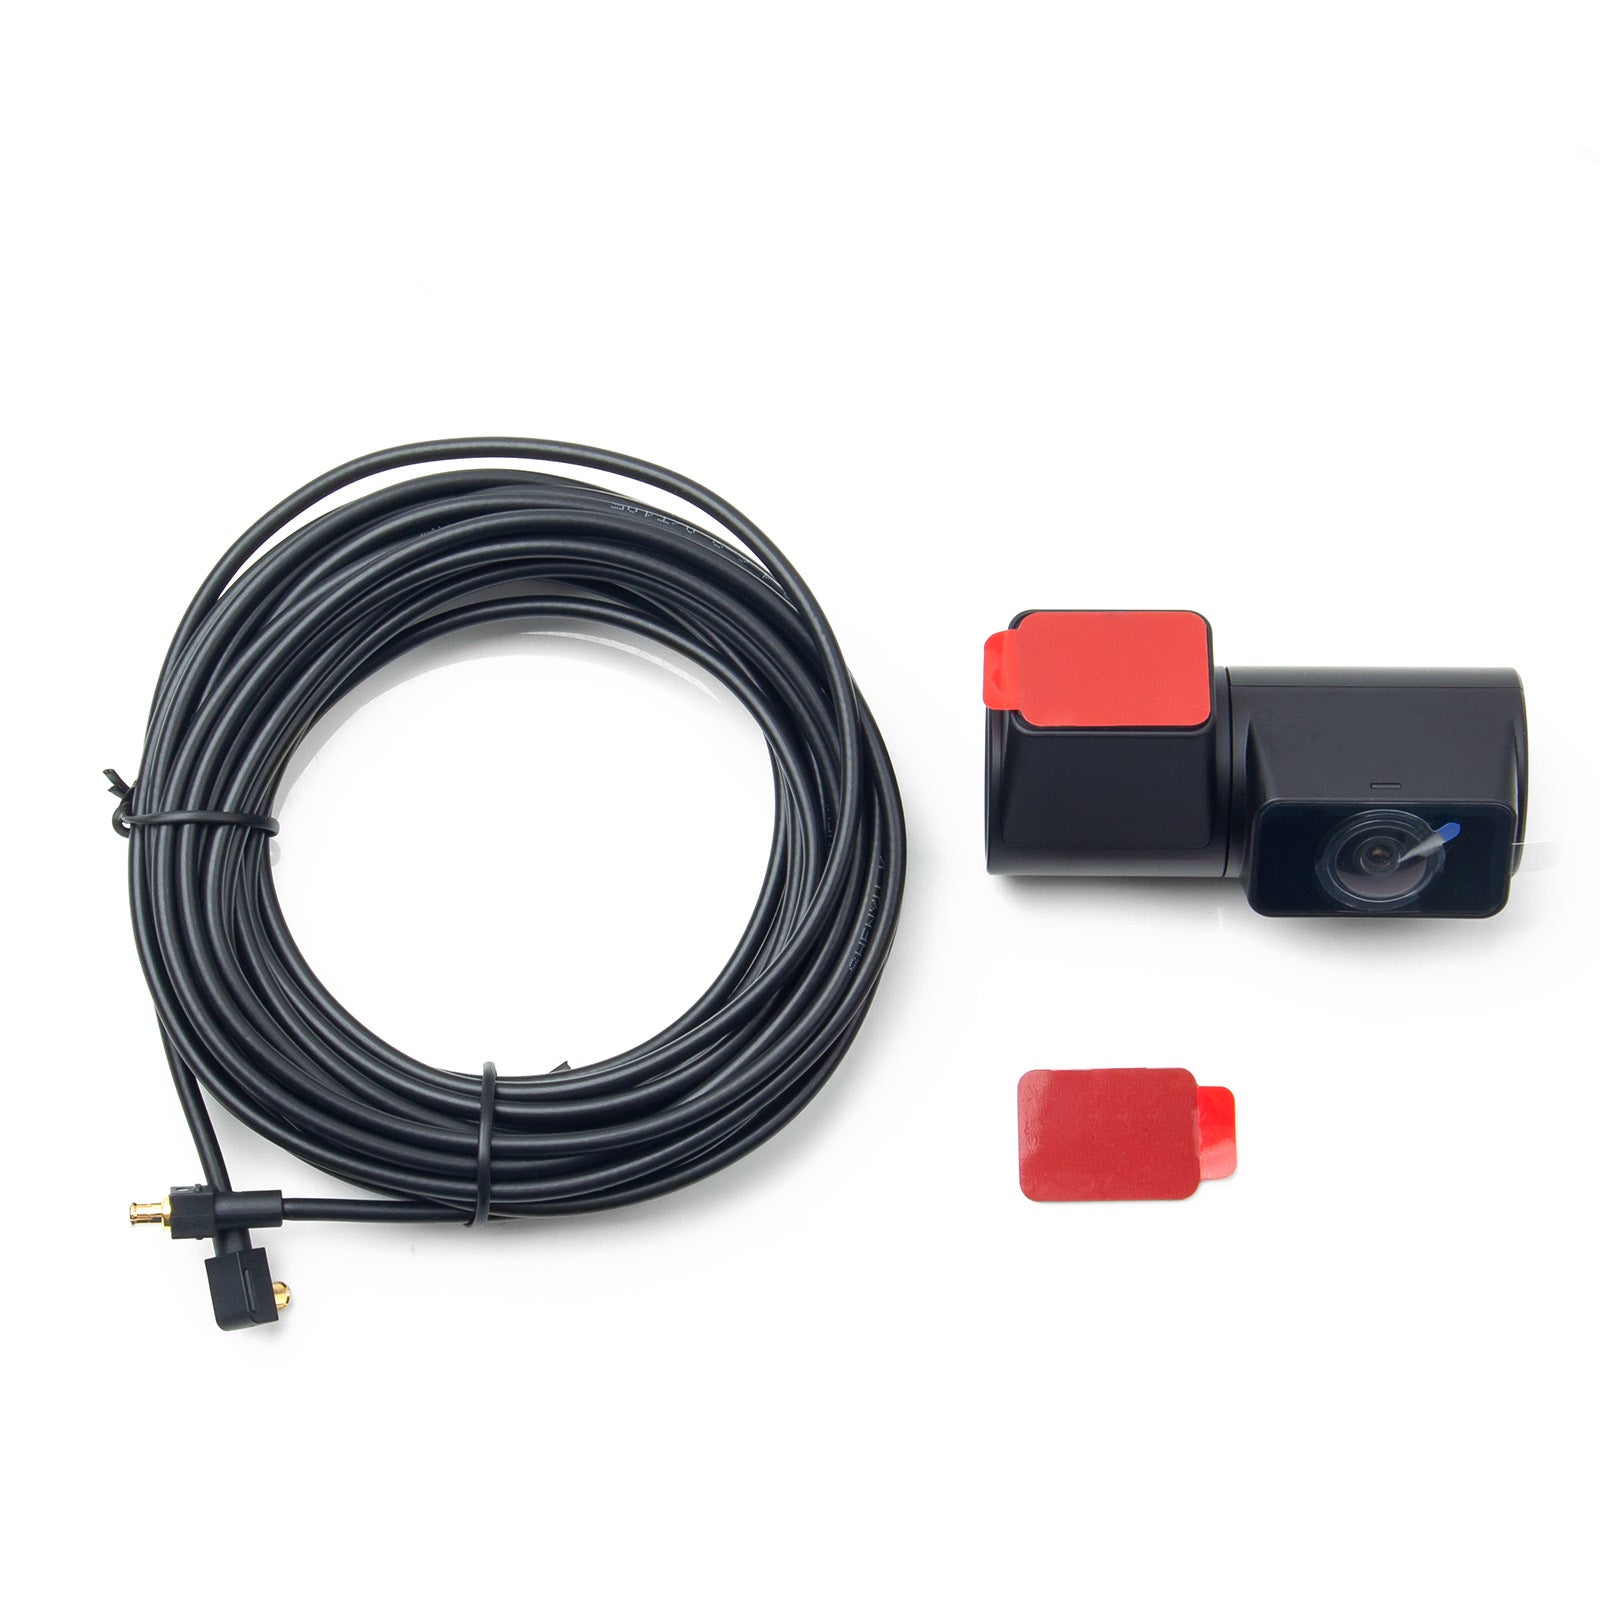
 GPS Module for VIOFO A139/A139 PRO Front
-
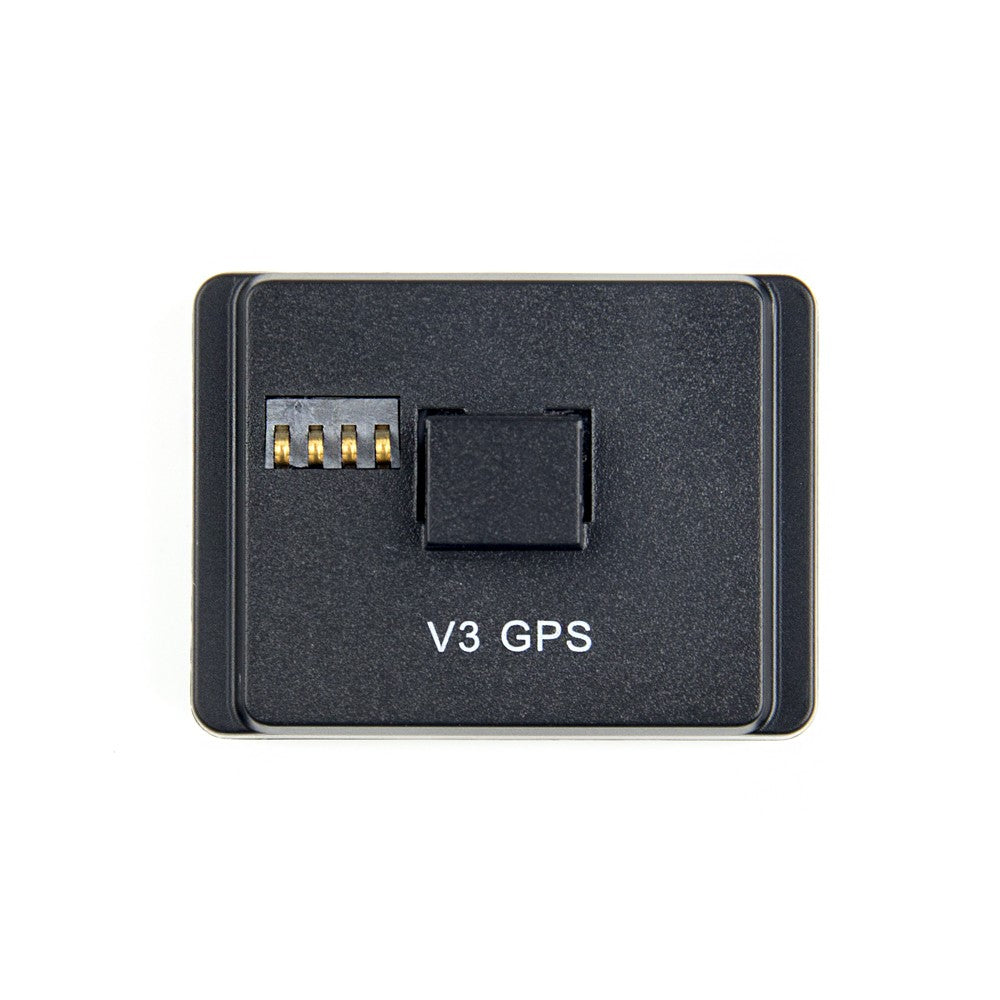
 GPS Module for VIOFO A129/A129 IR/A129 P
-
 Rear Mount with Double Adhesive Sticker
-
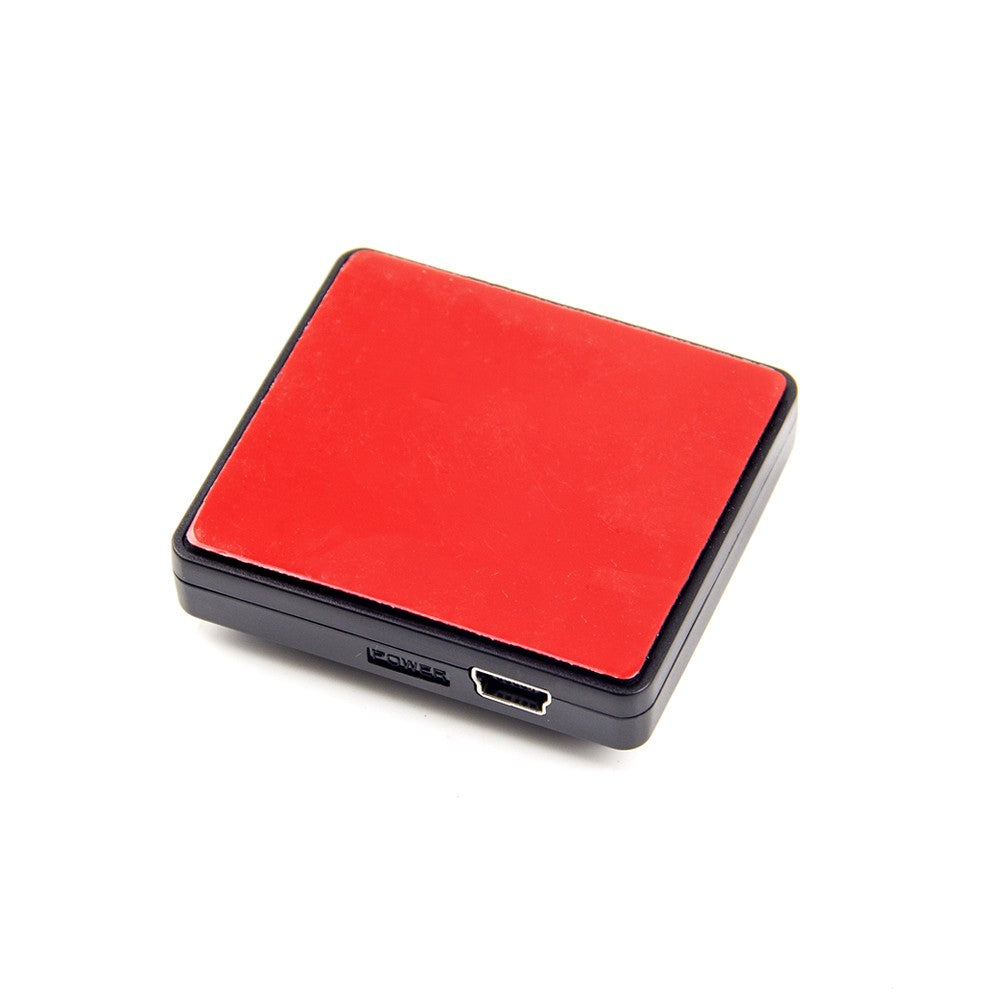
 GPS Module for VIOFO A119V3 Car Dash Cam
-
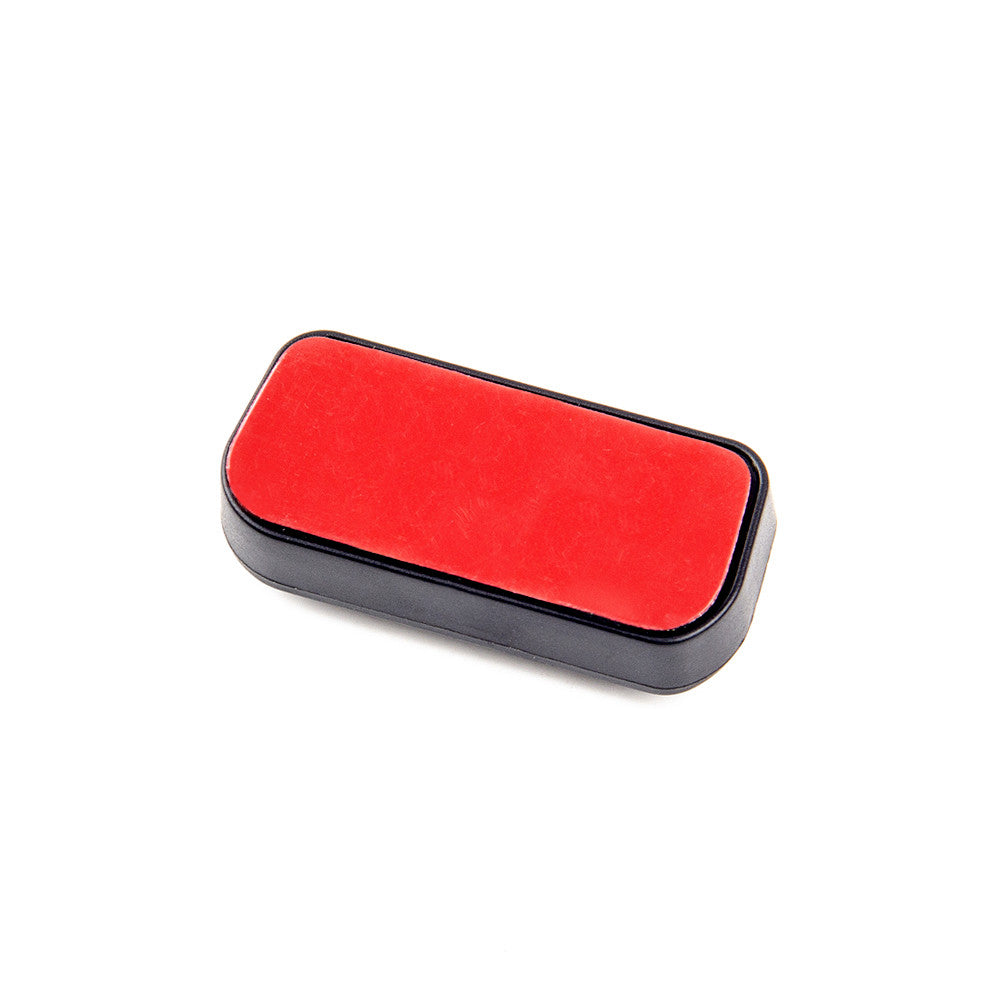
 GPS Module for VIOFO A119 MINI/A119 MINI


-
 1.8M/2.5M SSD Hard Drive Data Connection
-
 VIOFO USB-C to USB-C Charging Cable for
-
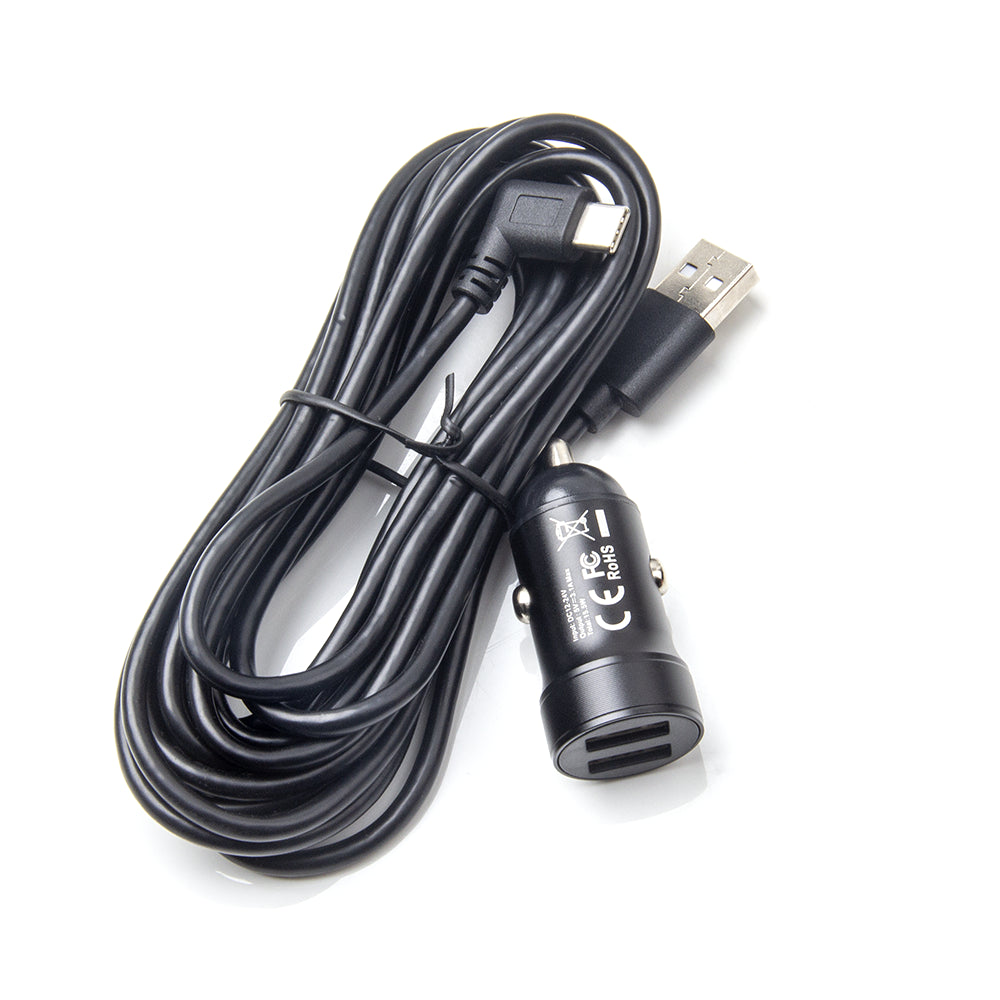
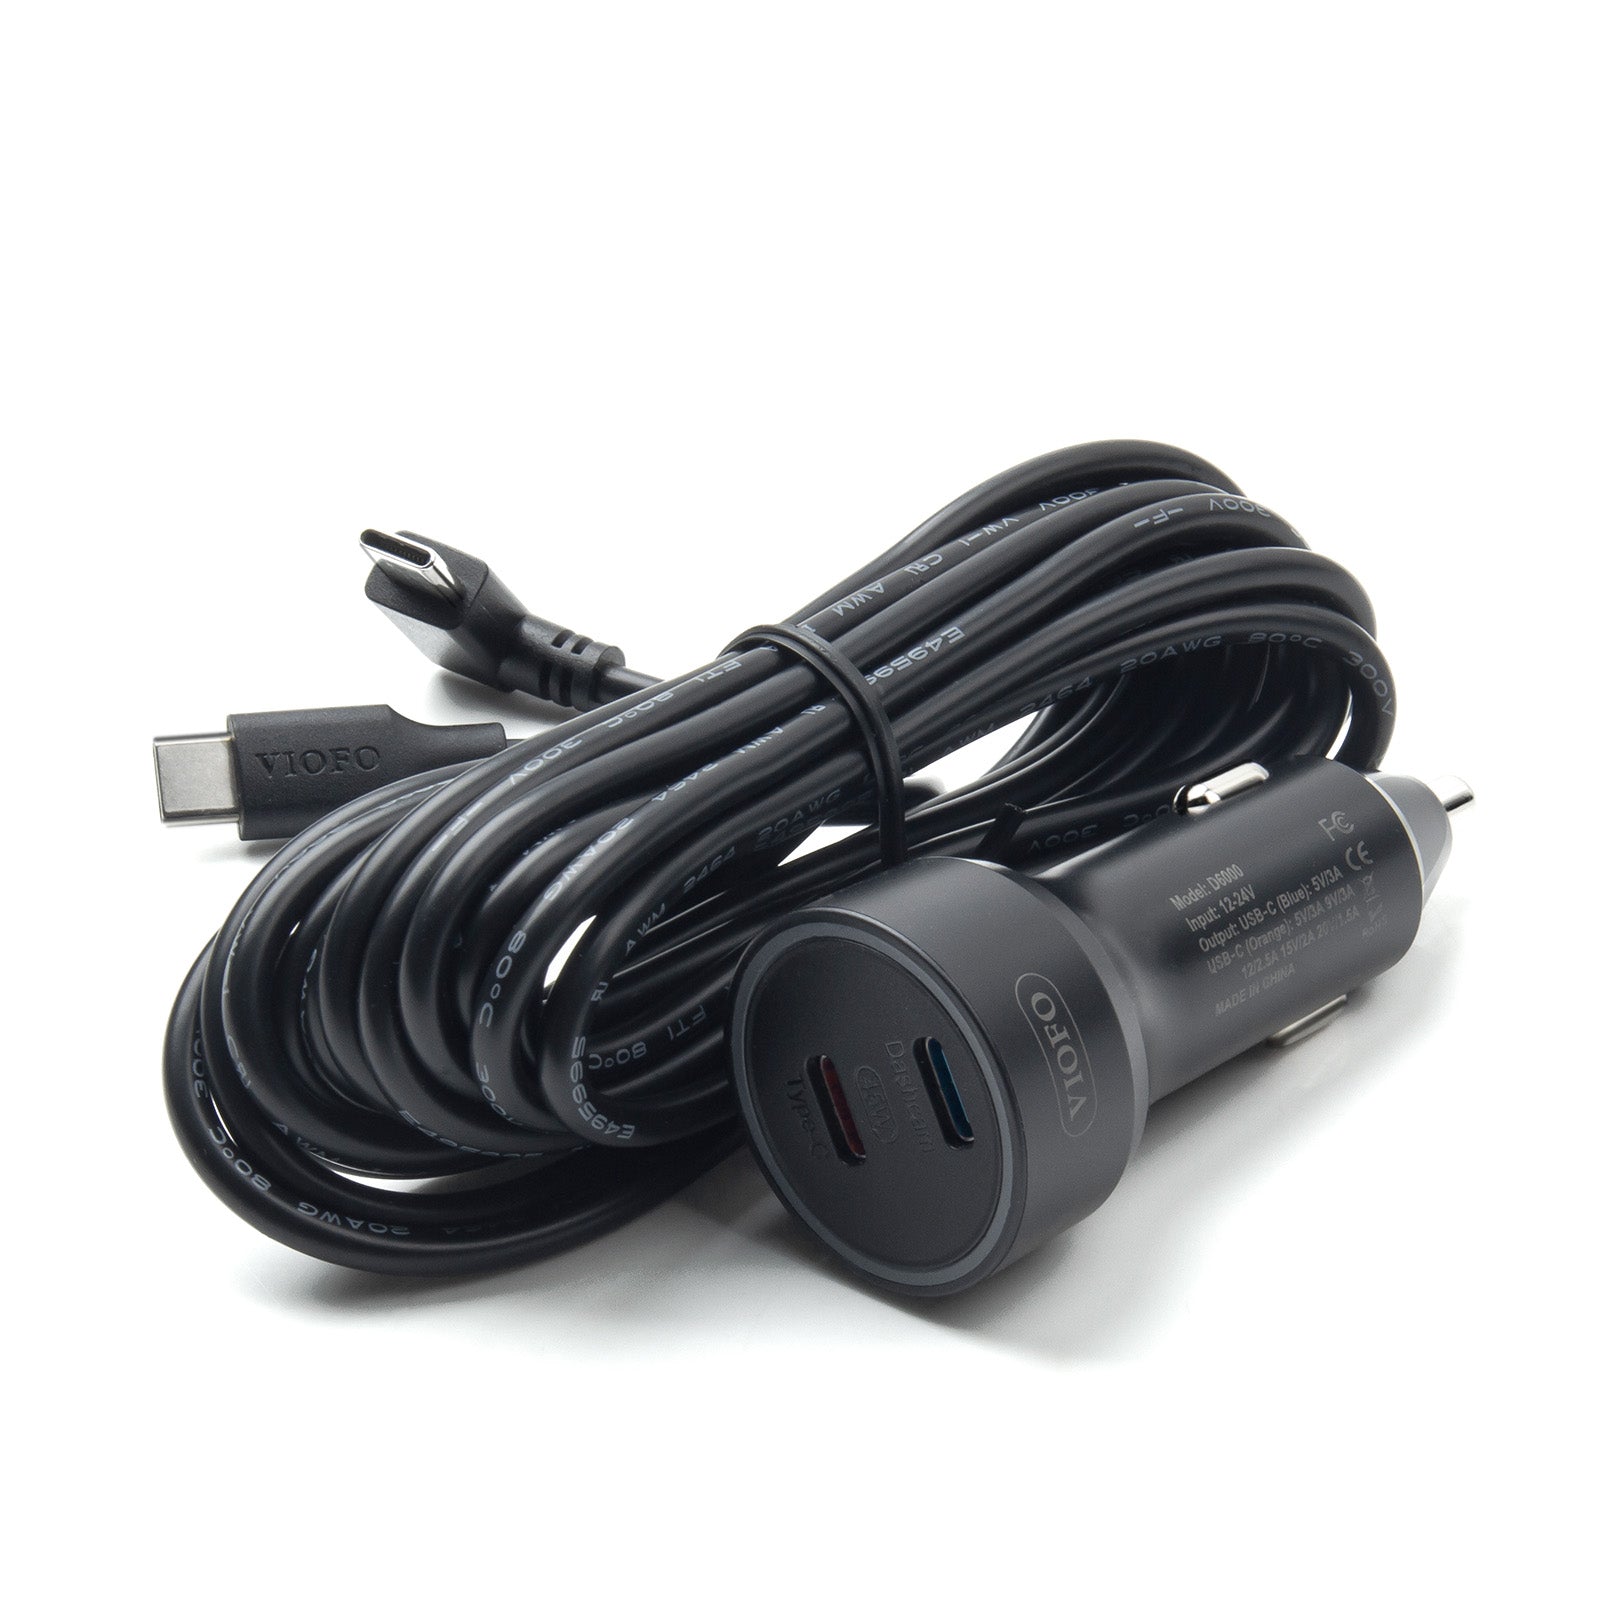 VIOFO D6000 Type-C Dual USB Cigarette Ca
-
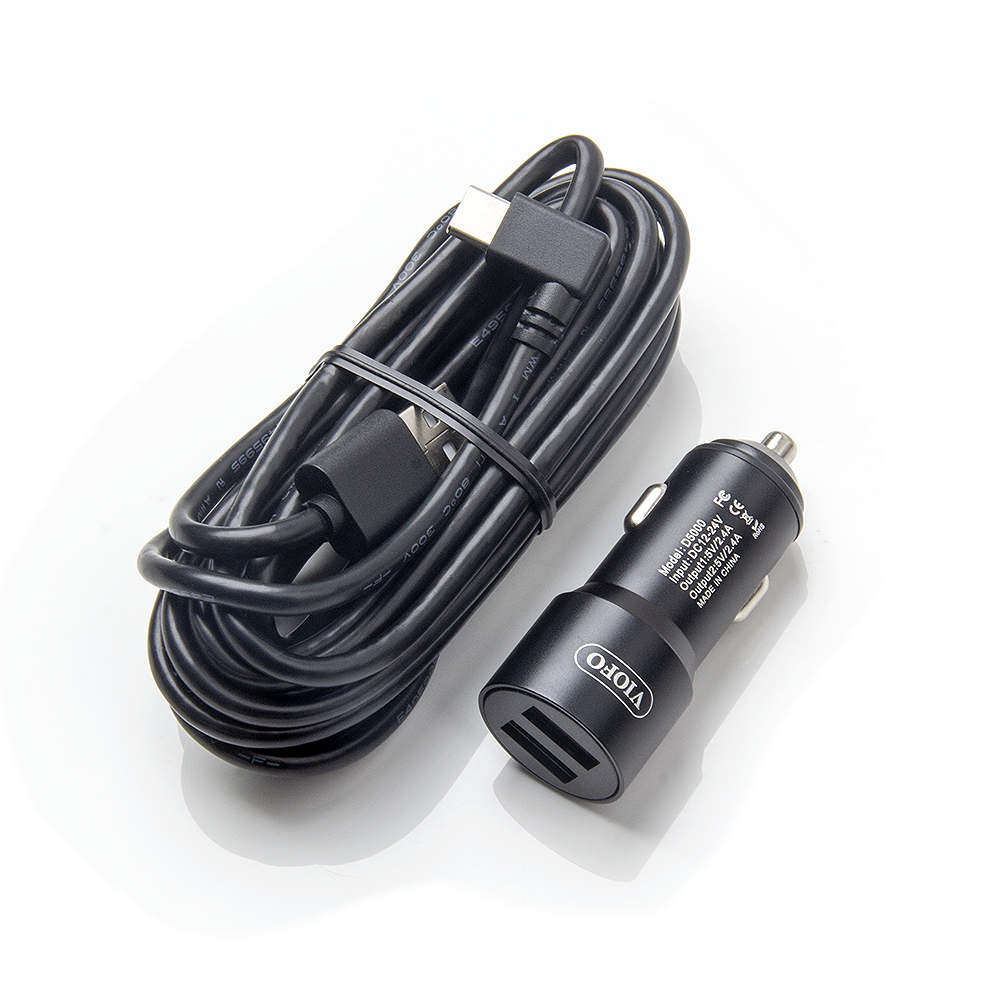 VIOFO D5000 Type-C Dual USB Cigarette Ch
-
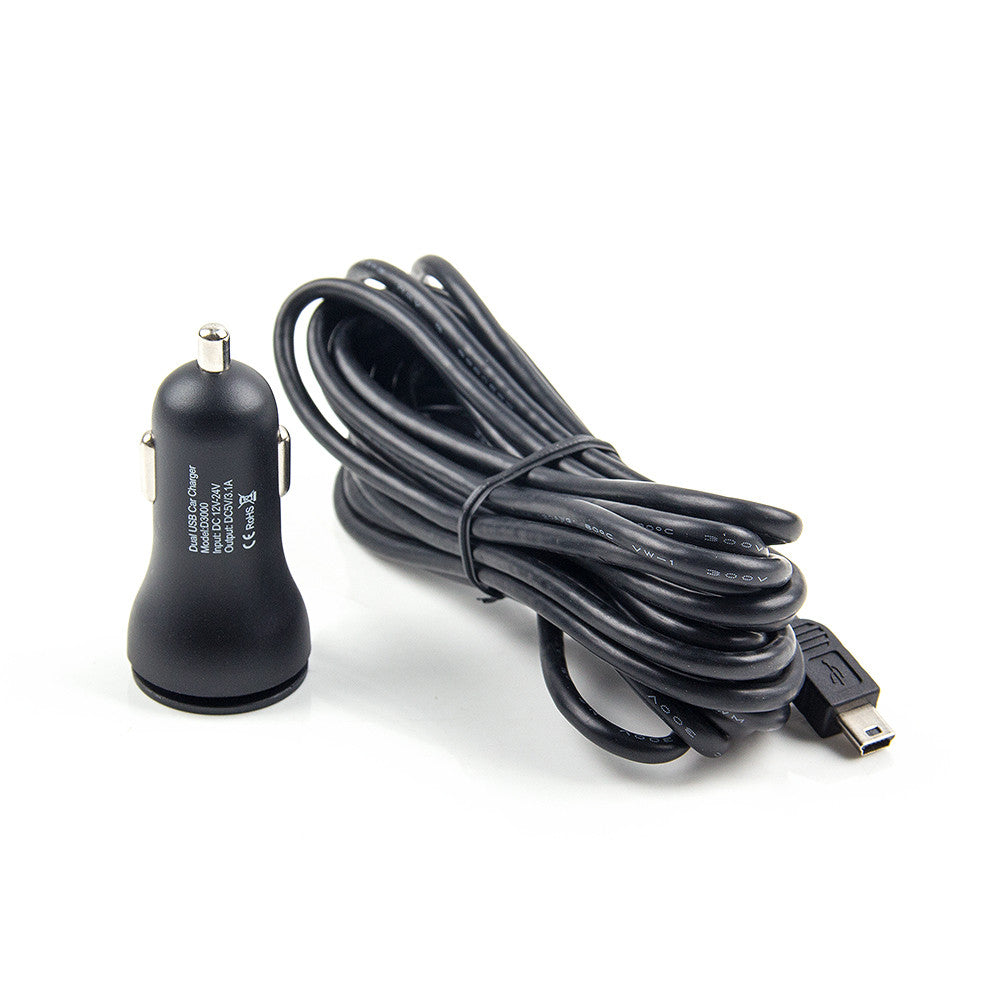 D3000 Dual USB Car Charger for A129 Pro
-
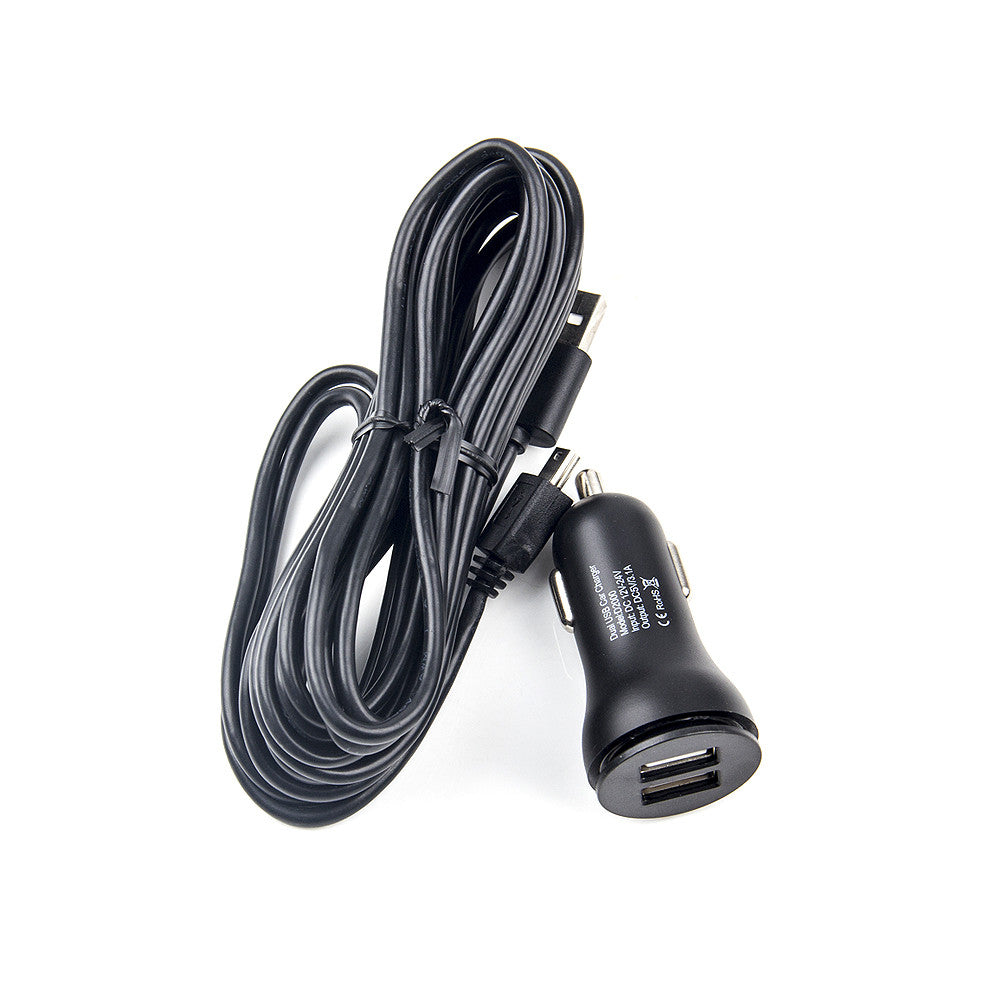 D2000 Dual USB Car Charger for A119V2/A1
-
 A119 MINI/A119 MINI 2 Type-C Dual USB Ca
-
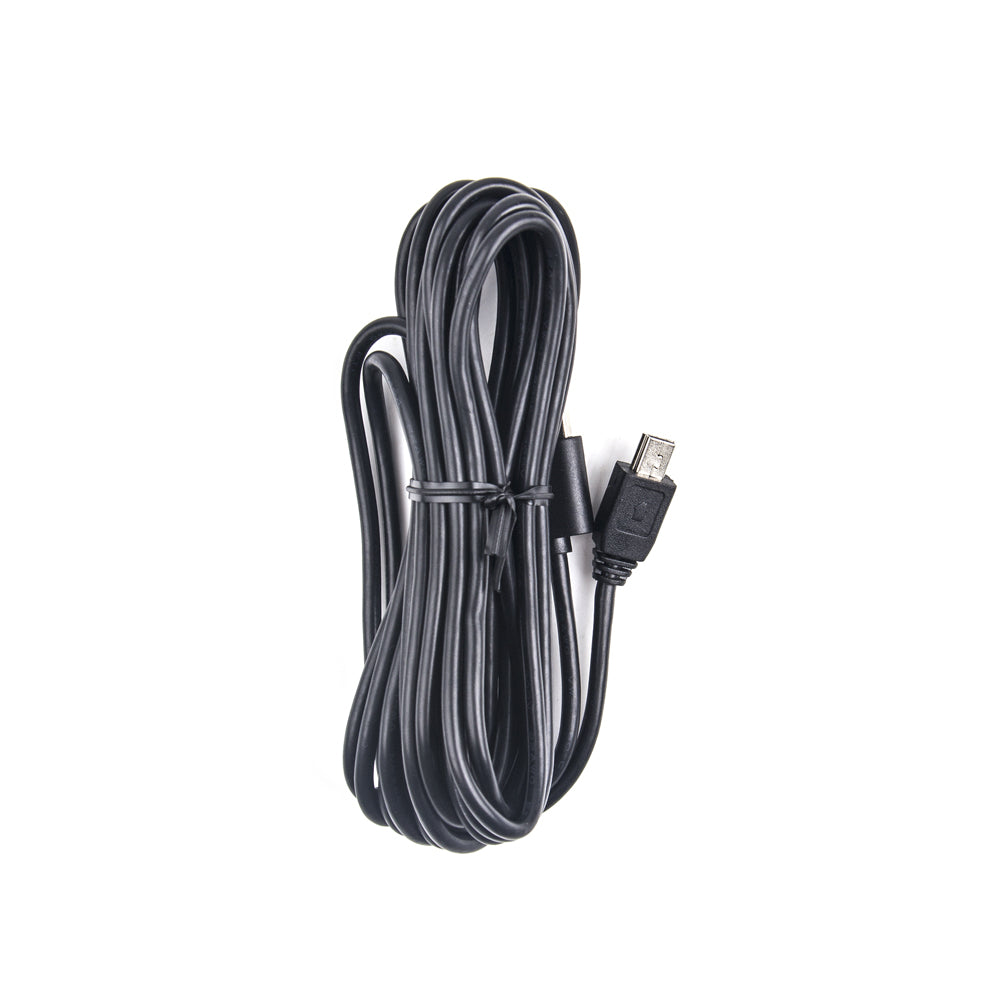 D2000/D3000 Mini USB 4M Long Charging Ca
-
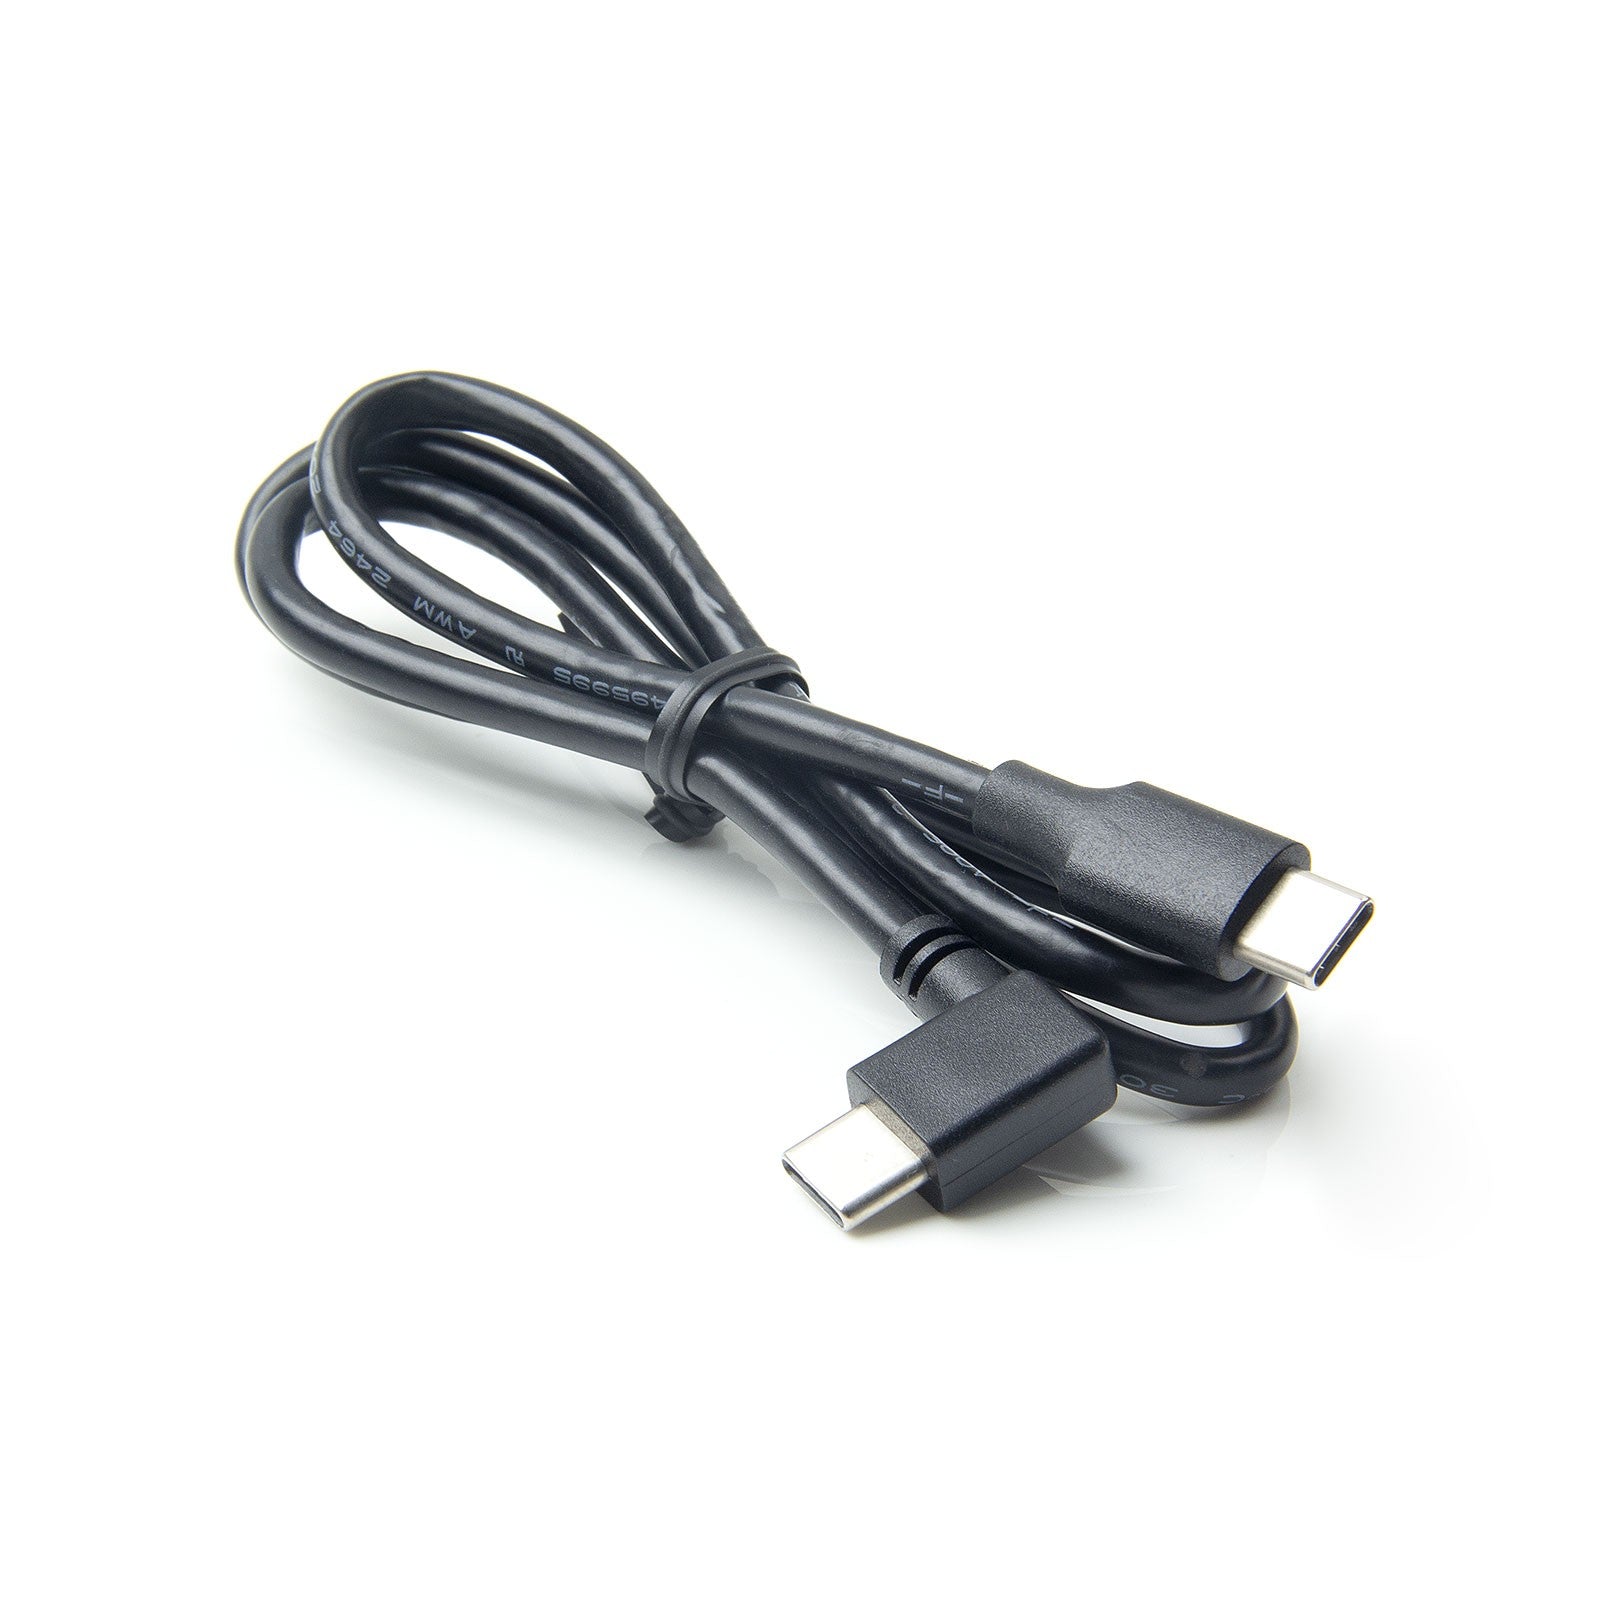
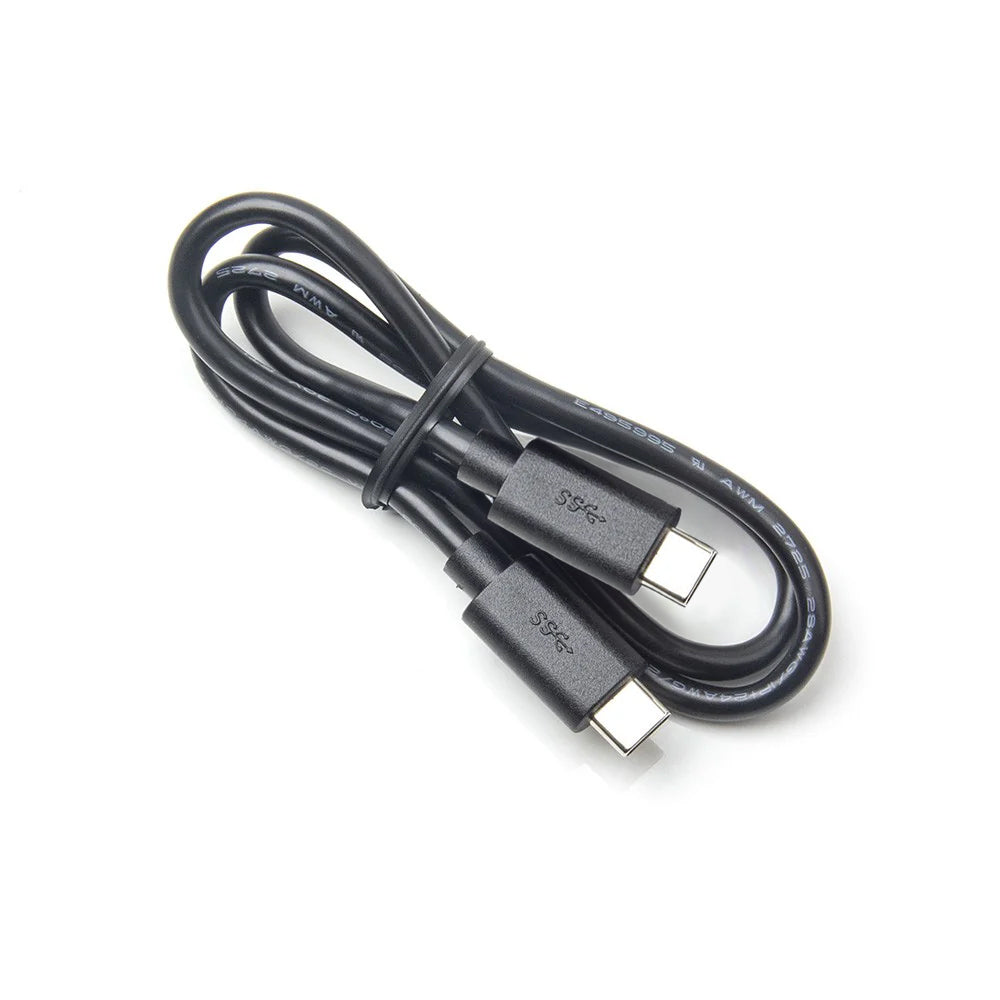 VIOFO USB 2.0 Type-C to Type-C Data Cabl
-
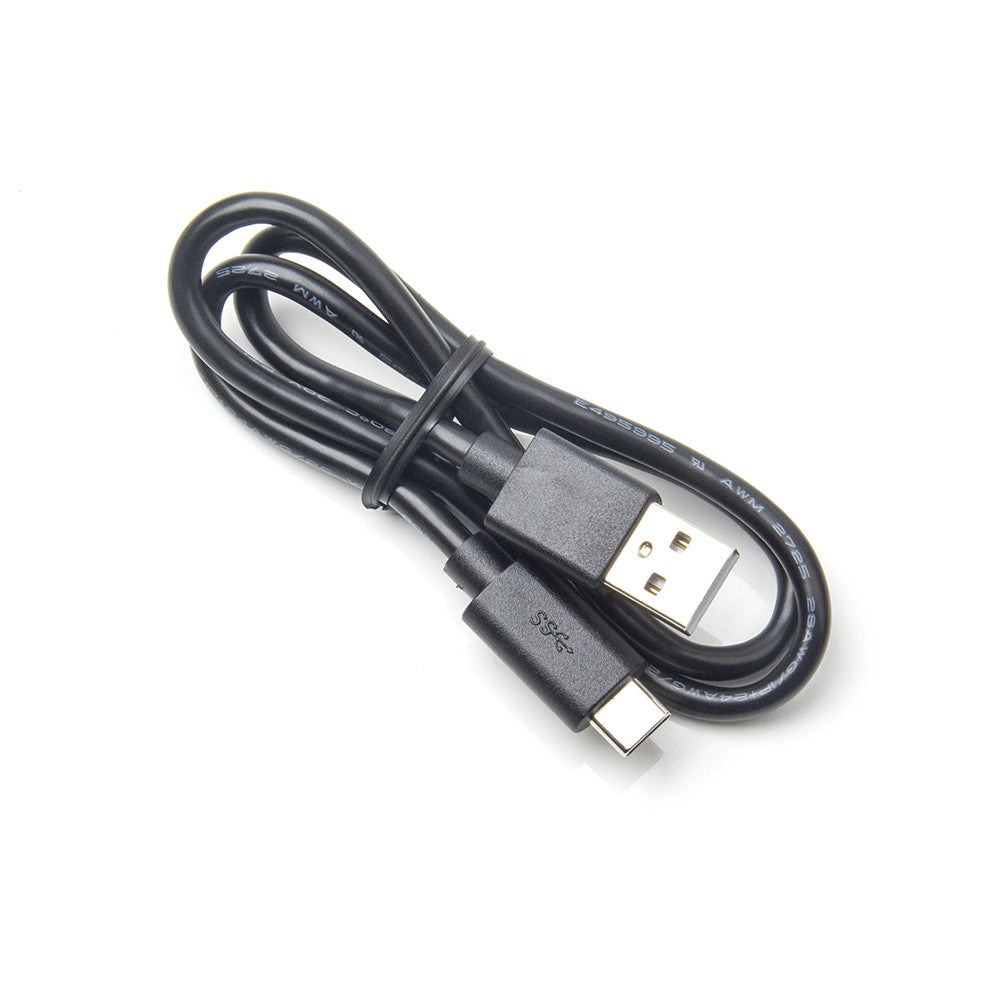 Short and Portable USB-A to USB-C Data C


-
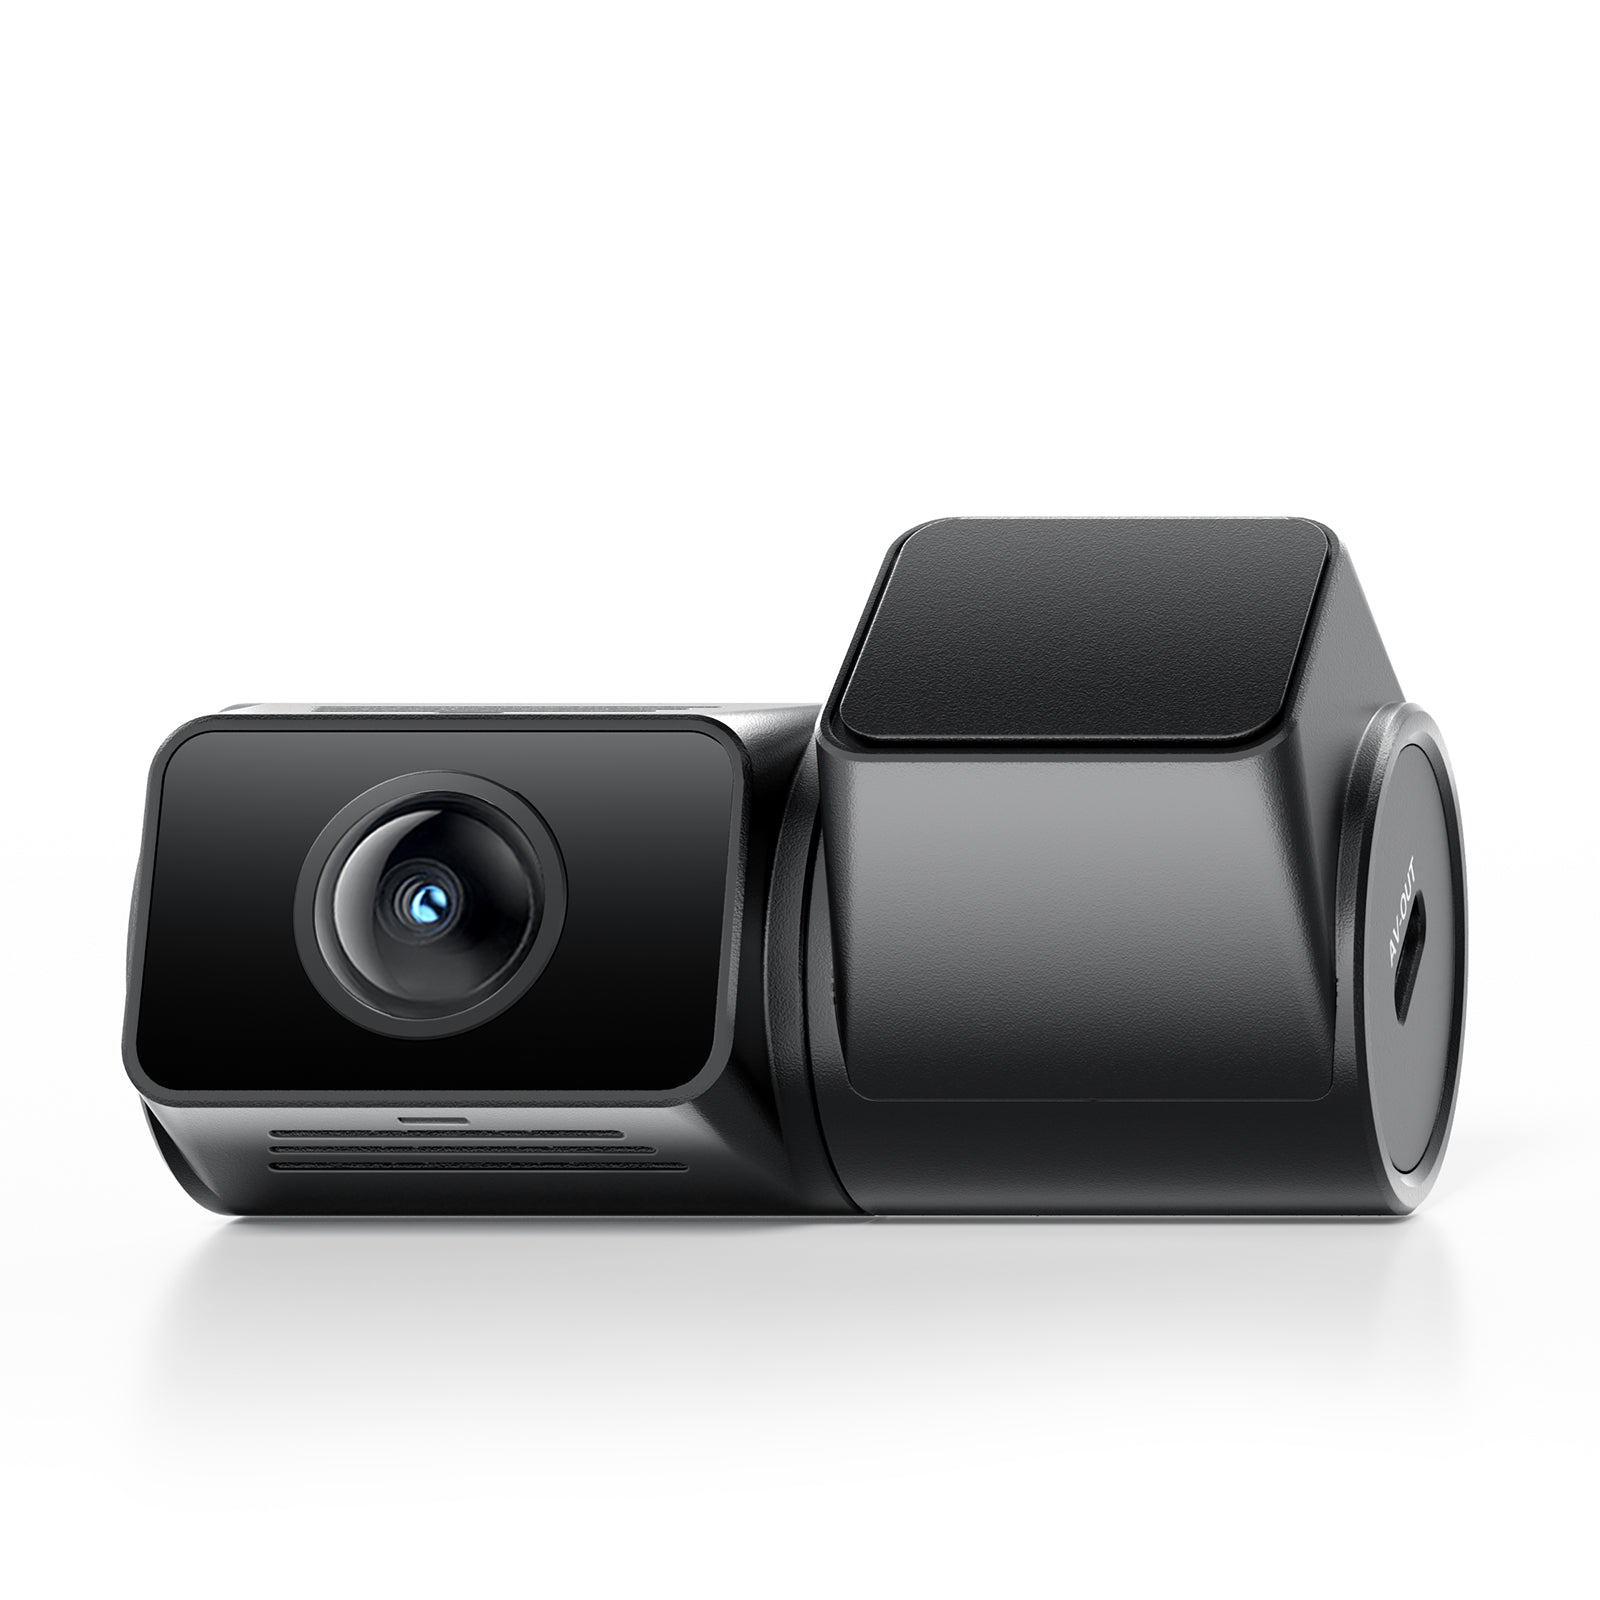
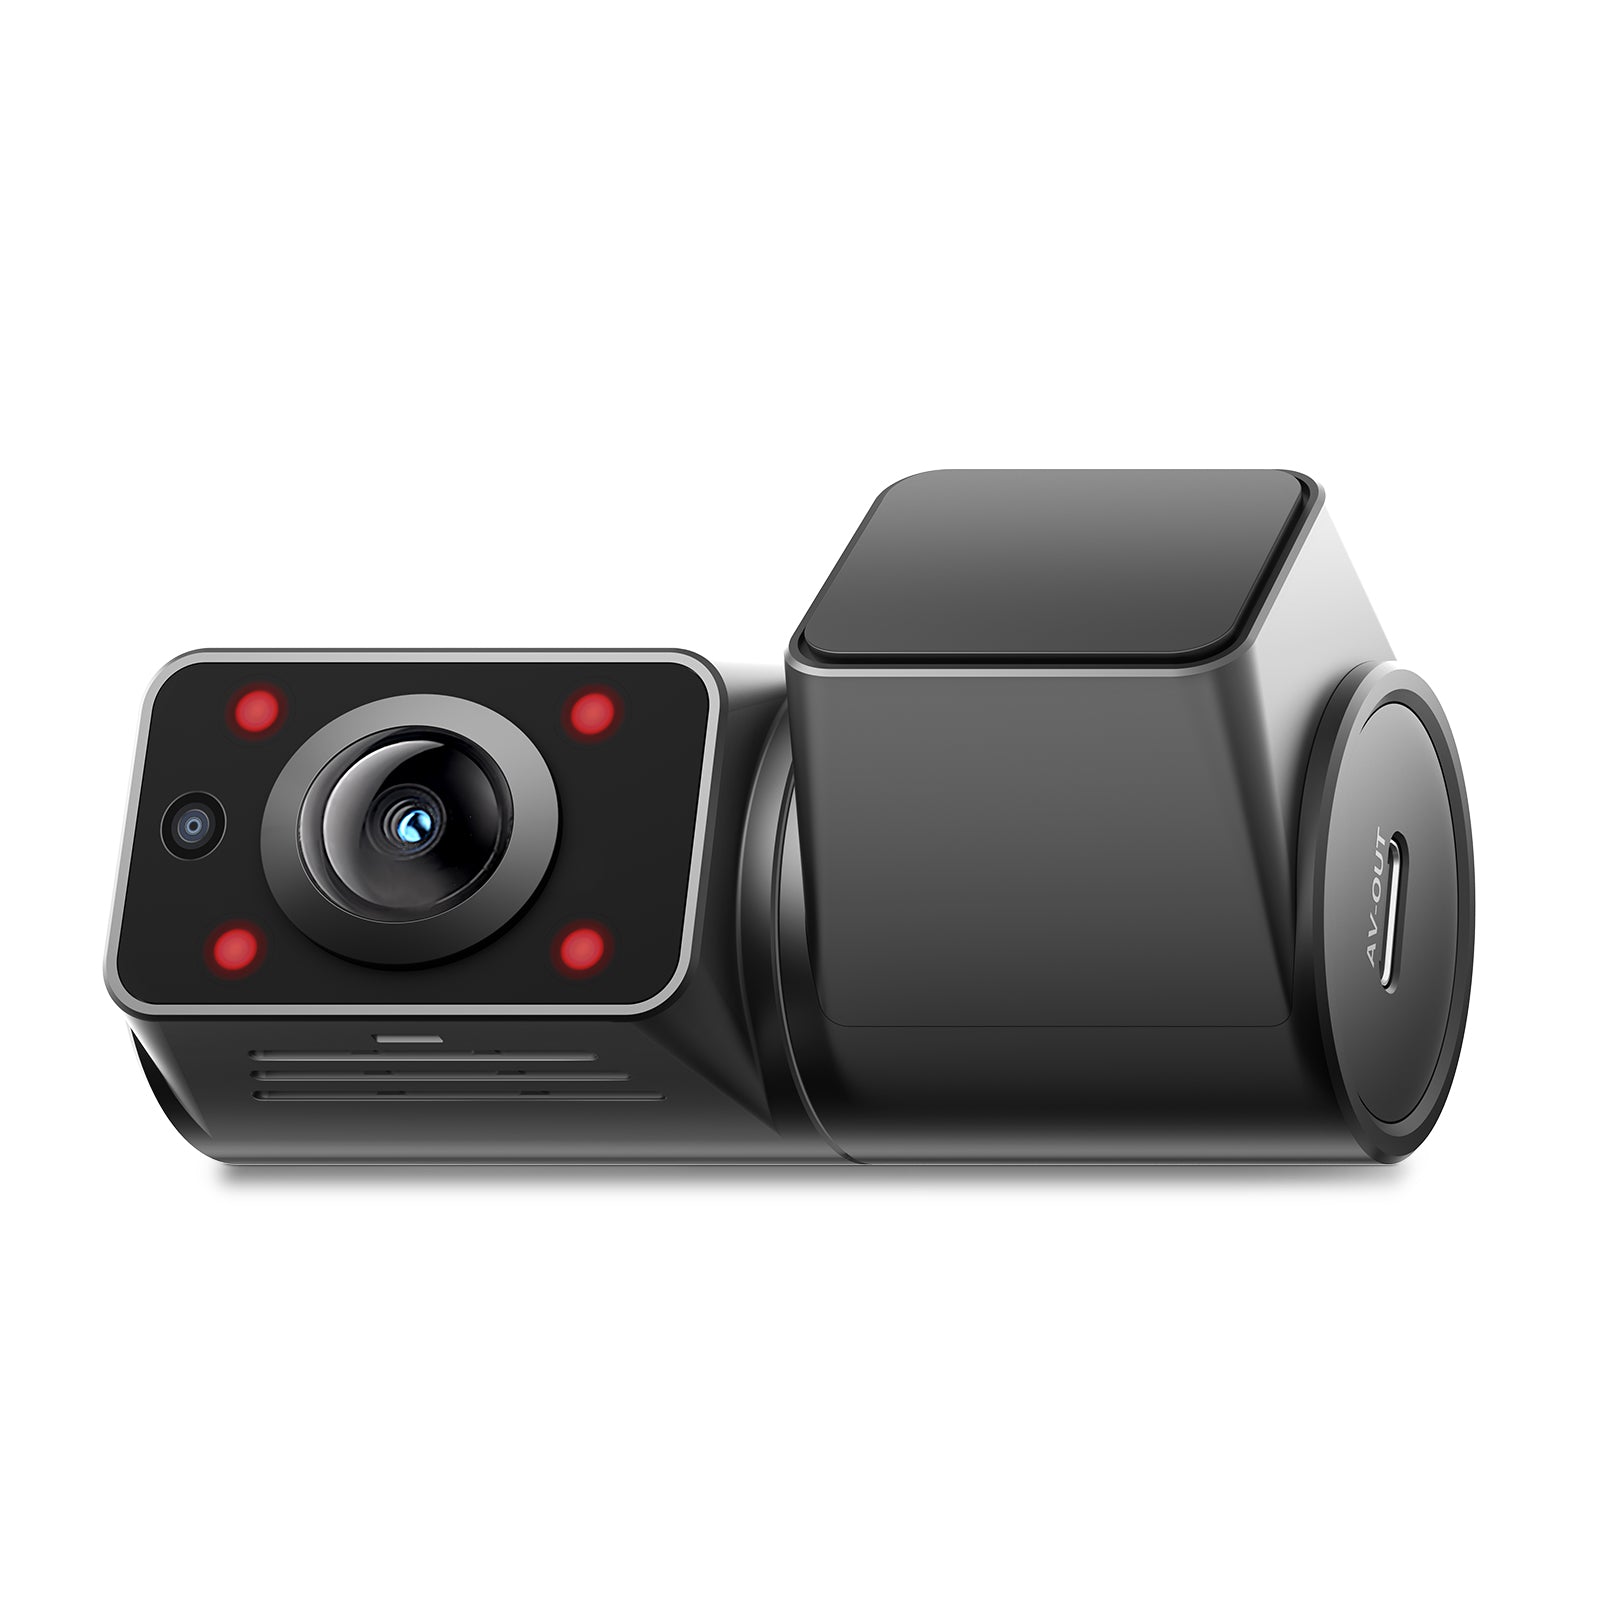
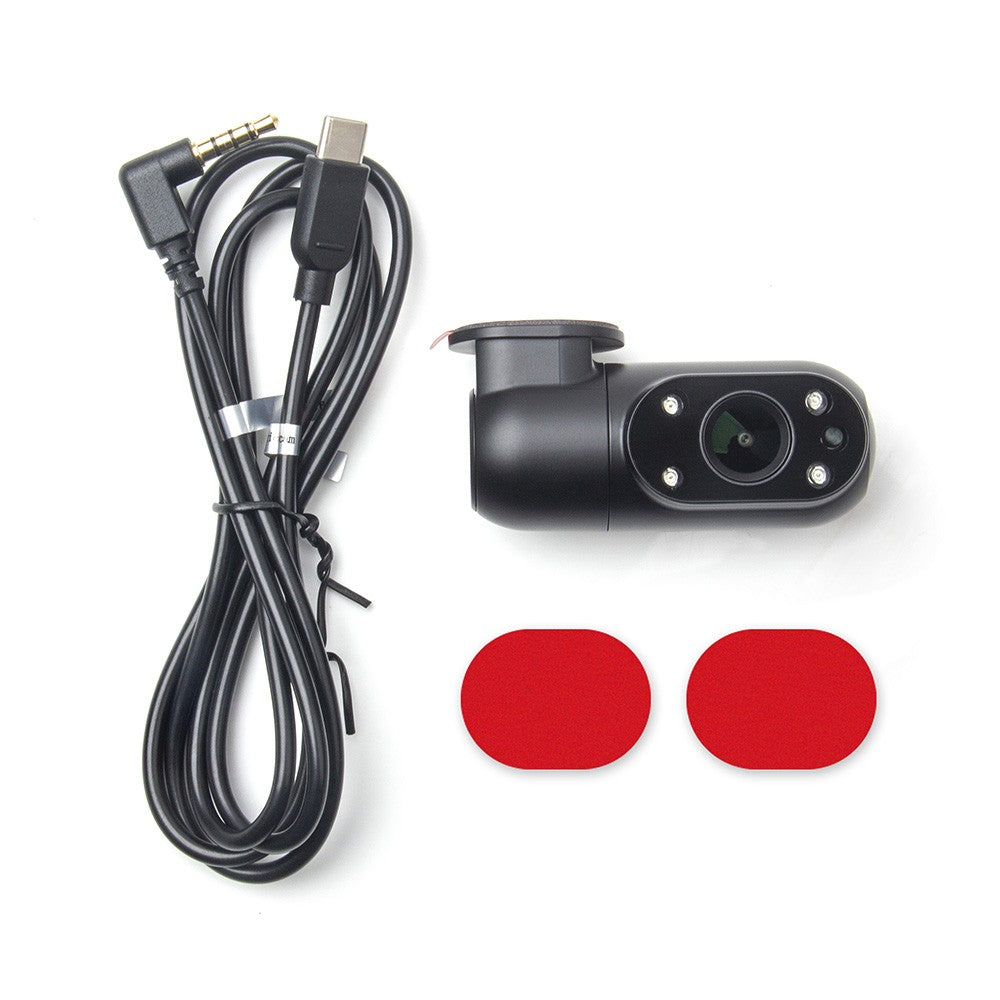 VIOFO RF200 1080P Infrared Interior Came
-
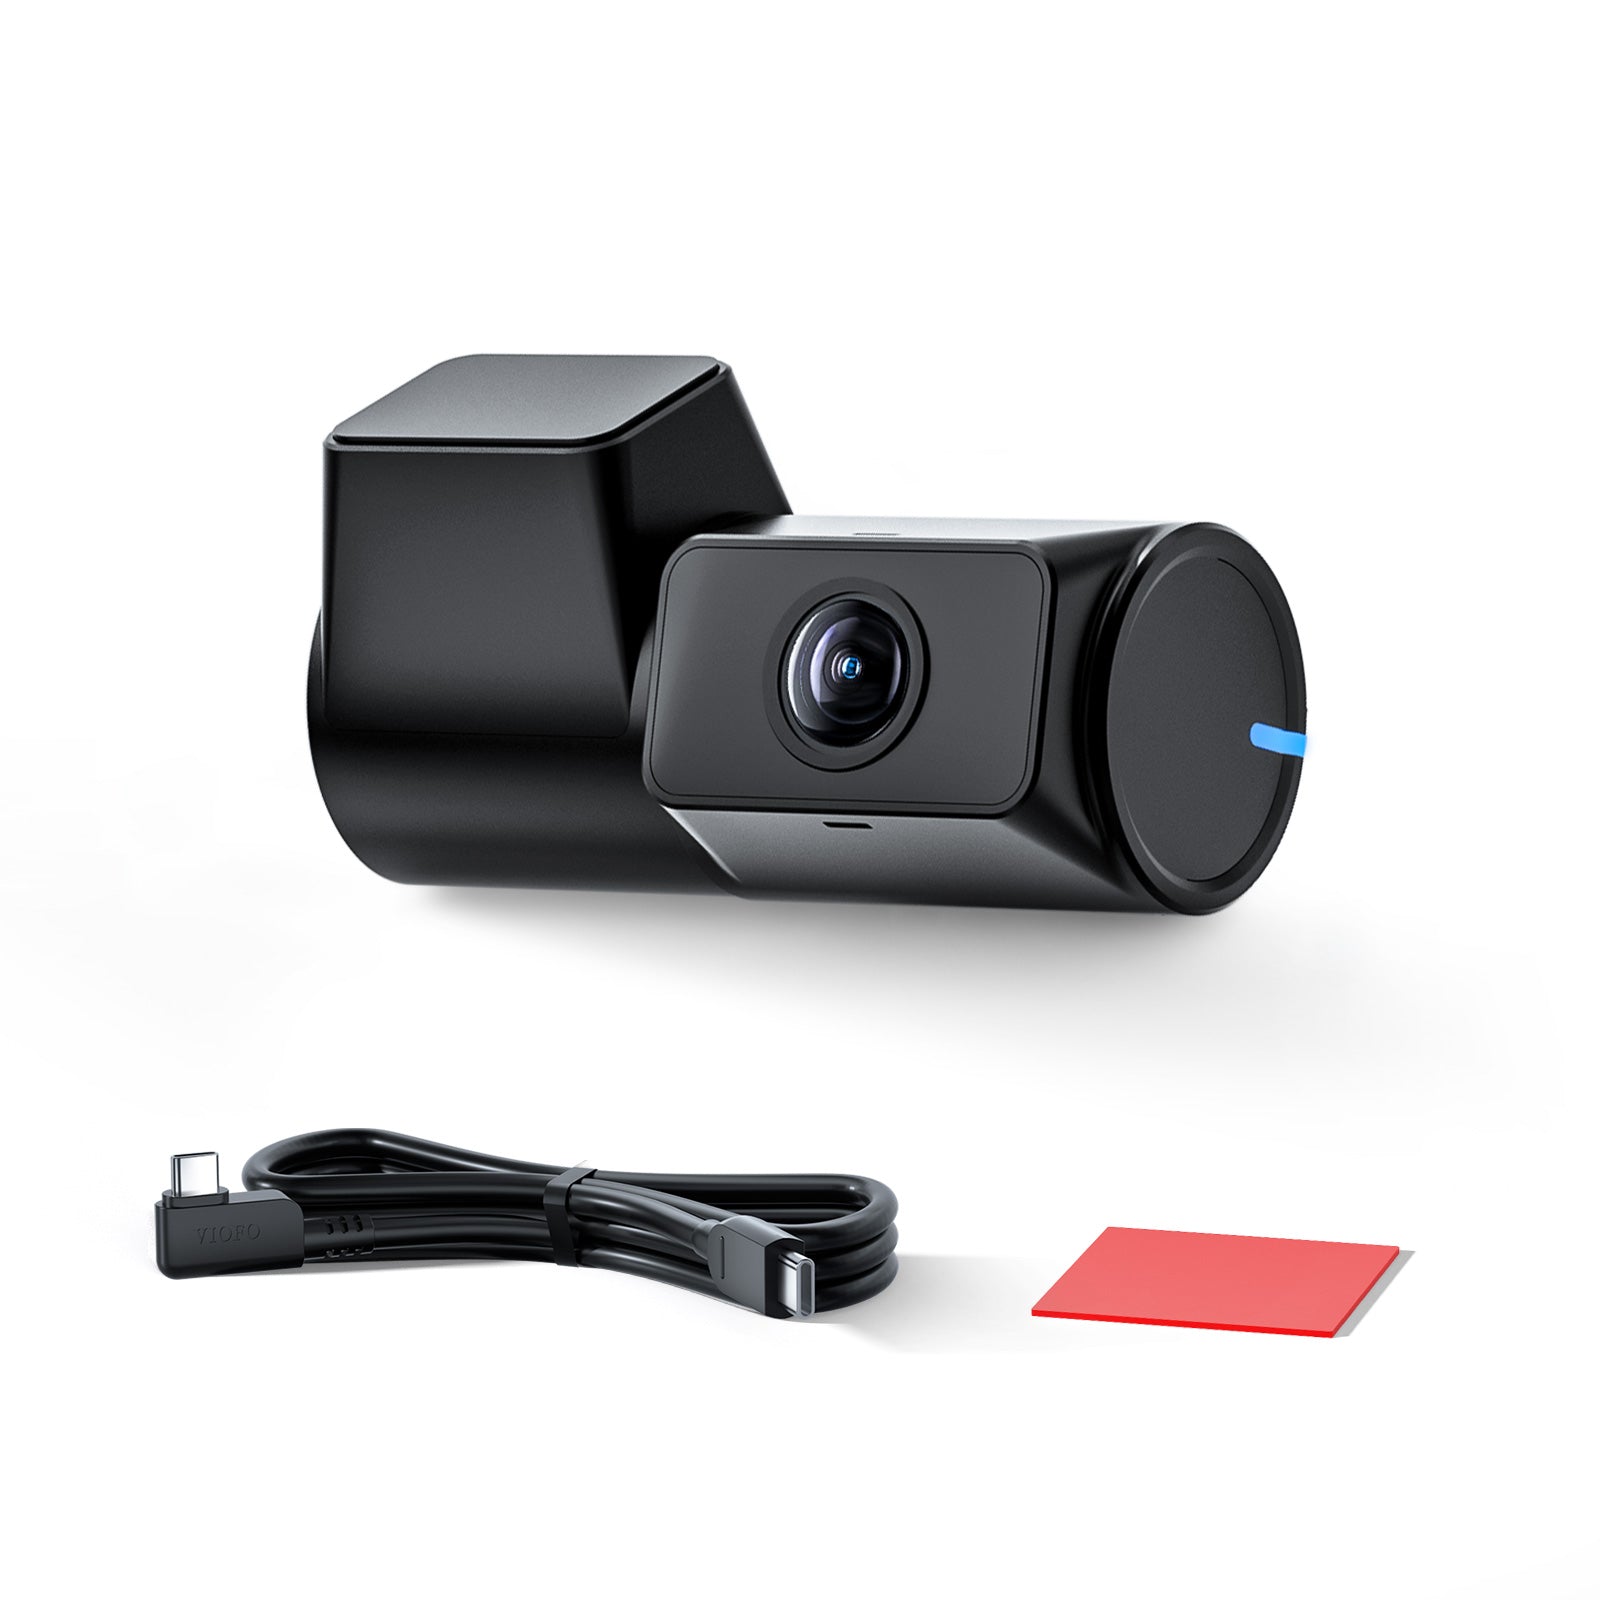
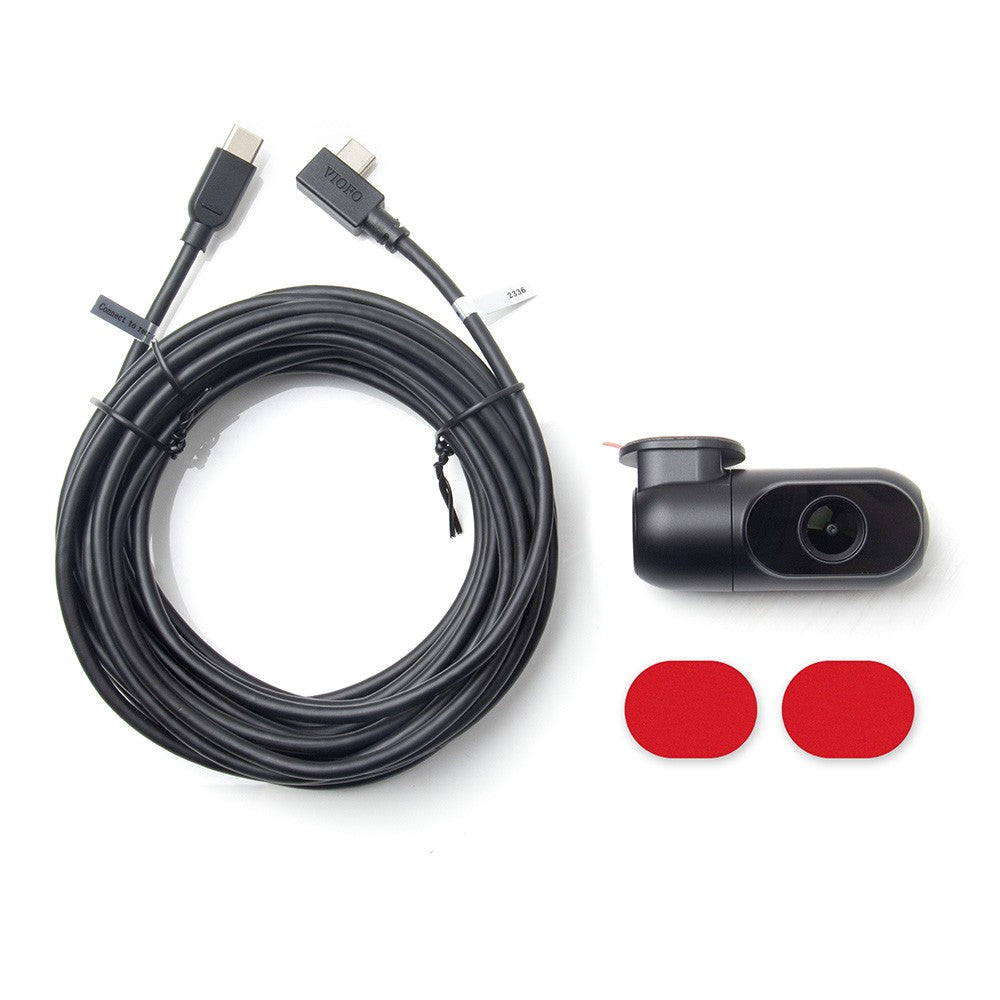 VIOFO RE200 2K Rear Camera with 6M Type-
-
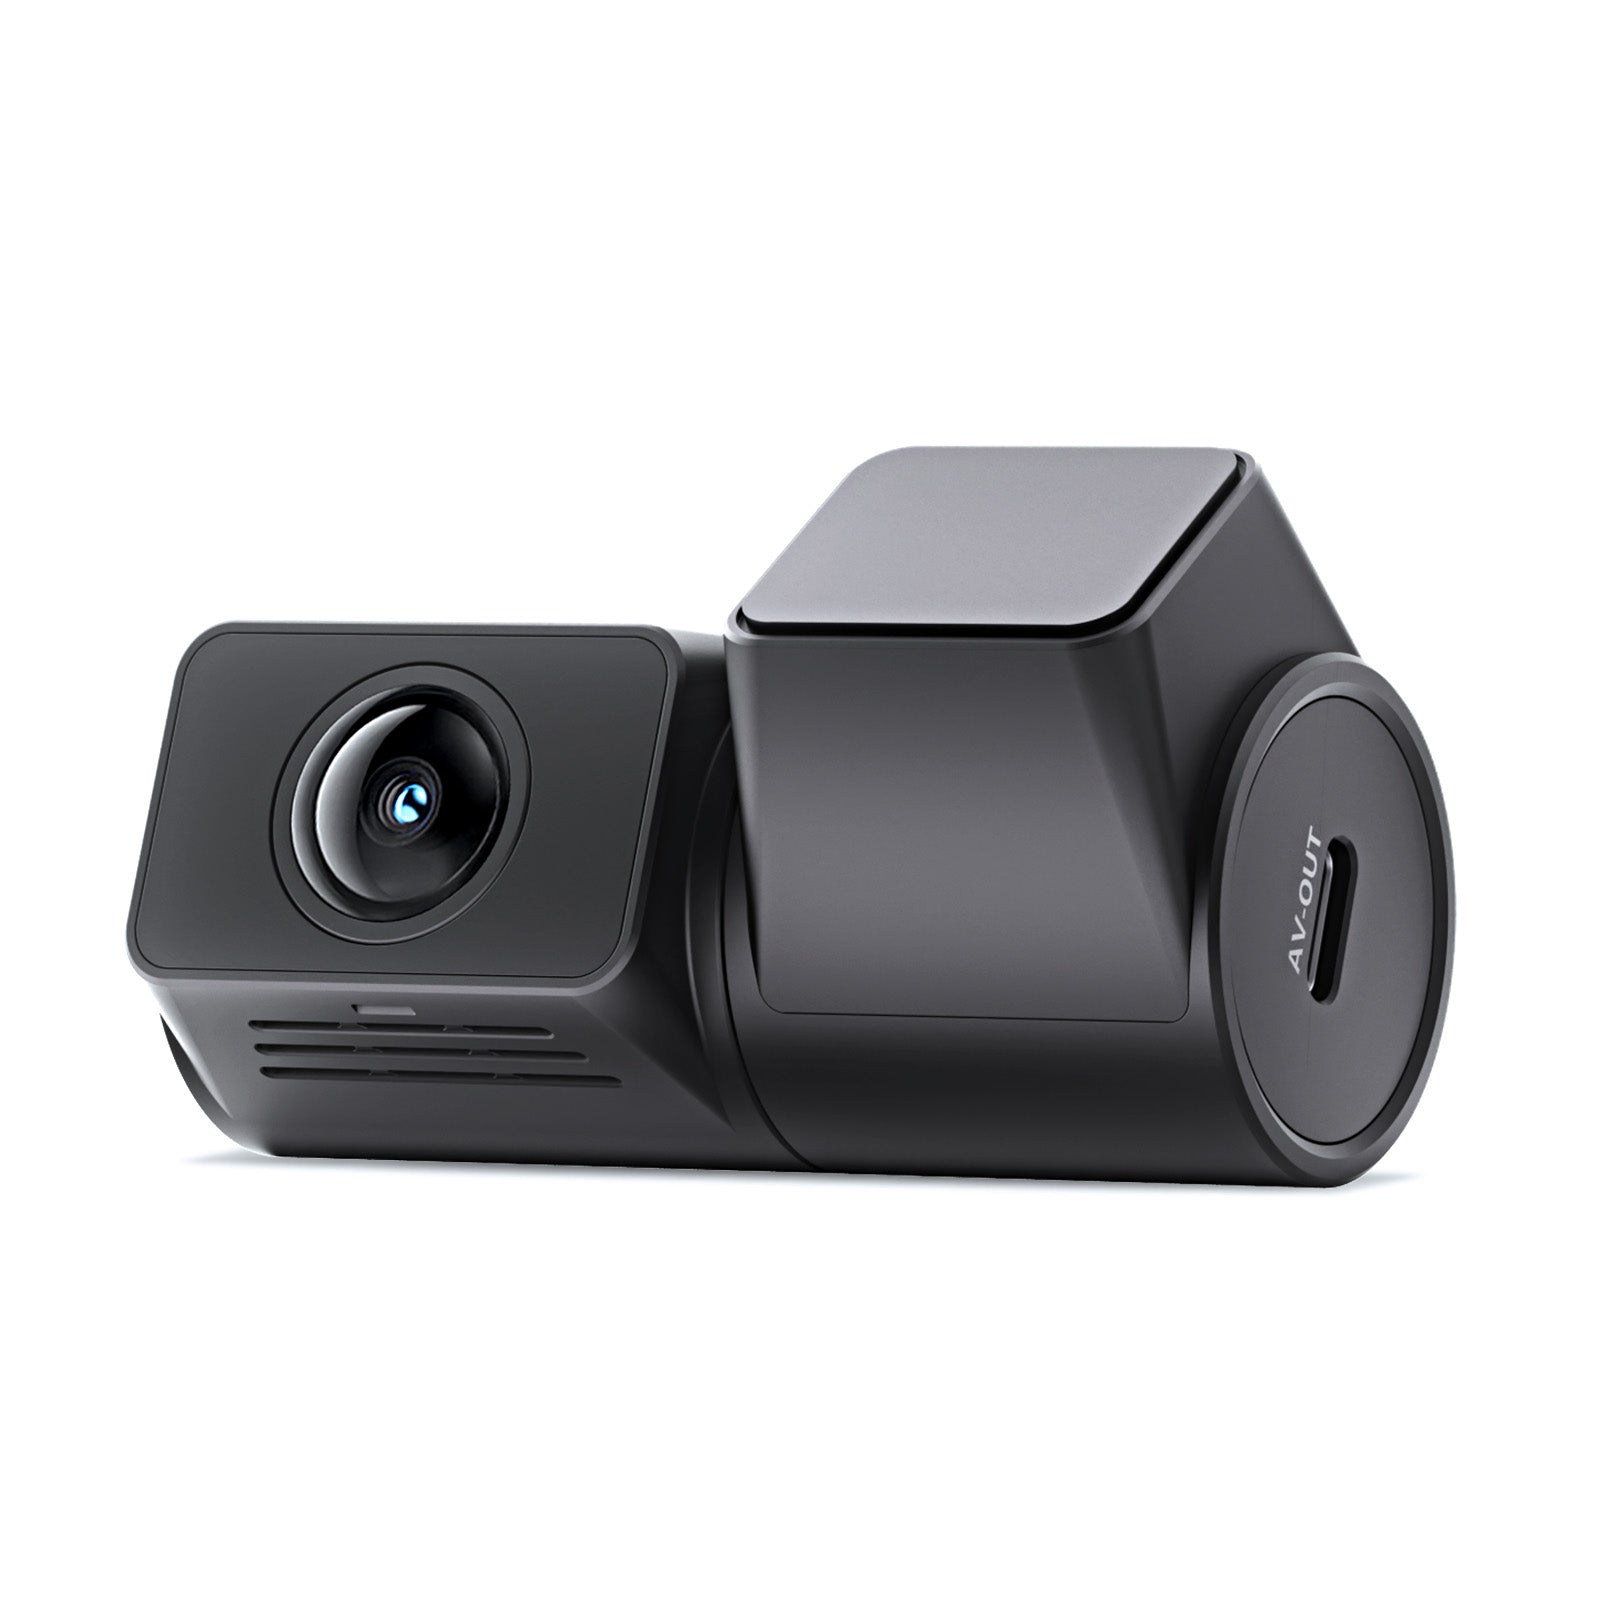
 VIOFO RC320 AHD 1080P Rear Camera with 6
-
 VIOFO RTC300 Telephoto Camera with 0.6M
-
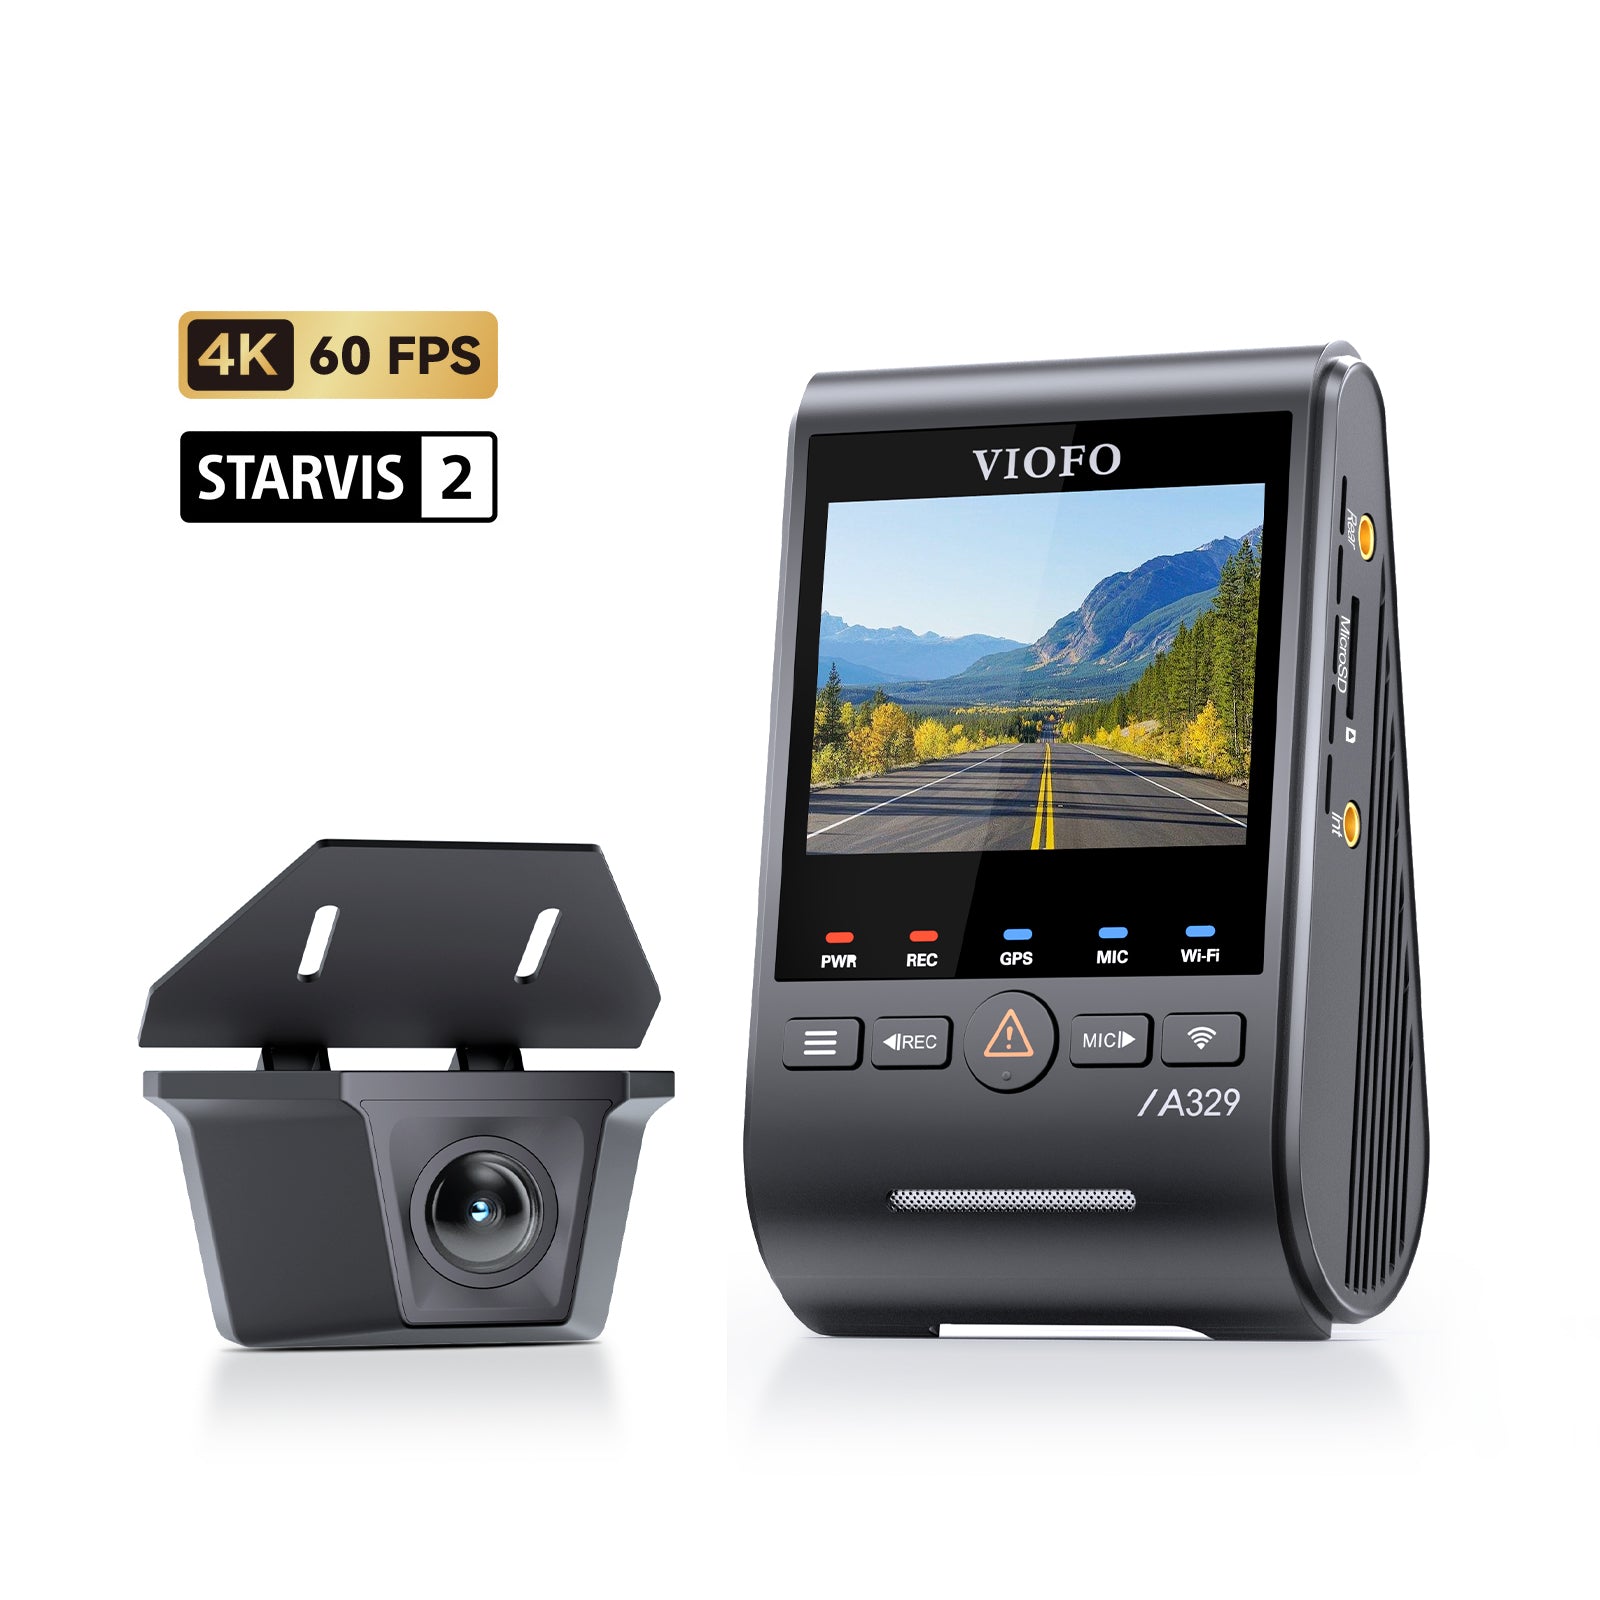
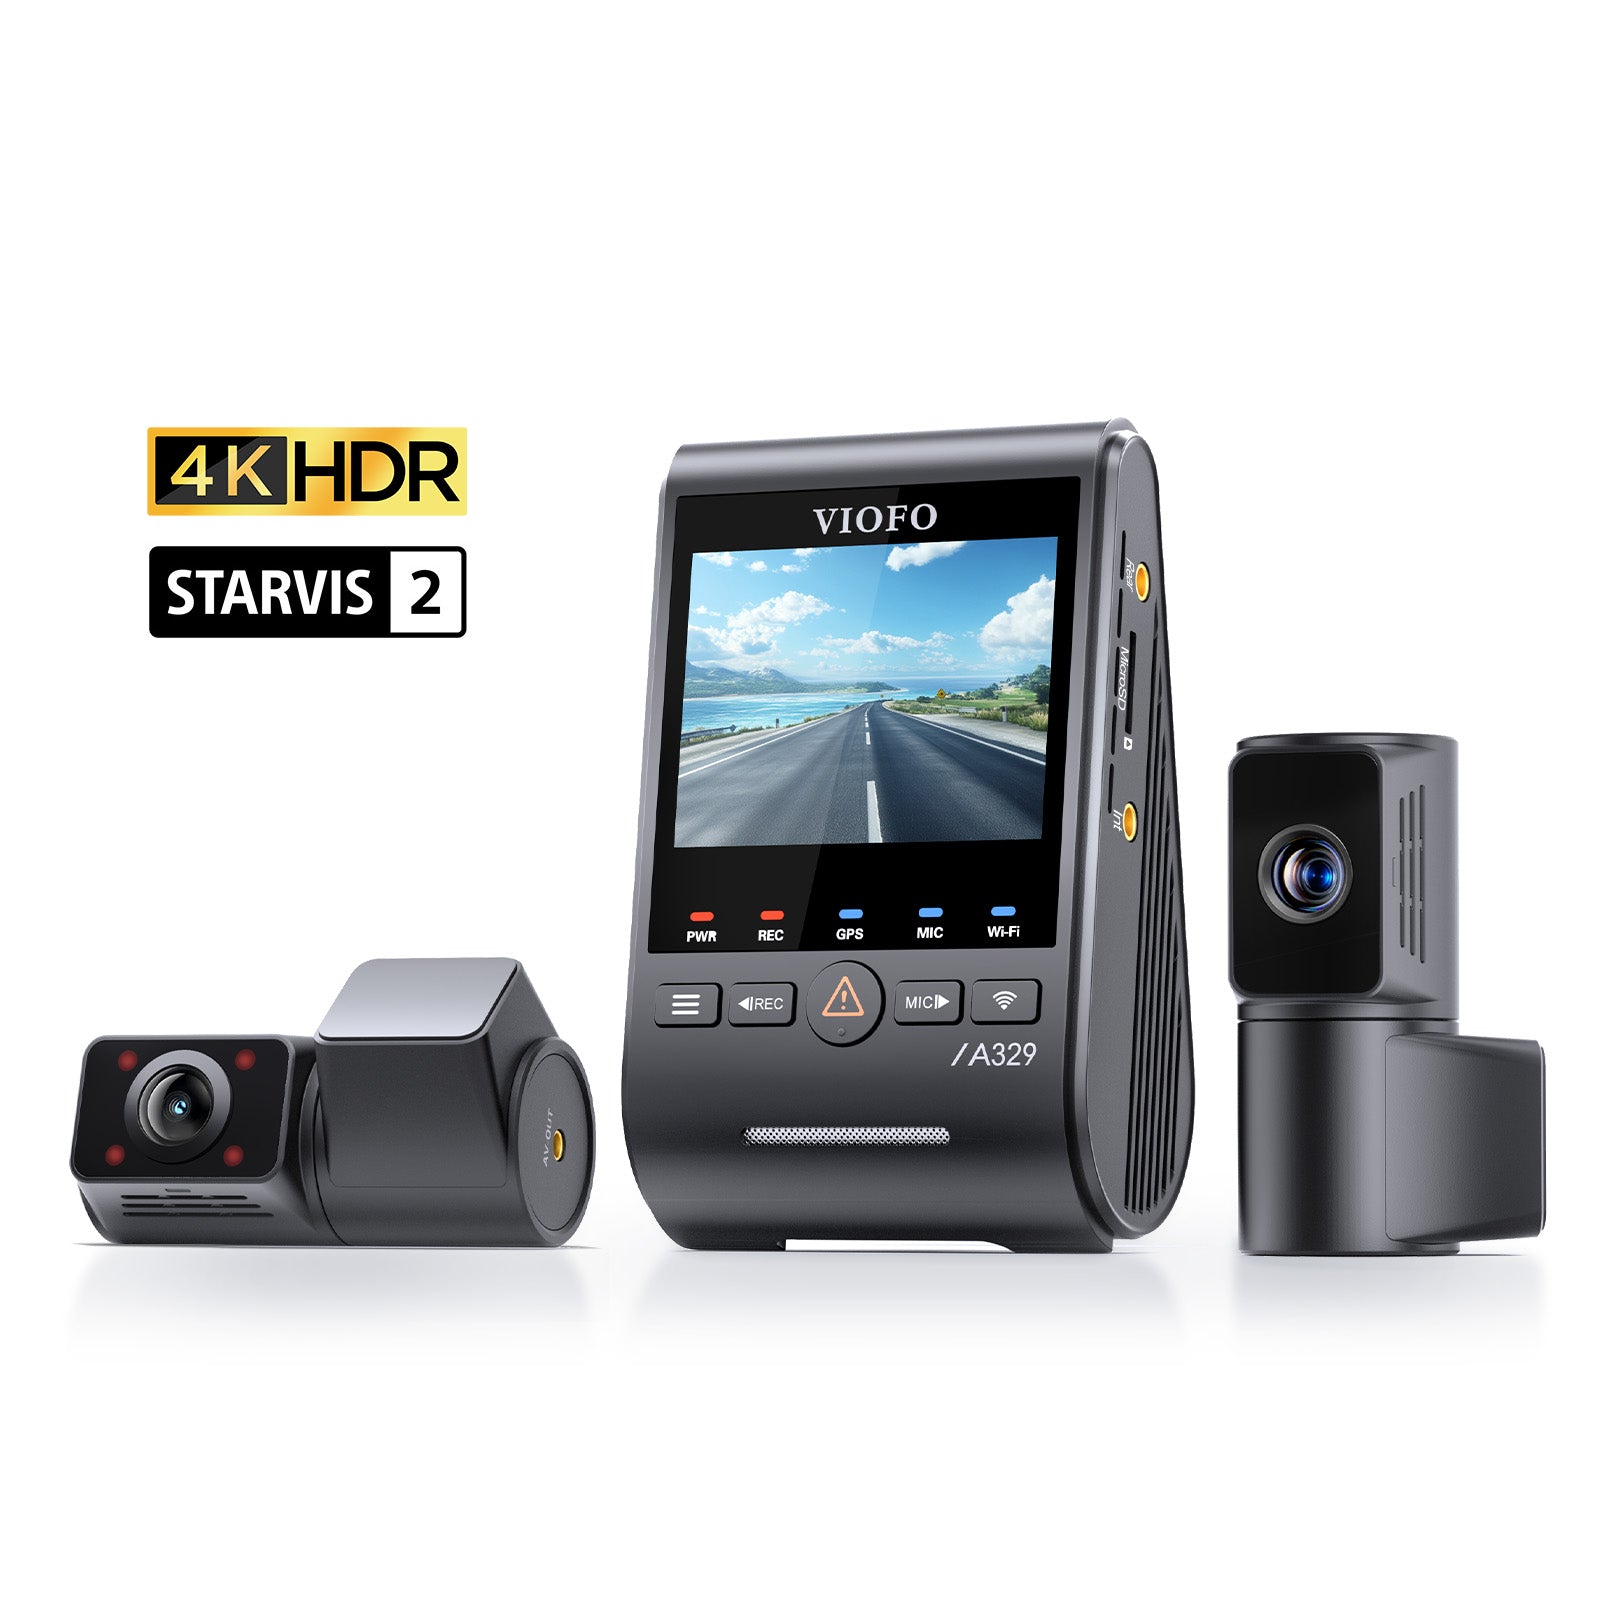
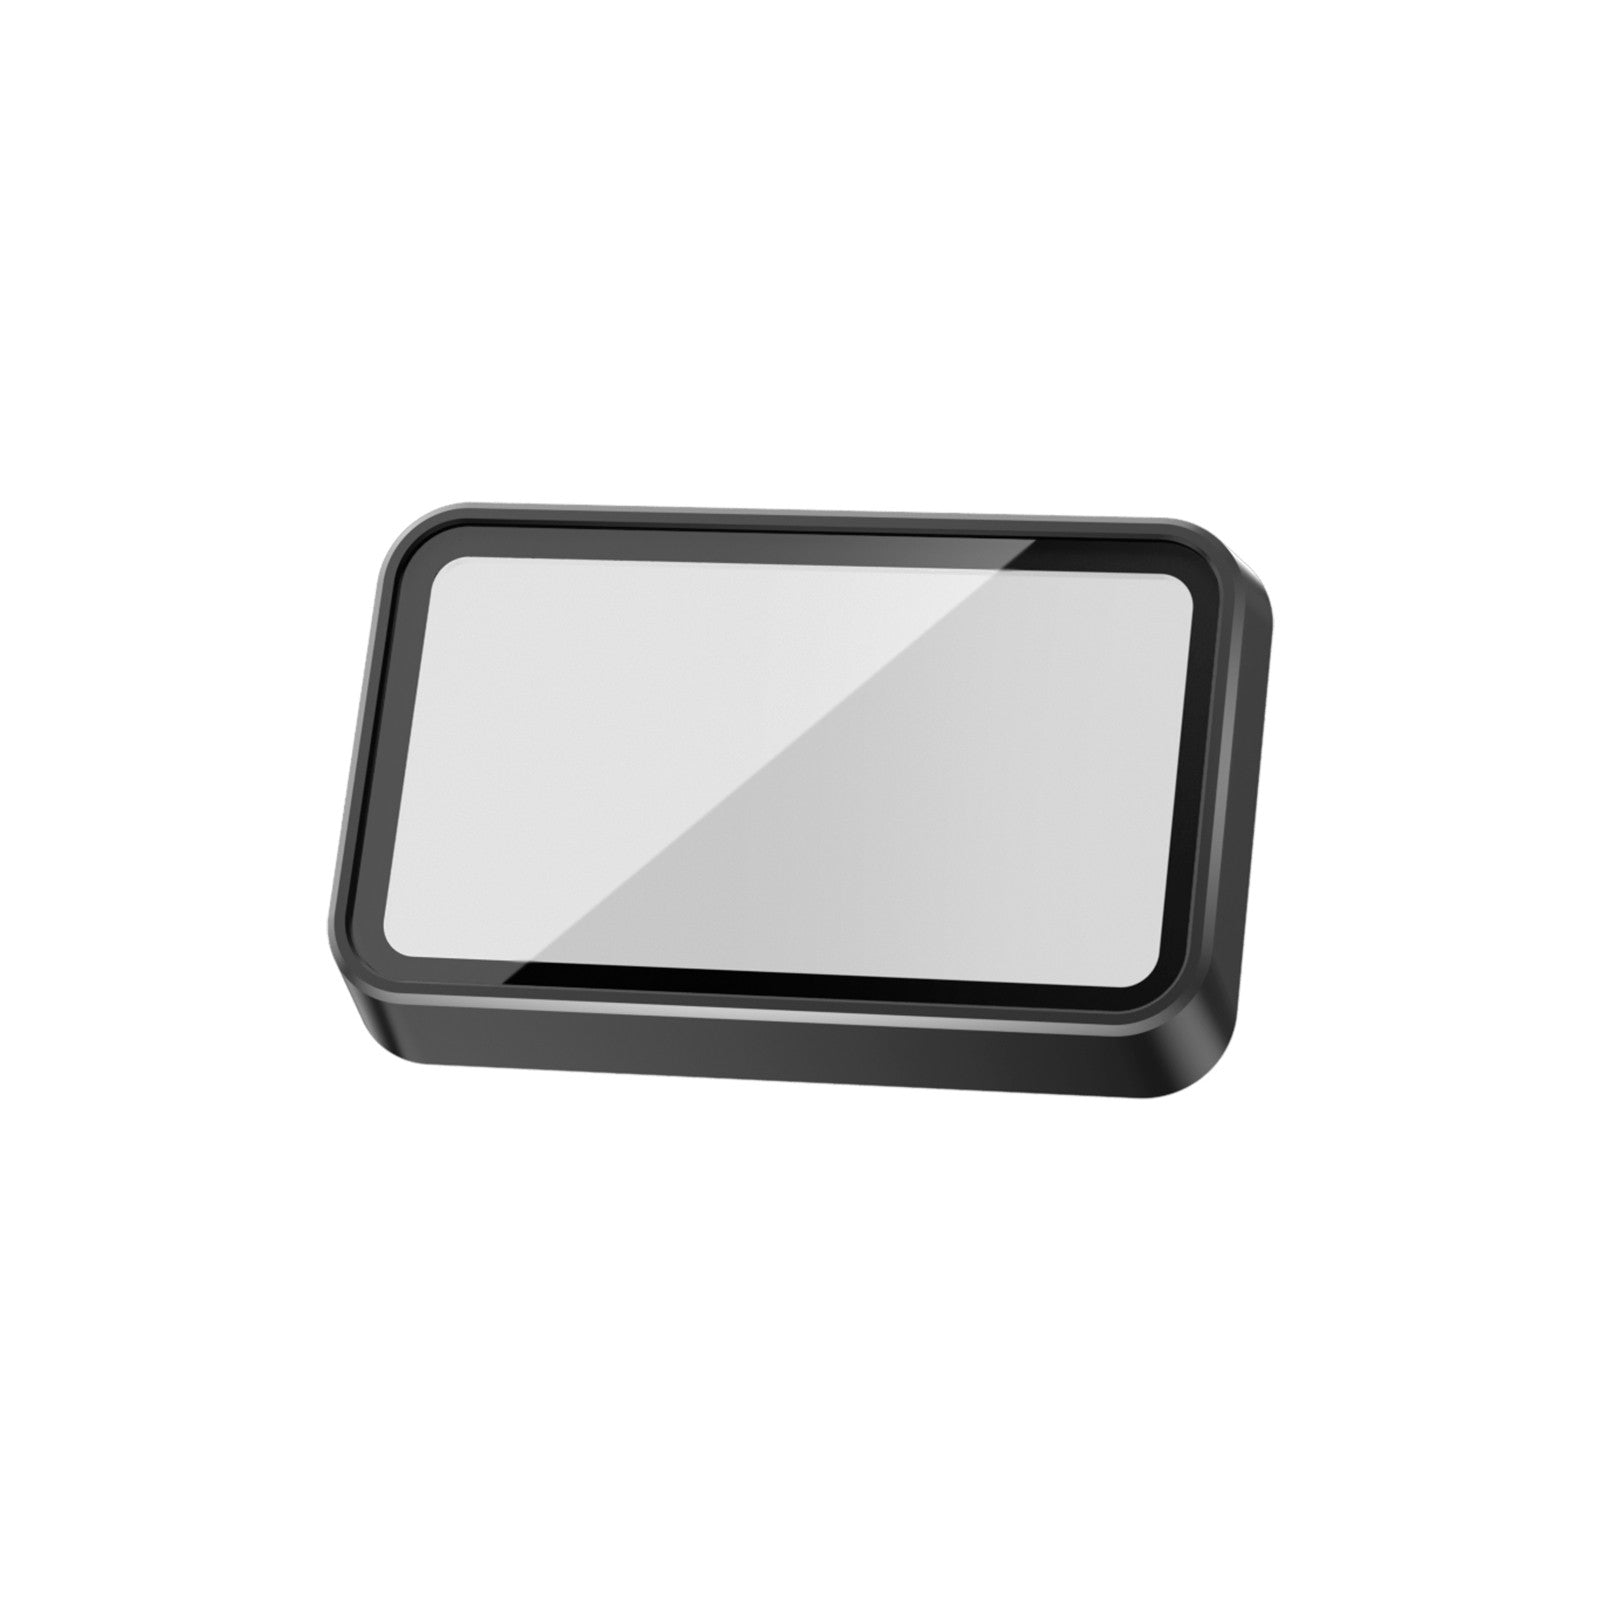
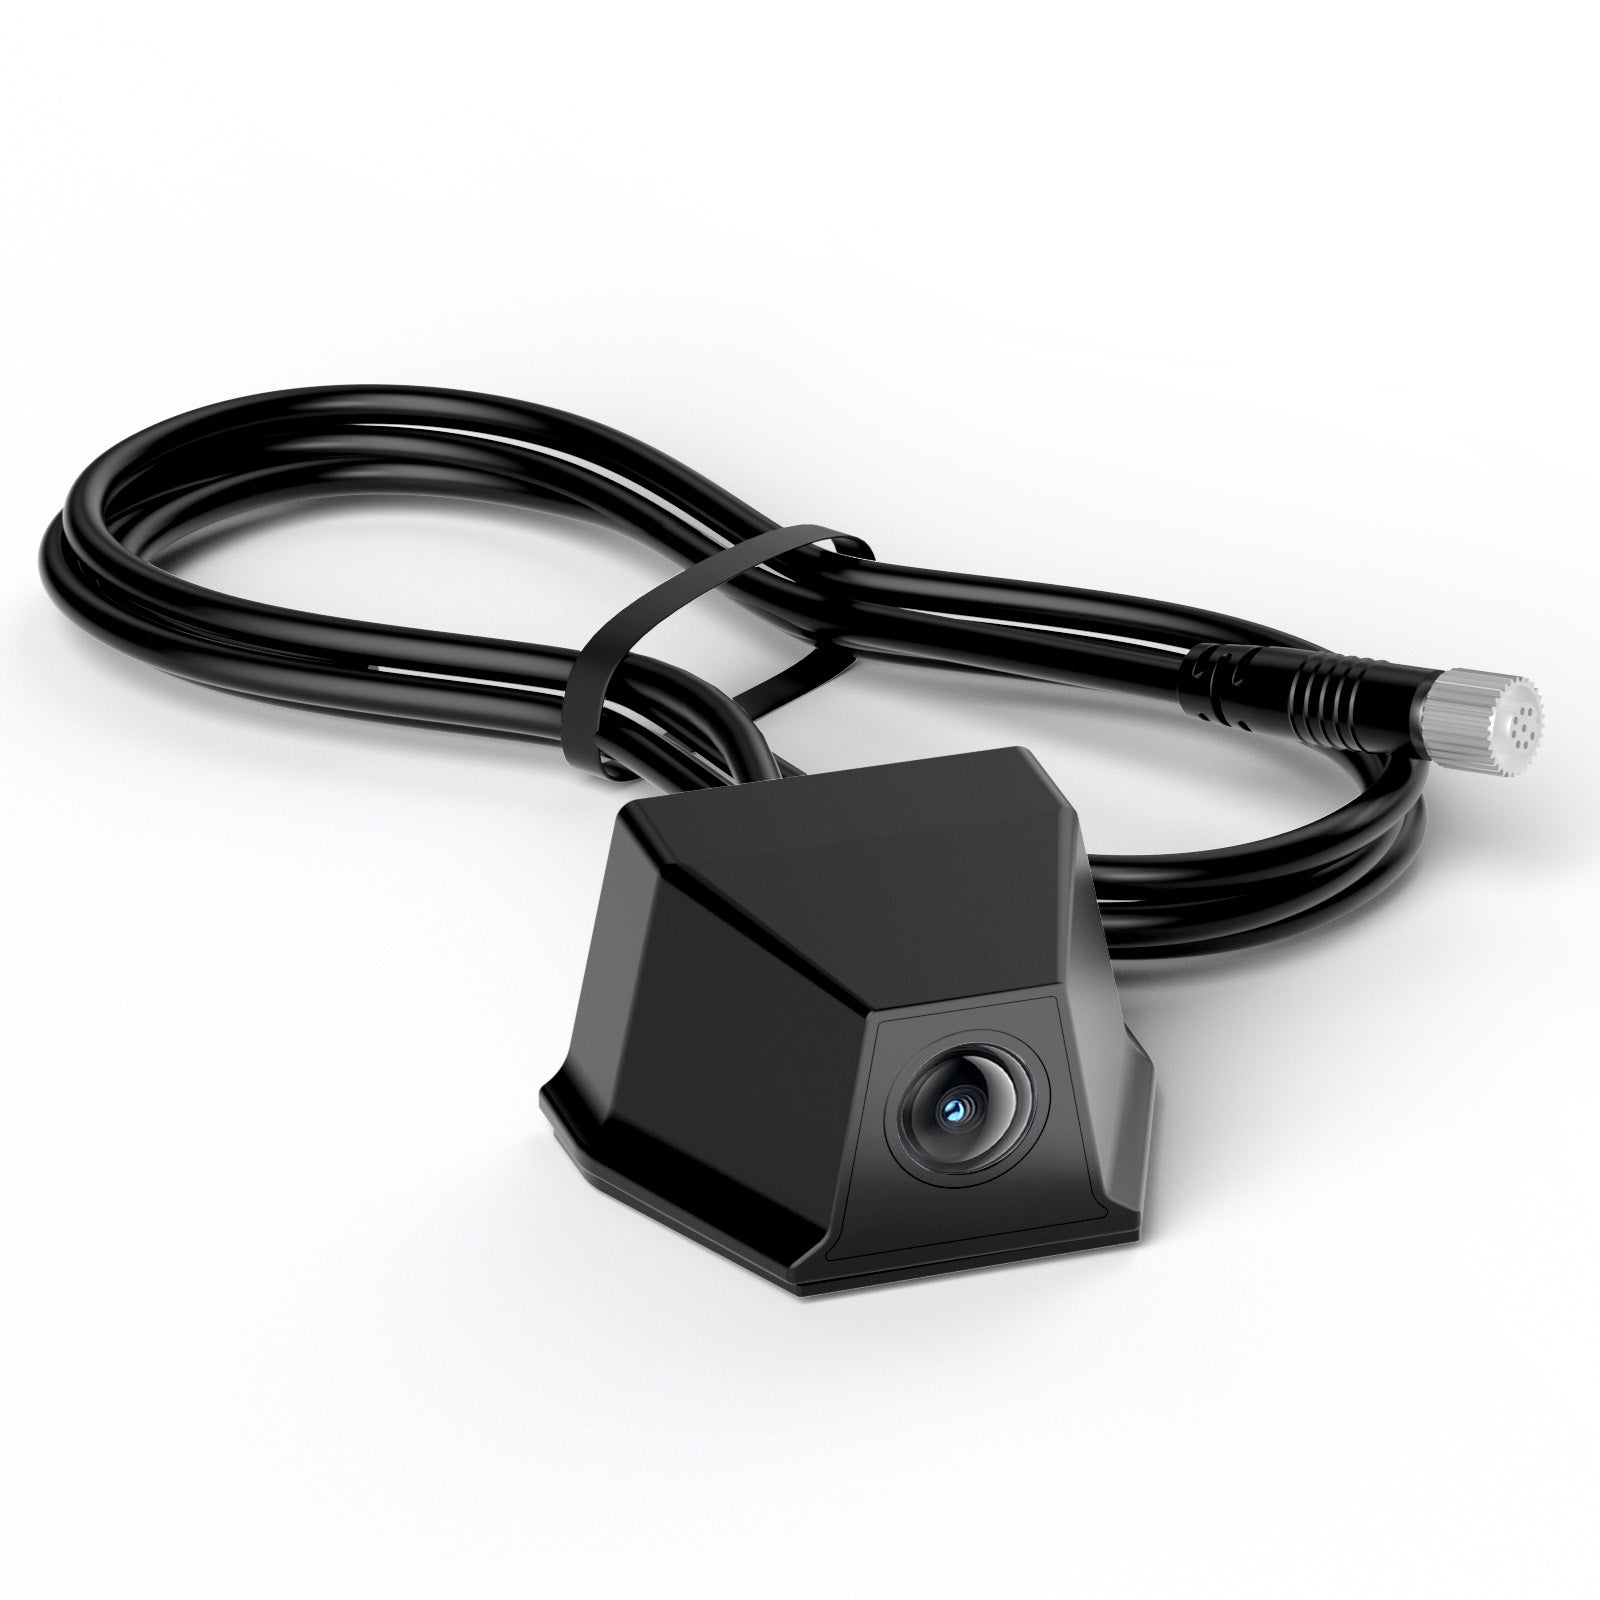
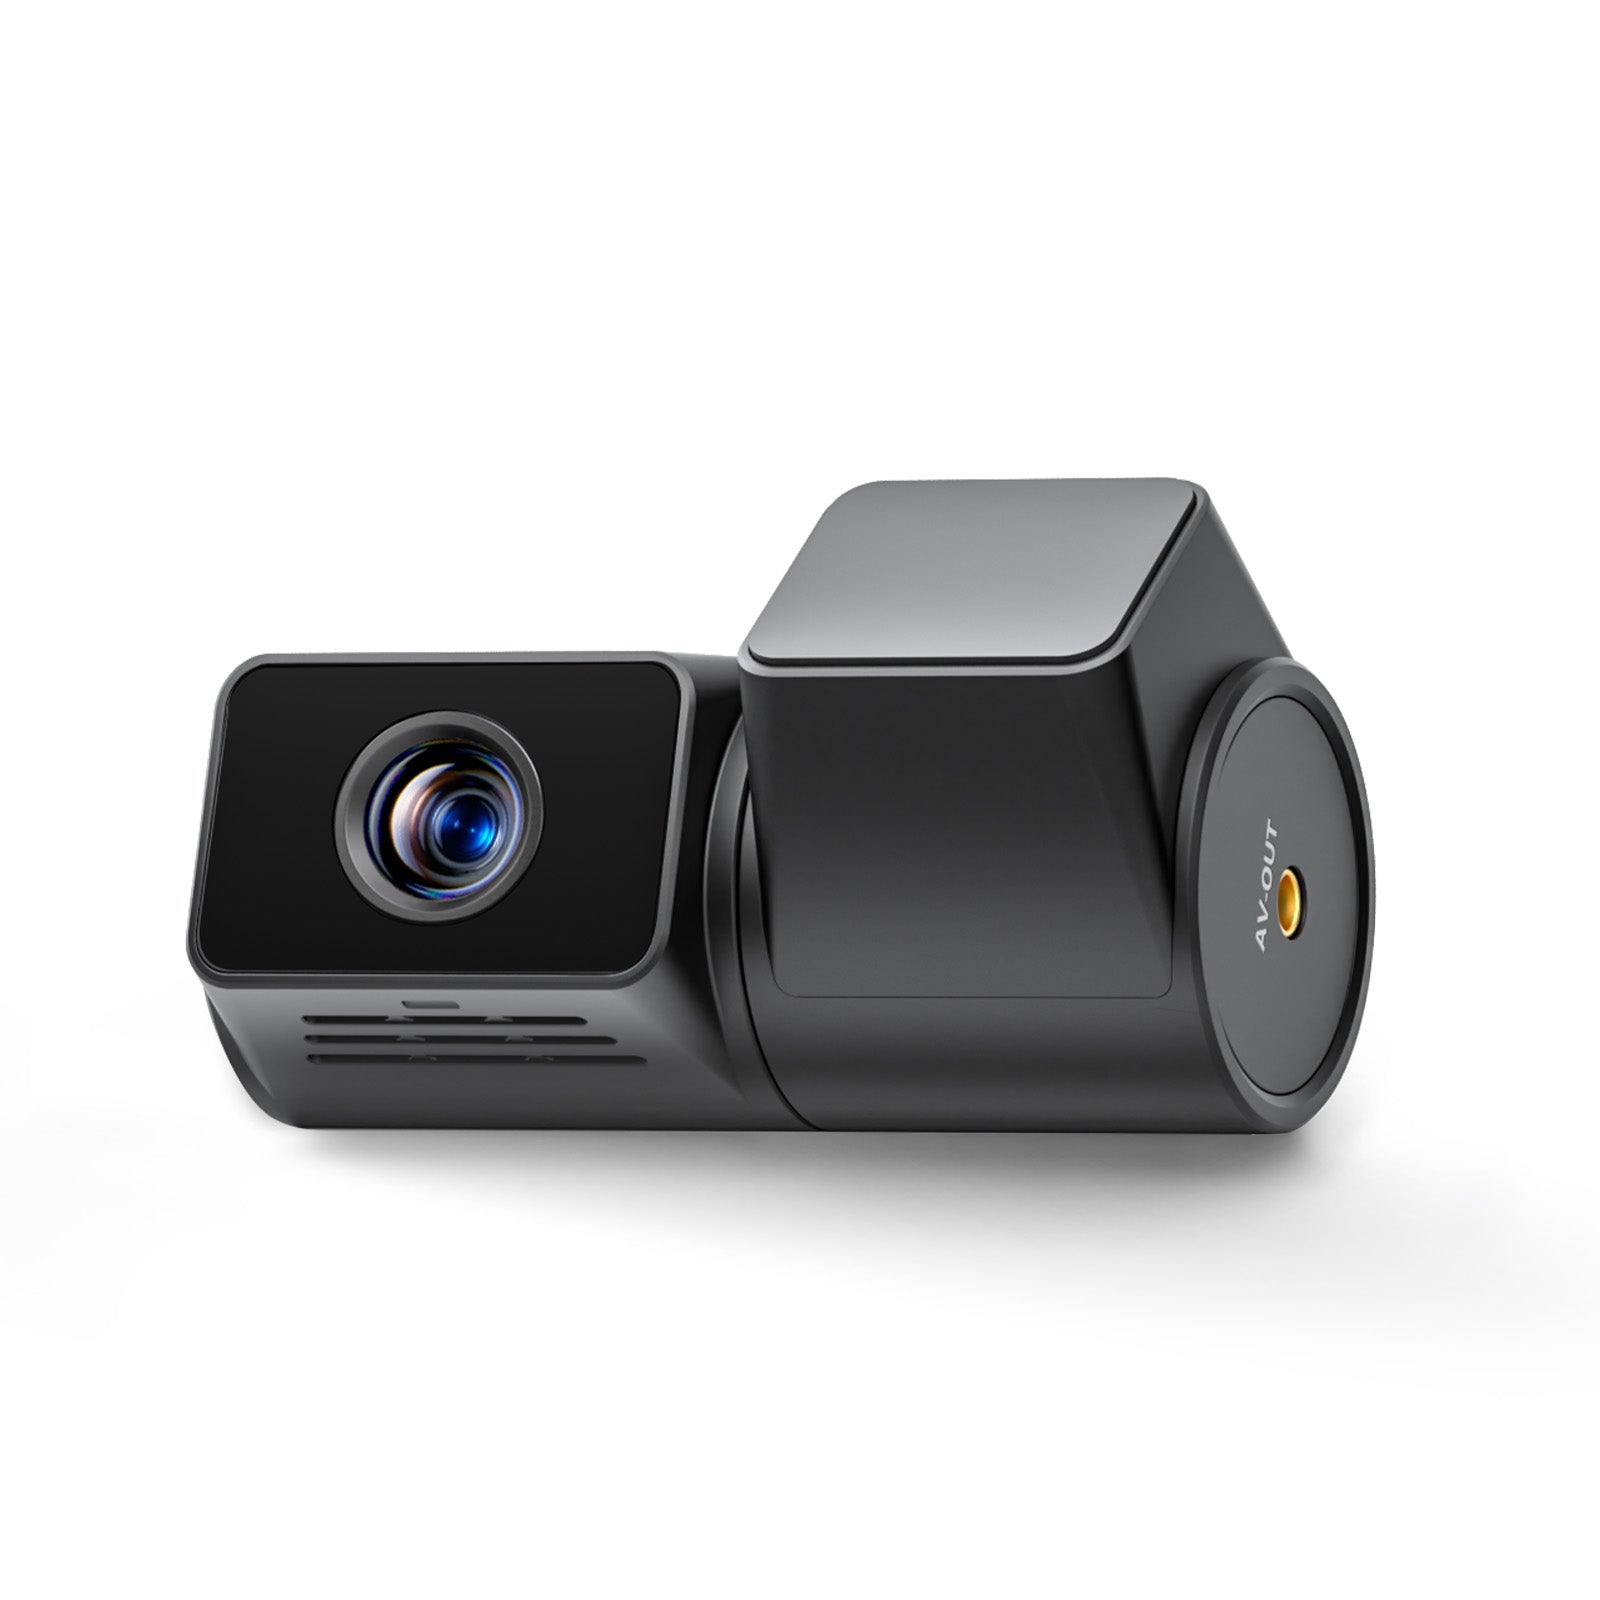
 VIOFO RWC200 Waterproof Rear Camera for
-
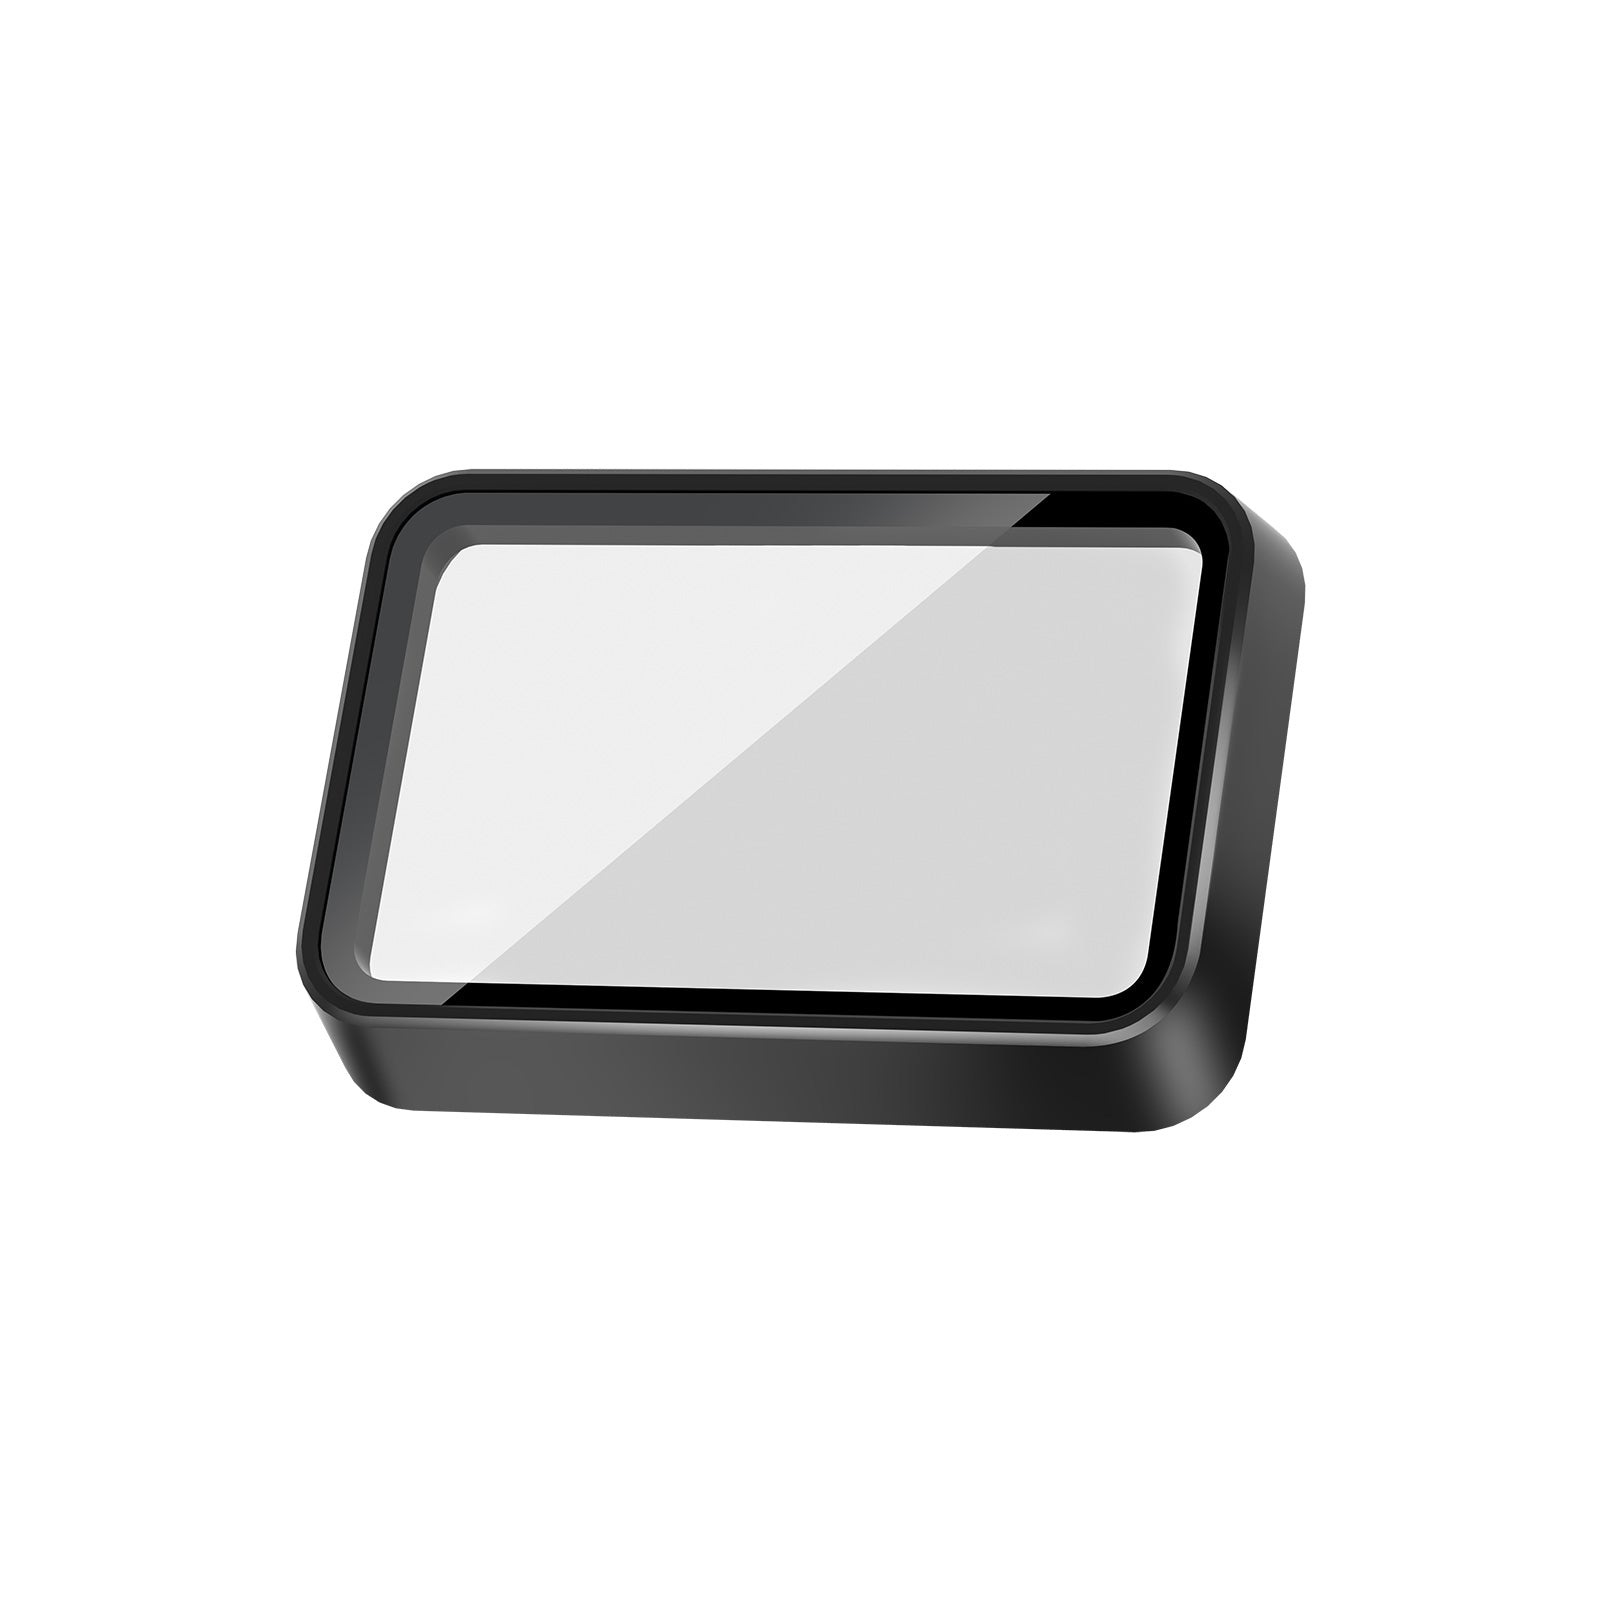
 VIOFO RNE800 4K HDR Rear Camera with 6M
-
 VIOFO RWE800 4K HDR Waterproof Rear Came
-
 VIOFO RNF210 1080P Infrared Fisheye Cabi
-
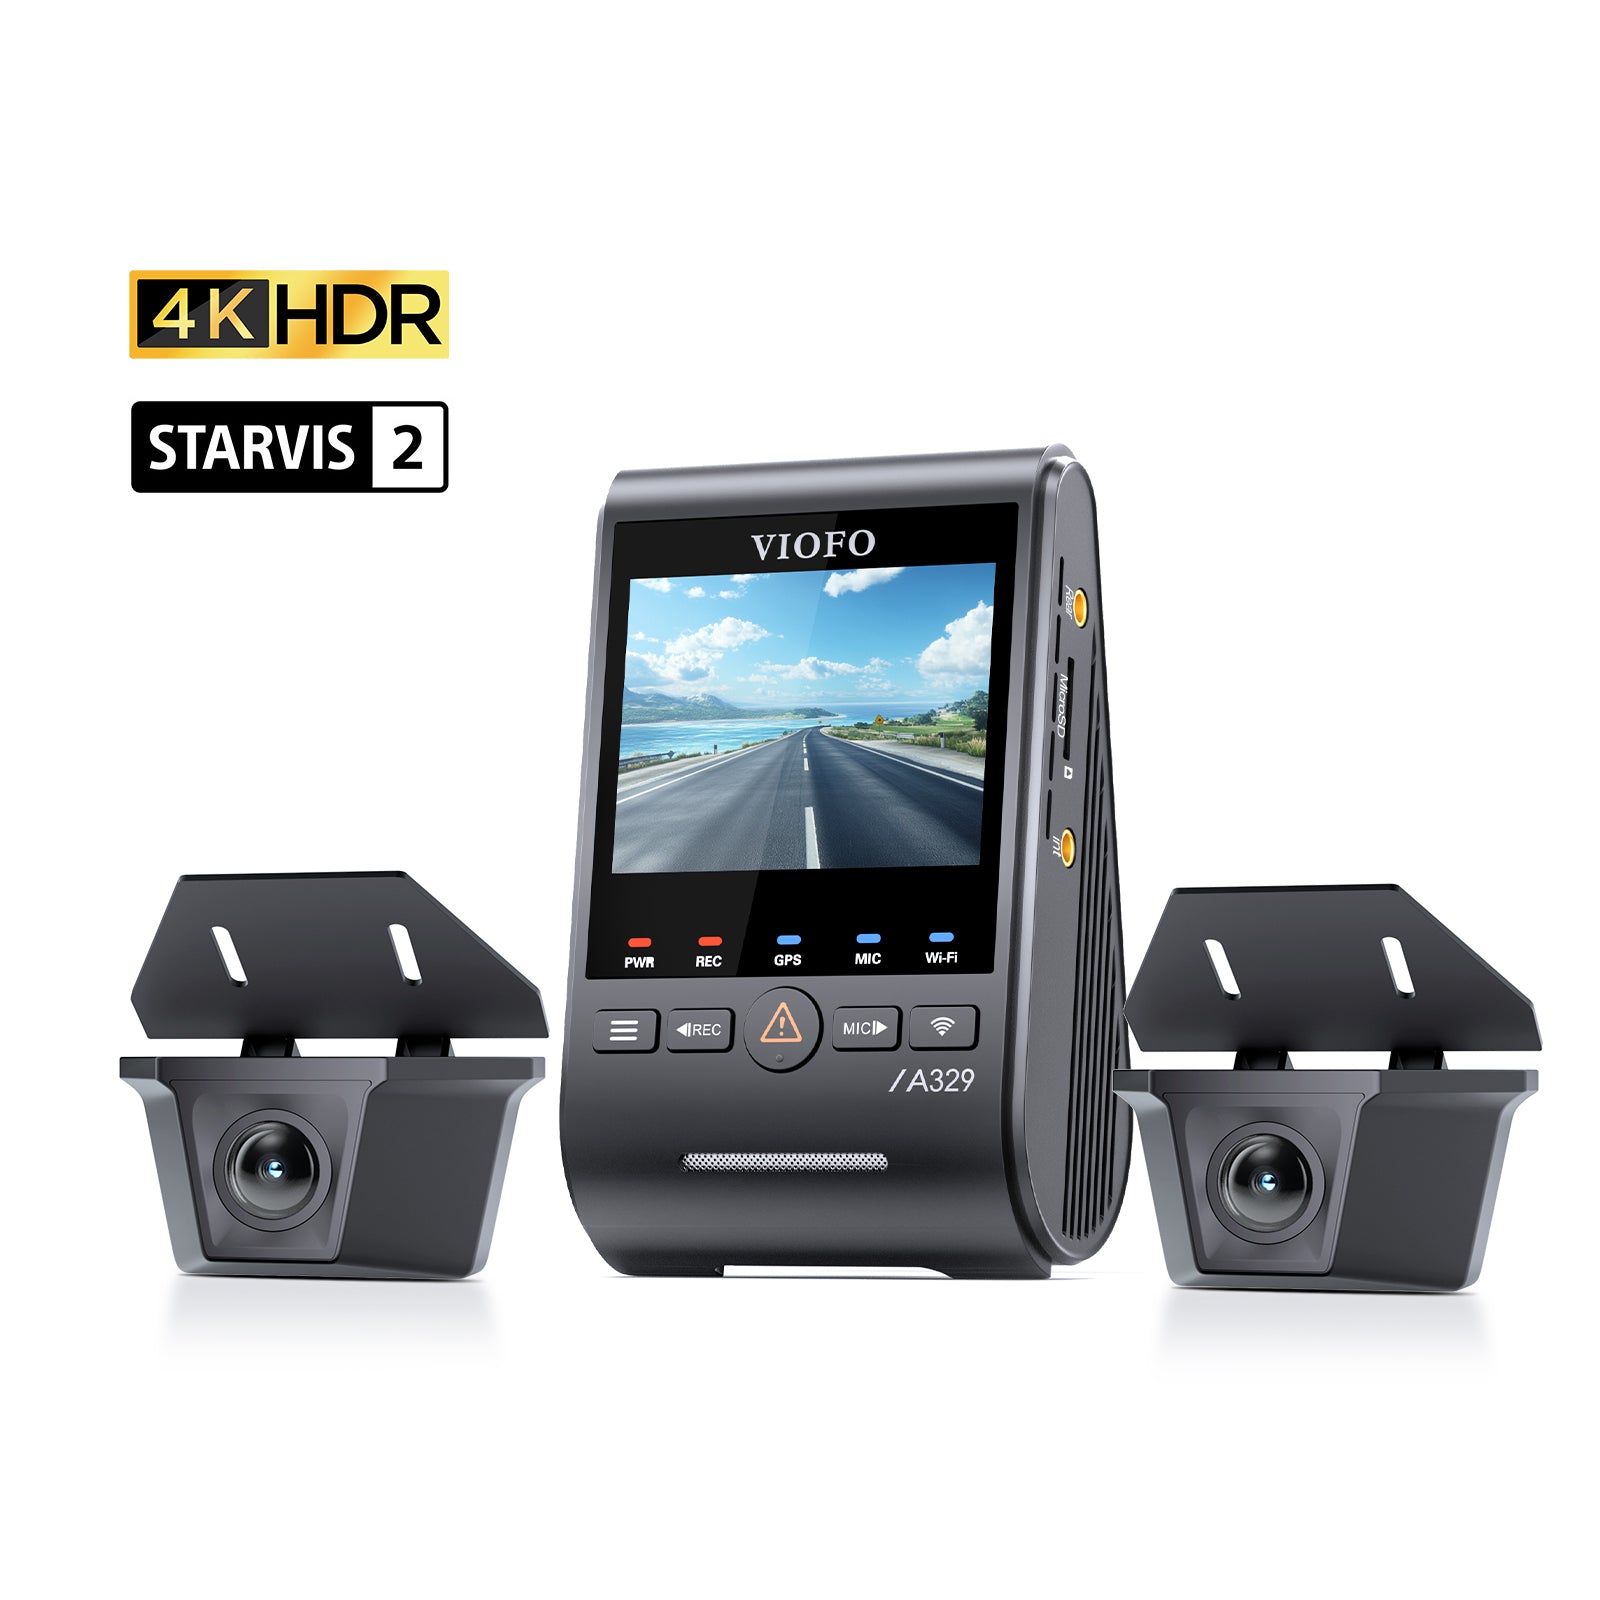
 2K HDR Rear Camera with 6M Cable and Adh
-
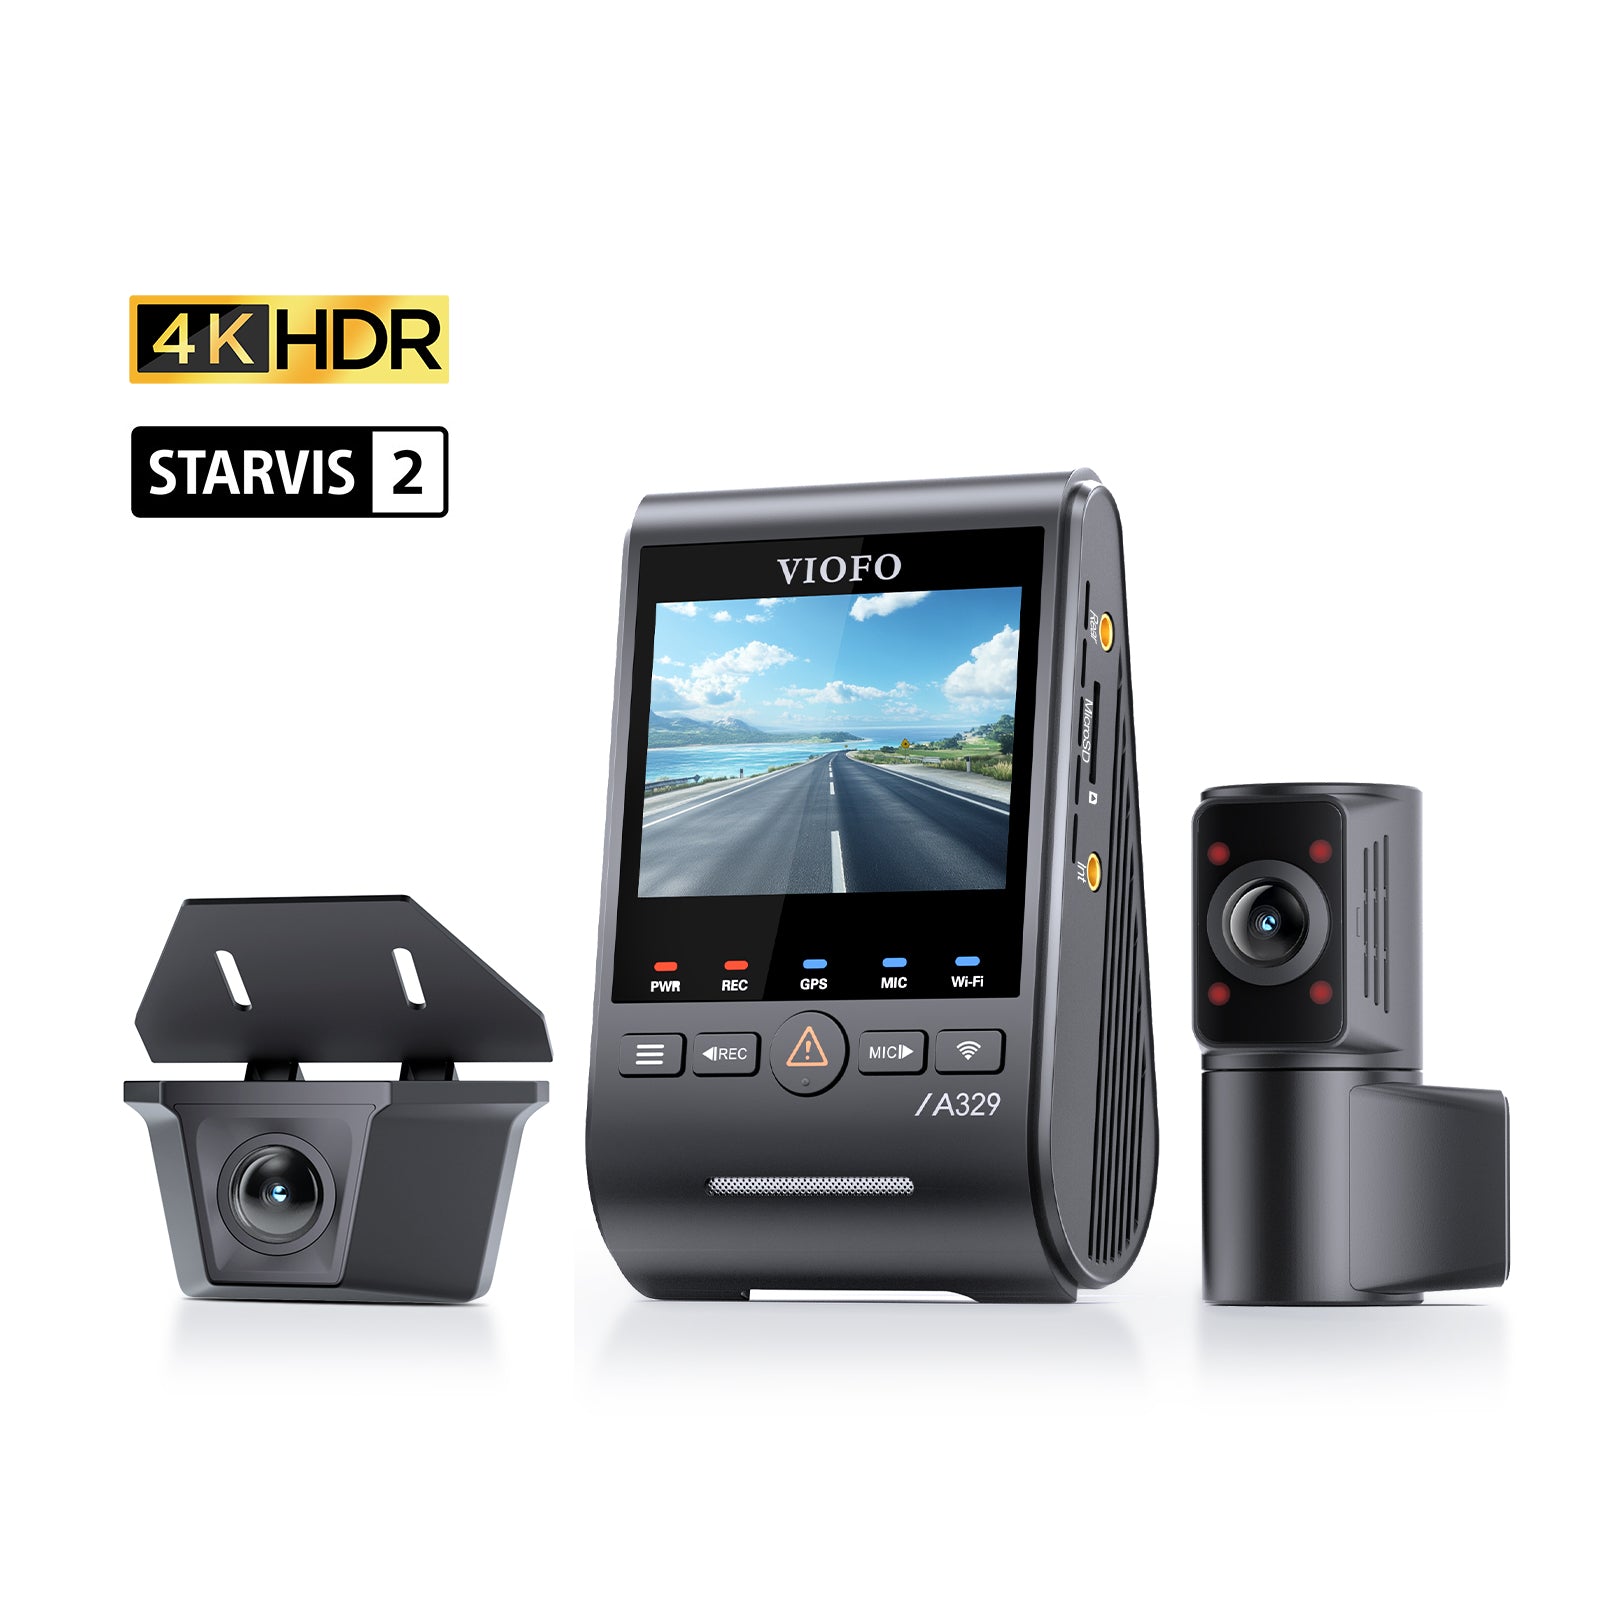
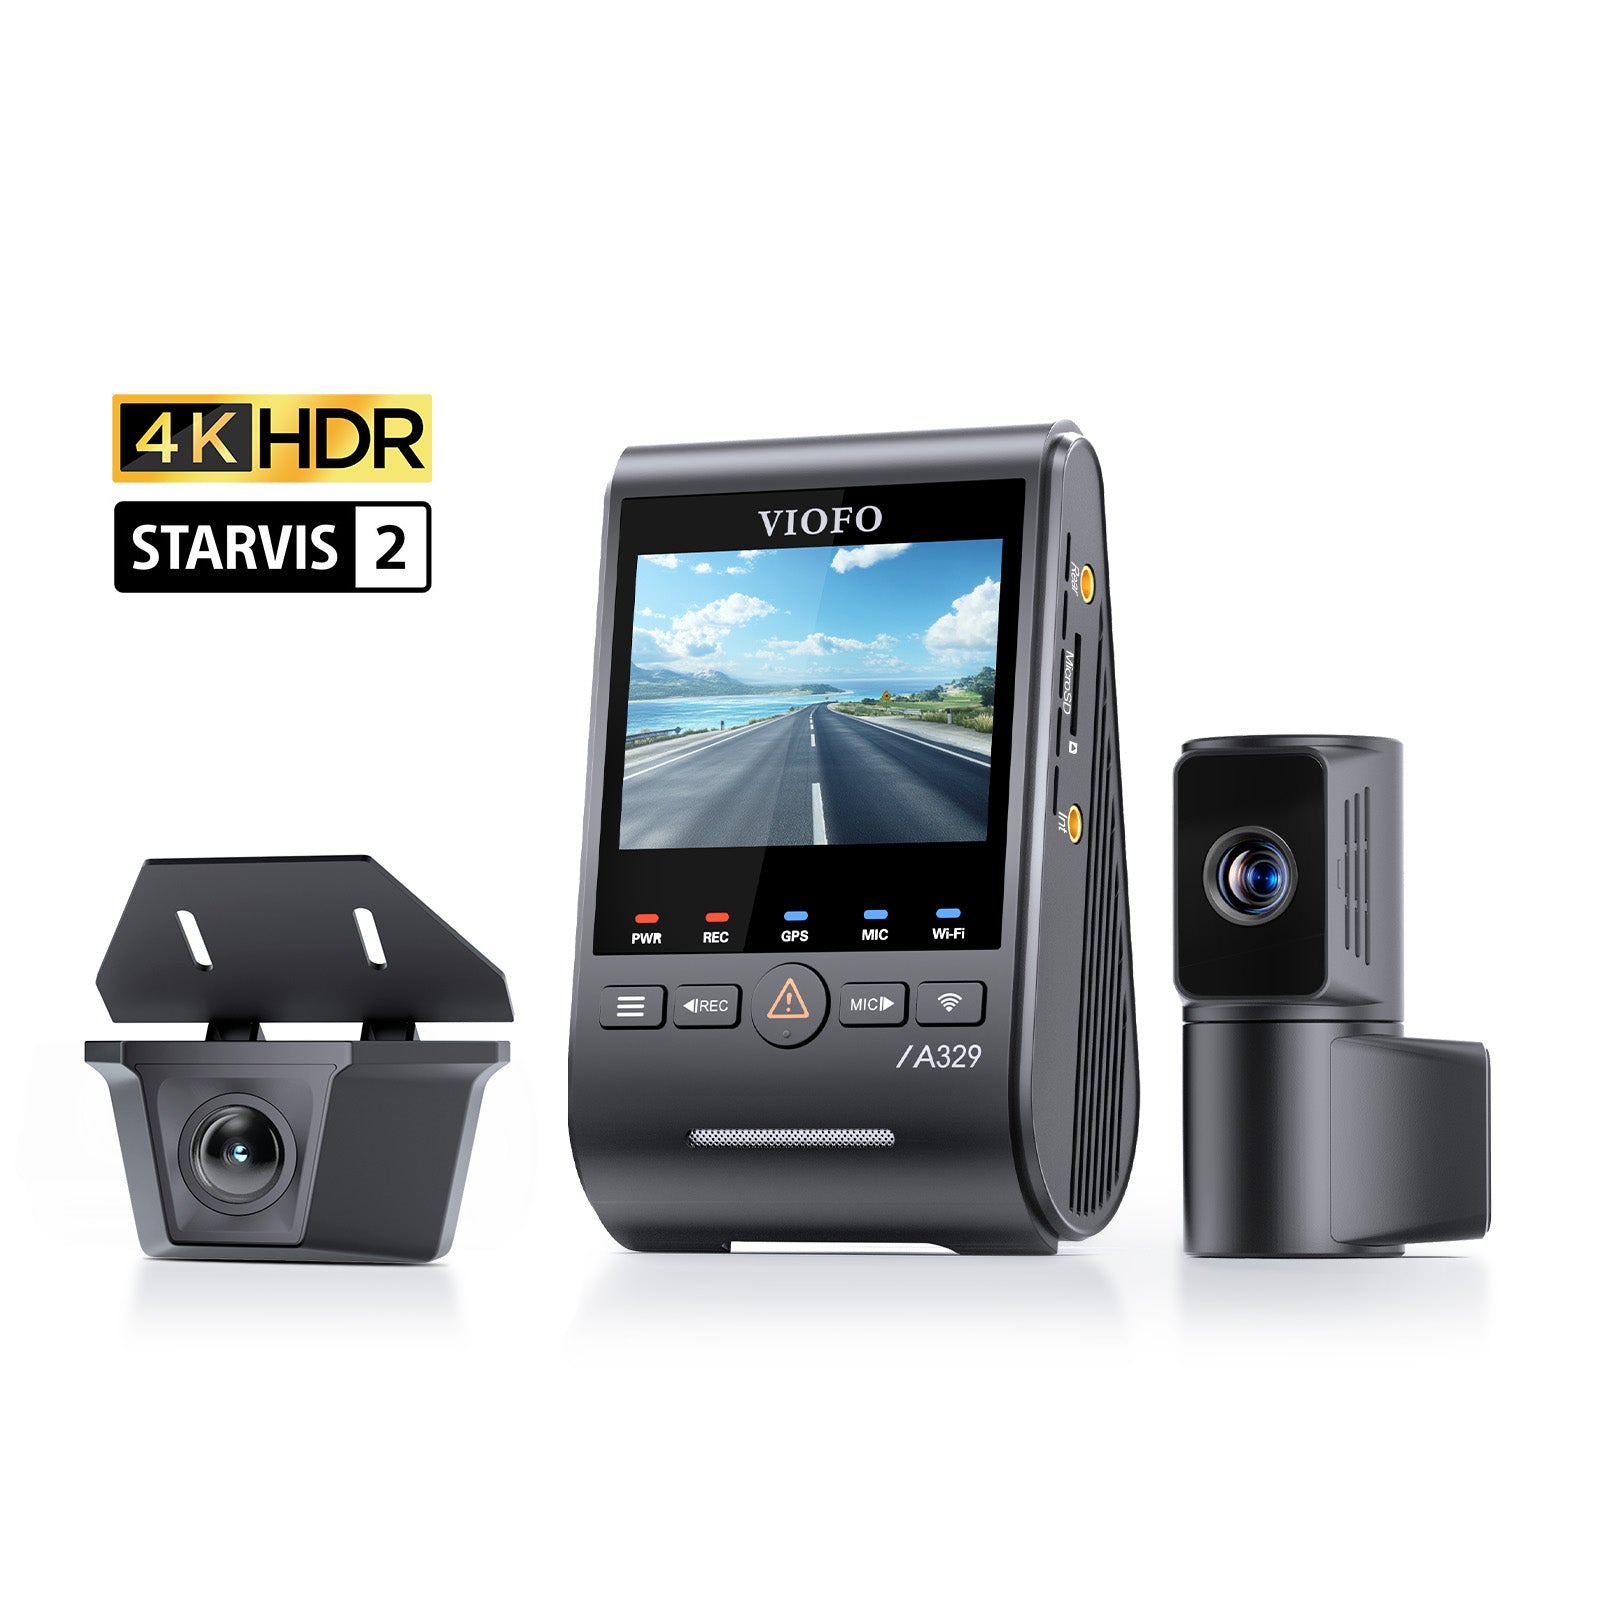
 VIOFO RTC420 2K HDR Telephoto Camera Set


View History
Shopping Cart (


